Graduation Owl Crochet Pattern
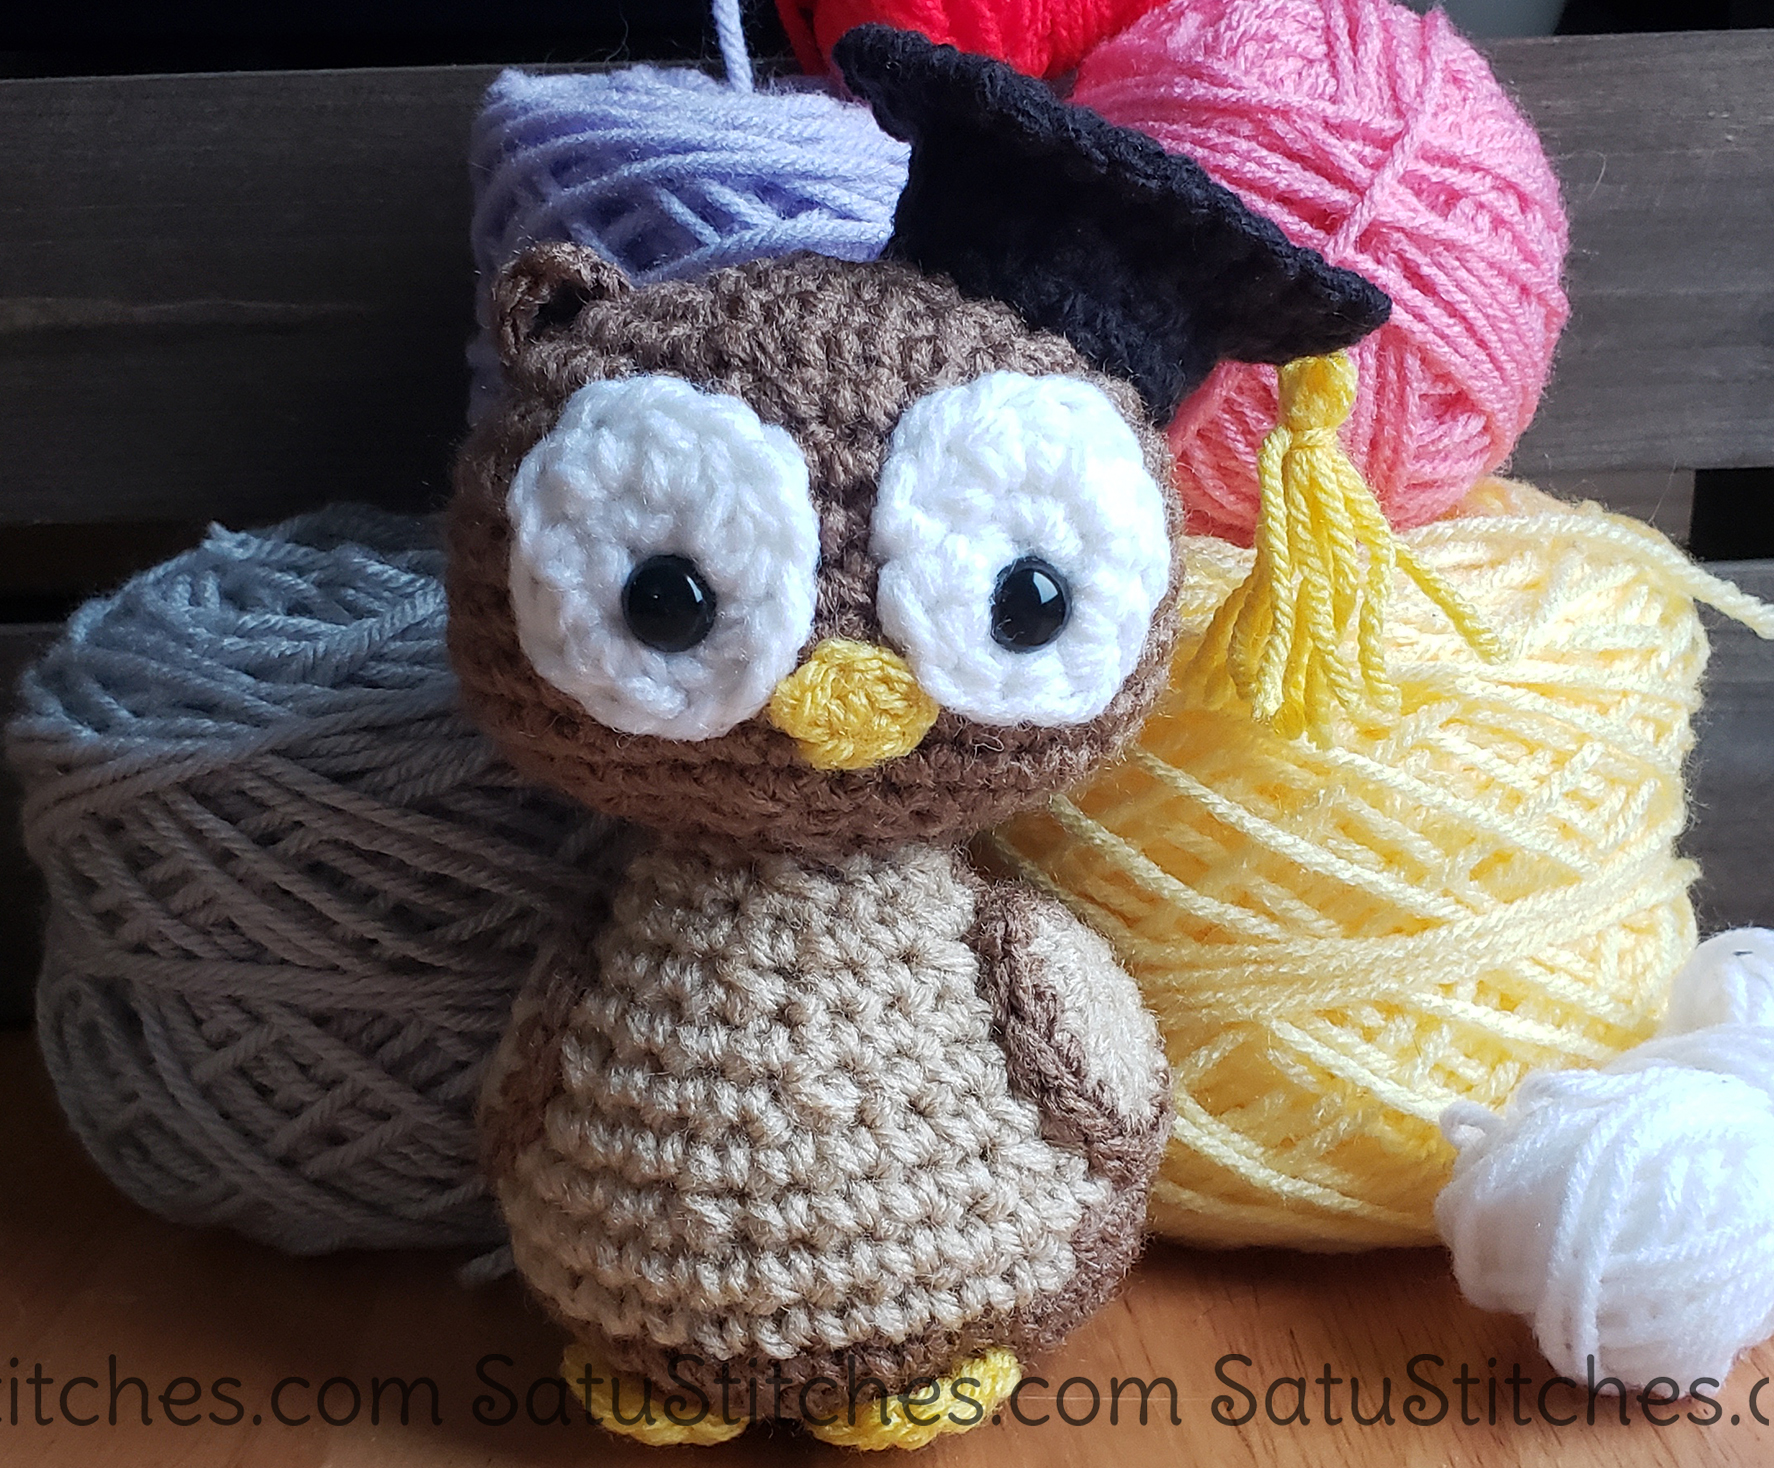
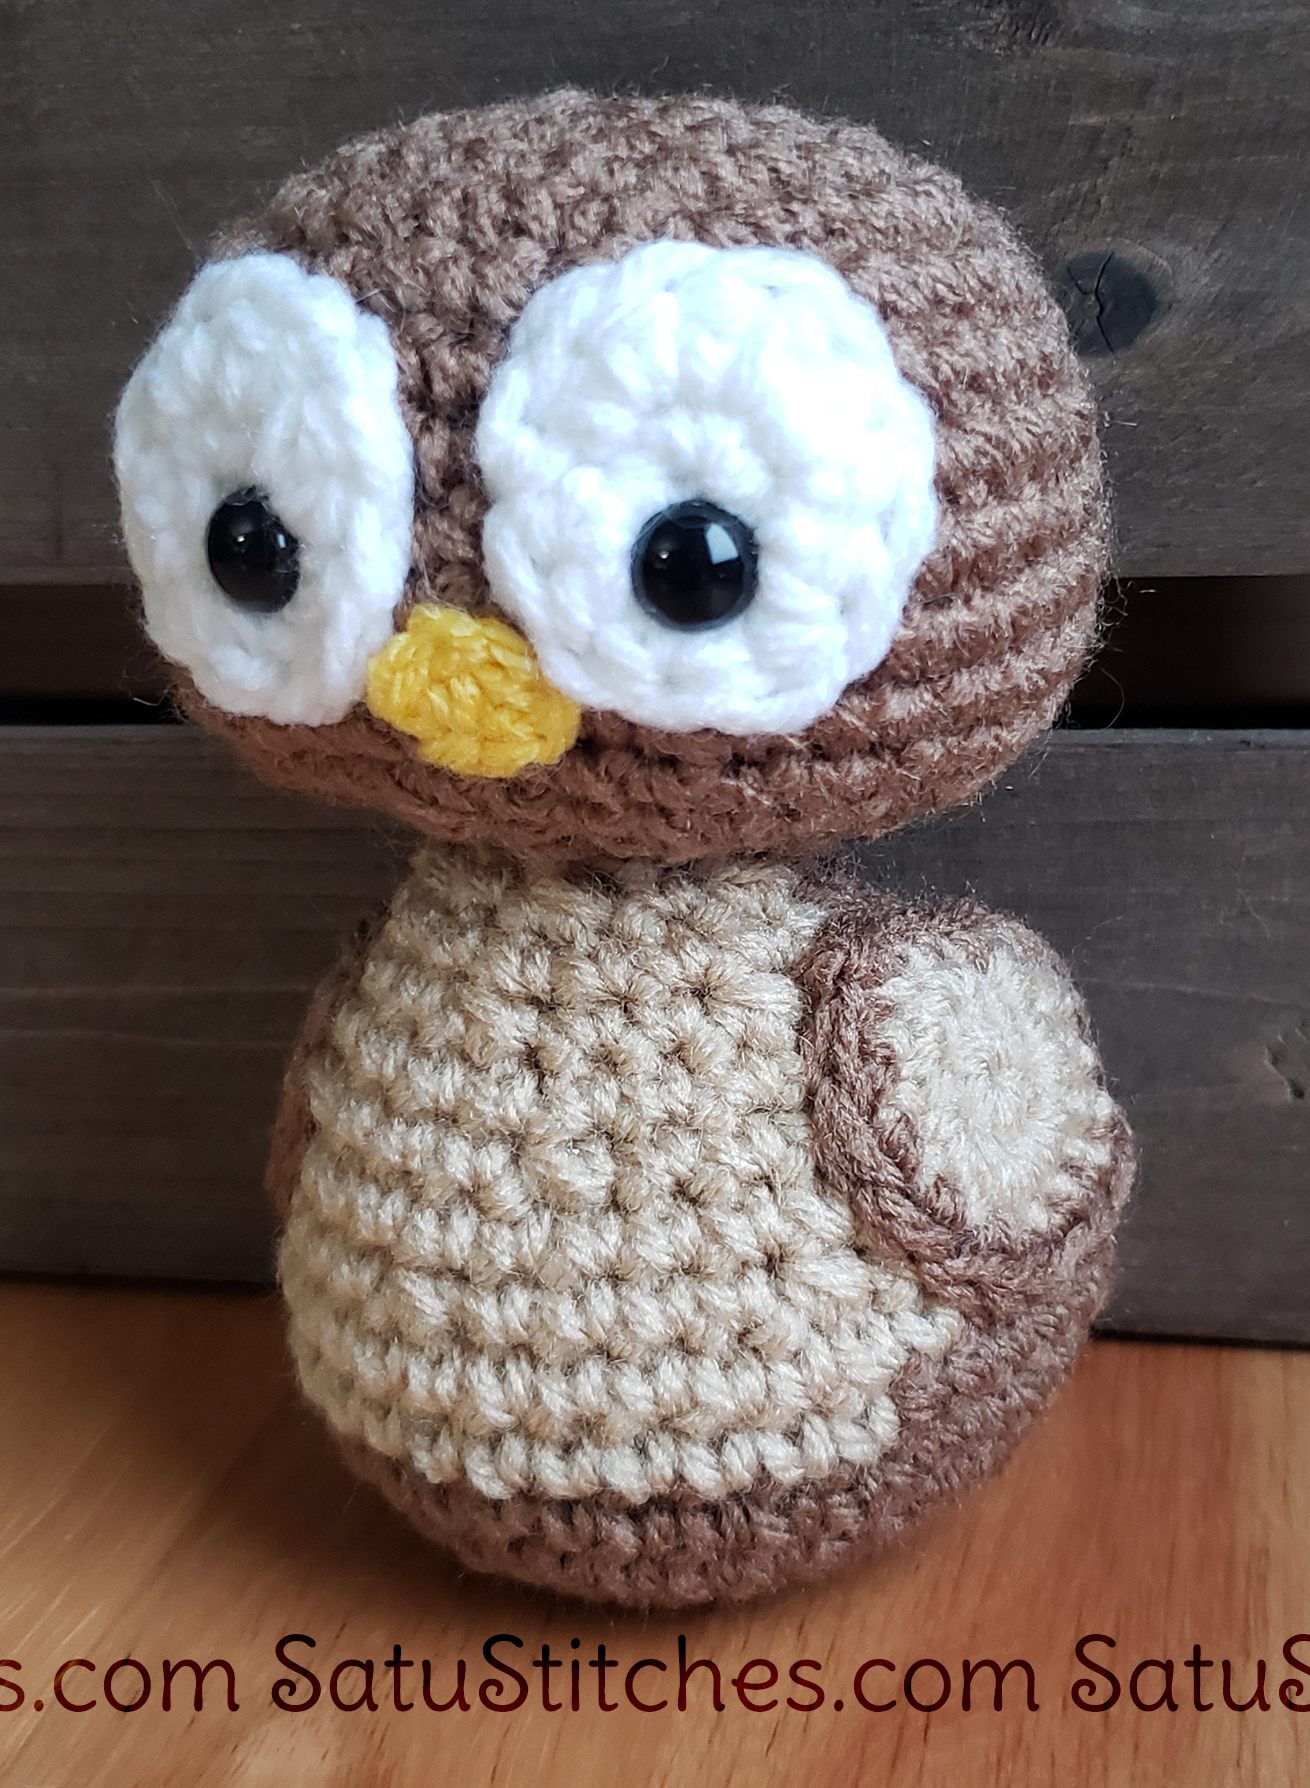
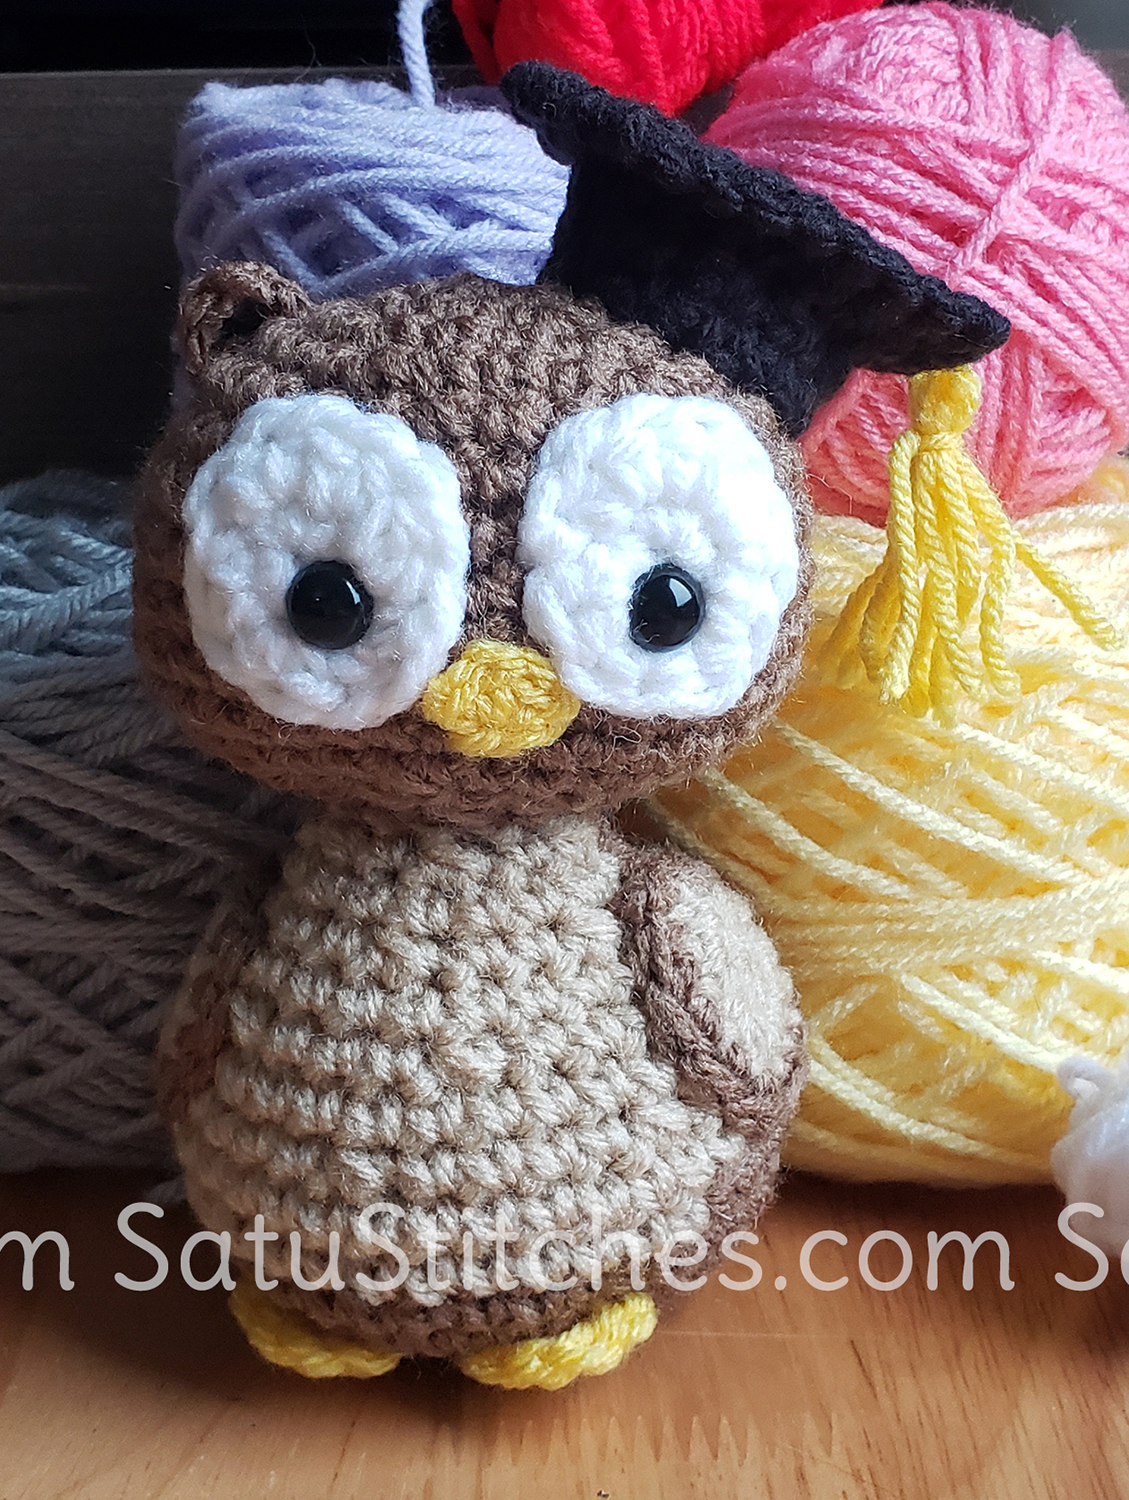
This free graduation owl crochet pattern is the perfect pattern to take everything you’ve learned in this free course and create something amazing! You can make a great gift for a recent graduate you know or I highly recommend keeping it for yourself to commemorate learning a new skill! It’ll be a great reminder that you can learn and do anything you put your mind to.
You can purchase an AD-FREE PDF copy of this graduation owl crochet pattern through my Gumroad store by clicking the button below. This gorgeous PDF includes 20 step-by-step pictures and is a total of 8 pages, including the cover page. It’s worth it!
Materials:
Worsted Weight Yarn.
- Light Brown
- Brown
- Black
- White
- Yellow
4.5 mm Size G Crochet Hook
2 – 10mm black craft eyes
Stuffing (fiberfill, polyfill, etc.)
Tapestry Needle
Abbreviations:
[American English Terms]
slst – slip stitch
ch – chain stitch
sc – single crochet
dc – double crochet
hdc – half double crochet
inc – increase (2 single crochet stitches in the same stitch.
dec – decrease (single crochet 2 stitches together)
f/o – finish off
[ ] – repeat instructions between [ and ]
( ) – the total number of stitches for row
CC – change color
MC – Magic Circle (Please see special instructions)
Finished Size:
The graduation owl’s finished size is about 7” tall. Size varies based on yarn, crochet hook, and your tension.
Special Stitch Instructions:
Most pieces begin with a “ring.” Use any type you feel comfortable with (i.e. Magic Circle, chain 2, and single crochet in the second chain, etc). You’ll be working most pieces in a continuous spiral, as indicated by the MC. If your row starts with CH then you’ll be working in regular rows unless otherwise indicated.
The use of a marker is very useful if you’re not used to working in continuous rounds. It’s also great if you have to stop midway.
About the Pattern:
This Graduation Owl Crochet Pattern MAY NOT be publicly distributed or sold in print or digital form. You MAY NOT reproduce this pattern on your site. Instead, link back to this pattern.
This pattern is an original pattern by Bobbi Wetzler, SatuStitches (2016). Do not claim this pattern as your own.
You’re more than welcome to sell items made from this pattern, so long as it is not mass-produced. Please indicate that it is a ‘Bobbi Wetzler of SatuStitches Design’ (on the tag) and link to SatuStitches.com (if the listing is online.) Do not use my pictures advertising your work as this is misleading.
Head
With brown yarn.
1. MC – 6sc (6)
2. 6inc (12)
3. [1sc, 1inc] x 6 (18)
4. [2sc, 1inc] x 6 (24)
5. [3sc, 1inc] x 6 (30)
6. [4sc, 1inc] x 6 (36)
7-12. 36sc
13. [2sc, 1dec] x 9 (27)
14. [1sc, 1dec] x 9 (18)
15. [1sc, 1dec] x 6 (12)
f/o and stuff. Set aside.
Face
With white yarn.
(Make 2)
1. MC – 6sc (6)
2. 6hdc increases (12)
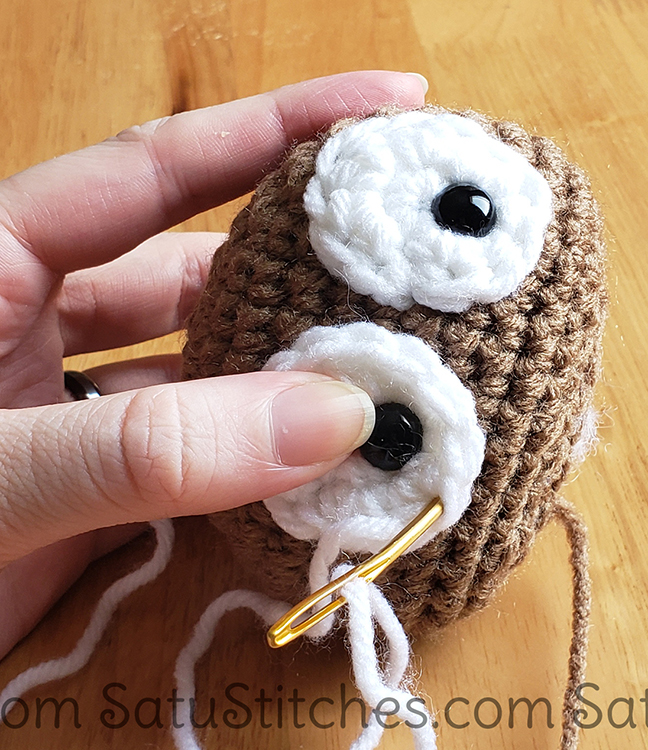
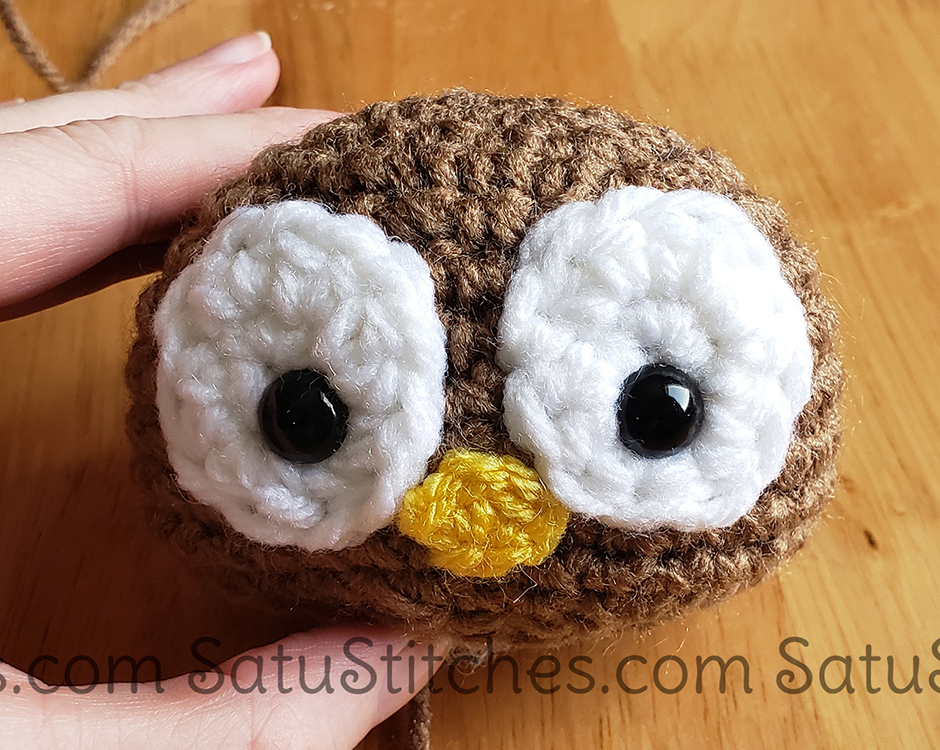
f/o. Attach craft eyes. Attach to head.
Beak:
With yellow yarn.
1. CH2 – 1sc (1)
2. 3sc in same stitch (3)
f/o and attach in between eyes.
Tips
When you stuff your piece, ensure that you don’t overstuff. You don’t want to see the stuffing through your stitches. You also don’t want to under-stuff either! You want it firm enough to hold its shape. It’s a balance that you’ll find in time.
Also! When you finish off a piece, make sure you are leaving enough tail that you can easily attach it to other pieces
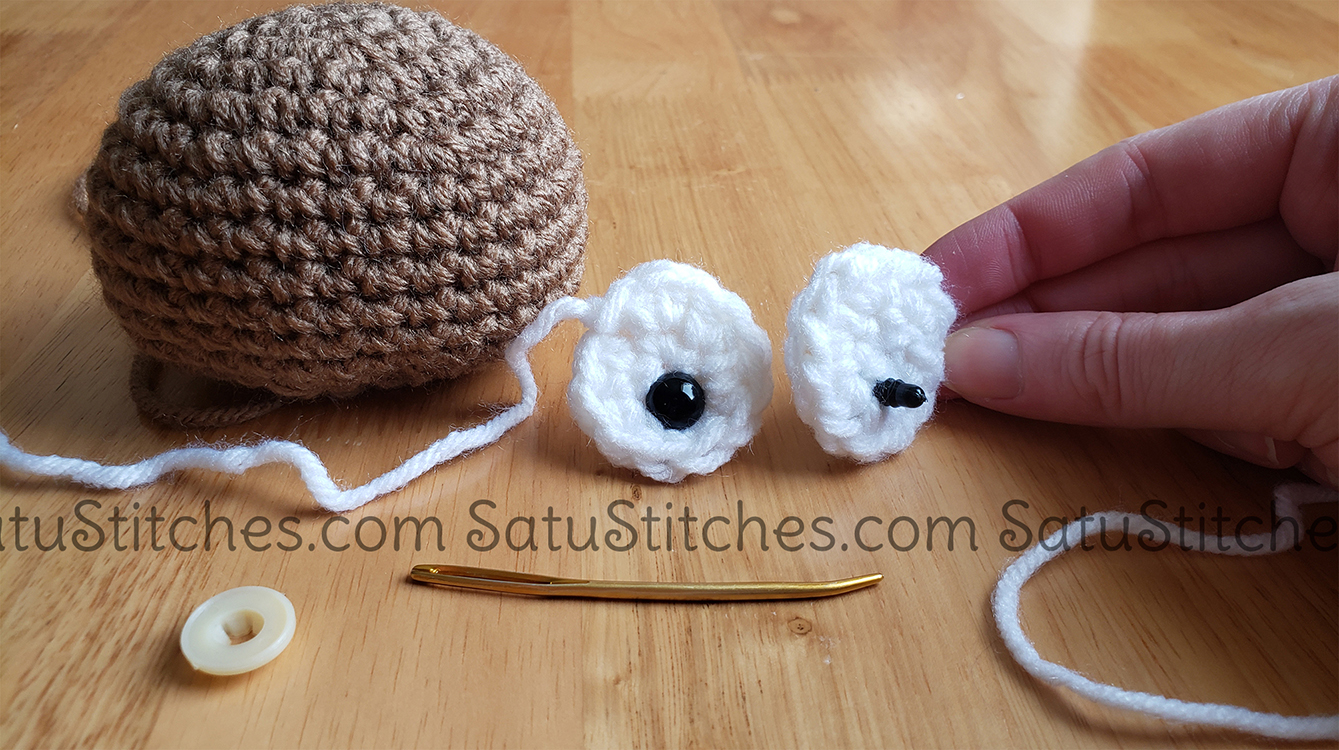
TIP
Sometimes, it is easier to stuff as you go. It helps hold the shape and keep you on track. You should always read ahead on the patterns you are doing just so you know the path that you’ll be following. If you’re going to be stuffing it anyway, try stuffing it as you go and see how you like it.
Careful not to overstuff as you go though. If you do you’ll start pulling the stuffing out as you stitch and it can be a pain to clean up.
Body
With brown yarn.
1. MC – 6sc (6)
2. 6inc (12)
3. [1sc, 1inc] x 6 (18)
4. [2sc, 1inc] x 6 (24)
5. [3sc, 1inc] x 6 (30)
6. [4sc, 1inc] x 6 (36)
7. 36sc
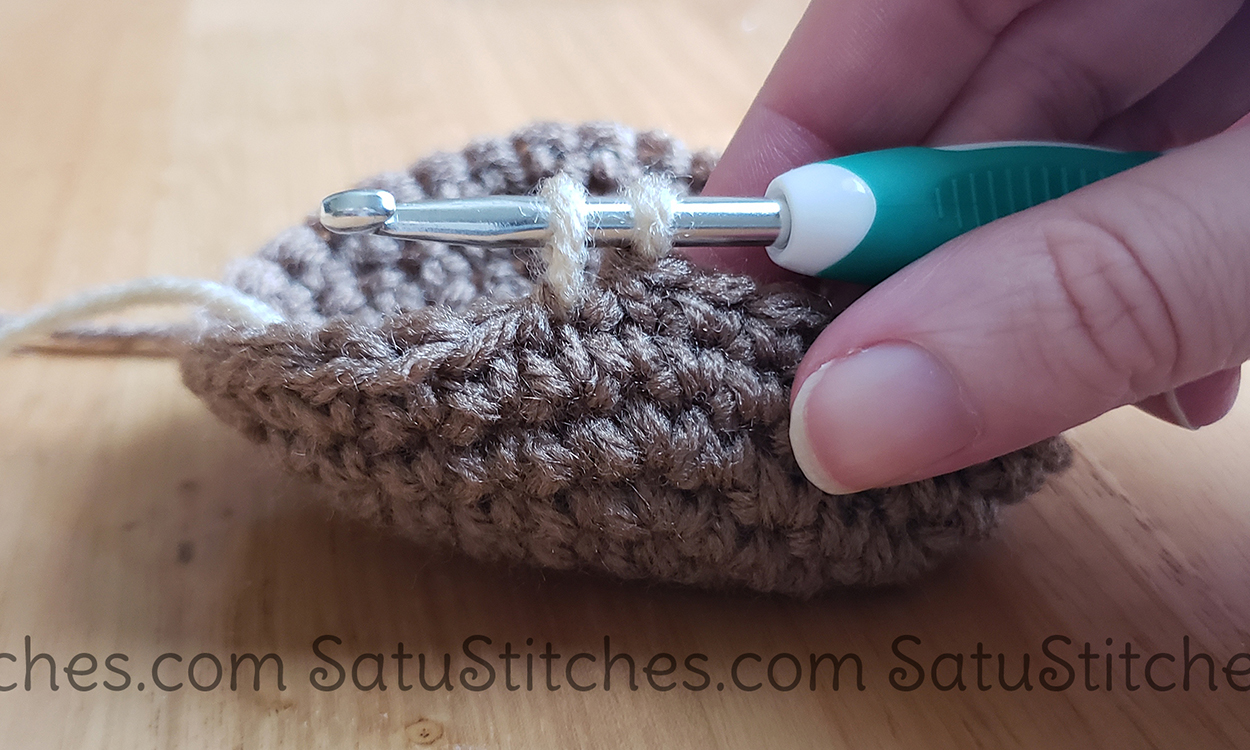
8. 12sc, cc to light brown 12sc, cc to brown 12sc (36)
9. 11sc, cc to light brown 14sc, cc to brown 11sc (36)
10. 1dec, 4sc, 1dec, 2sc, cc to light brown (2sc, 1dec, 4sc, 1dec, 4sc, 1dec), cc to brown 4sc, 1dec, 4sc (30)
11. 8sc, cc to light brown 13sc, cc to brown 9sc (30)
12. 3sc, 1dec, 3sc, cc to light brown (1dec, 3sc, 1dec, 3sc, 1dec, 1sc), cc to brown 2sc, 1dec, 3sc, 1dec (24)
13. 7sc, cc to light brown 10sc, cc to brown 7sc (24)
14. 1dec, 2sc, 1dec, 1sc, cc to light brown (1sc, 1dec, 2sc, 1dec, 3sc), cc to brown 1dec, 1sc, 1dec, 2sc (18)
15. 5sc, cc to light brown 8sc, cc to brown 5sc (18)
16. 1sc, 1dec, 2sc, cc to light brown (1dec, 1sc, 1dec, 1sc, 1dec), cc to brown 1sc, 1dec, 2sc (12)
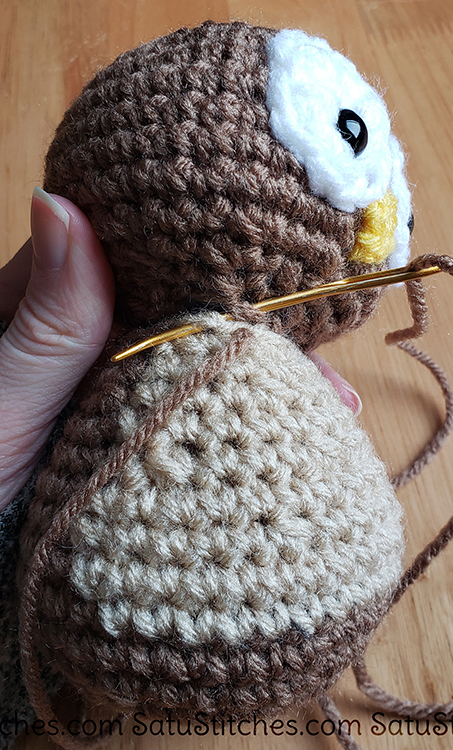
f/o, but leave a long tail for easy attaching. Stuff body. Attach to head. Don’t forget to stuff the neck a little too so it will be sturdy!
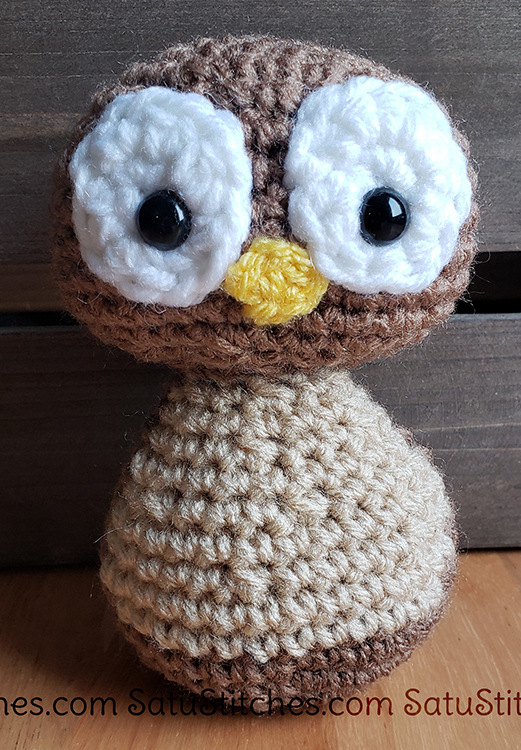
Body Details
Wings:
With light brown yarn.
(Make 2)
1. MC – 6sc (6)
2. 6inc (12)
3. 1hdc inc, 1dc inc
f/o. With brown yarn, make an sc border. Make sure for one of your wings you sc border with the back side facing you. Attach to body.
Feet:
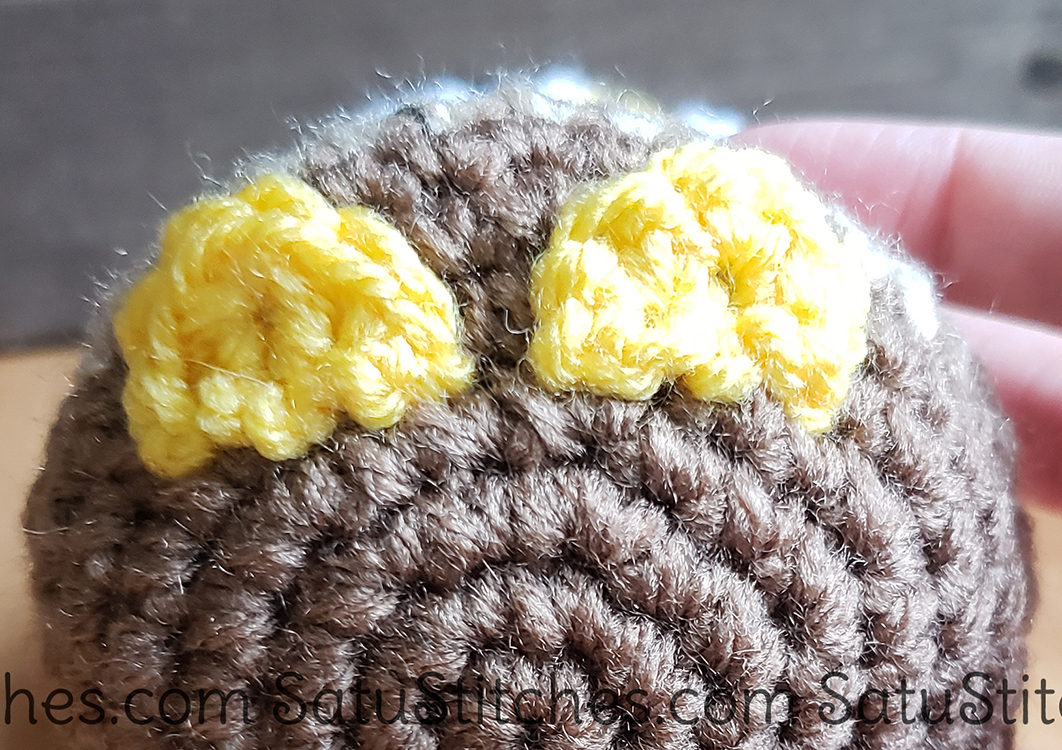
With yellow yarn.
(Make 2)
1. CH2 – 3sc in same stitch (3)
2. 3inc (6)
f/o and attach under body.
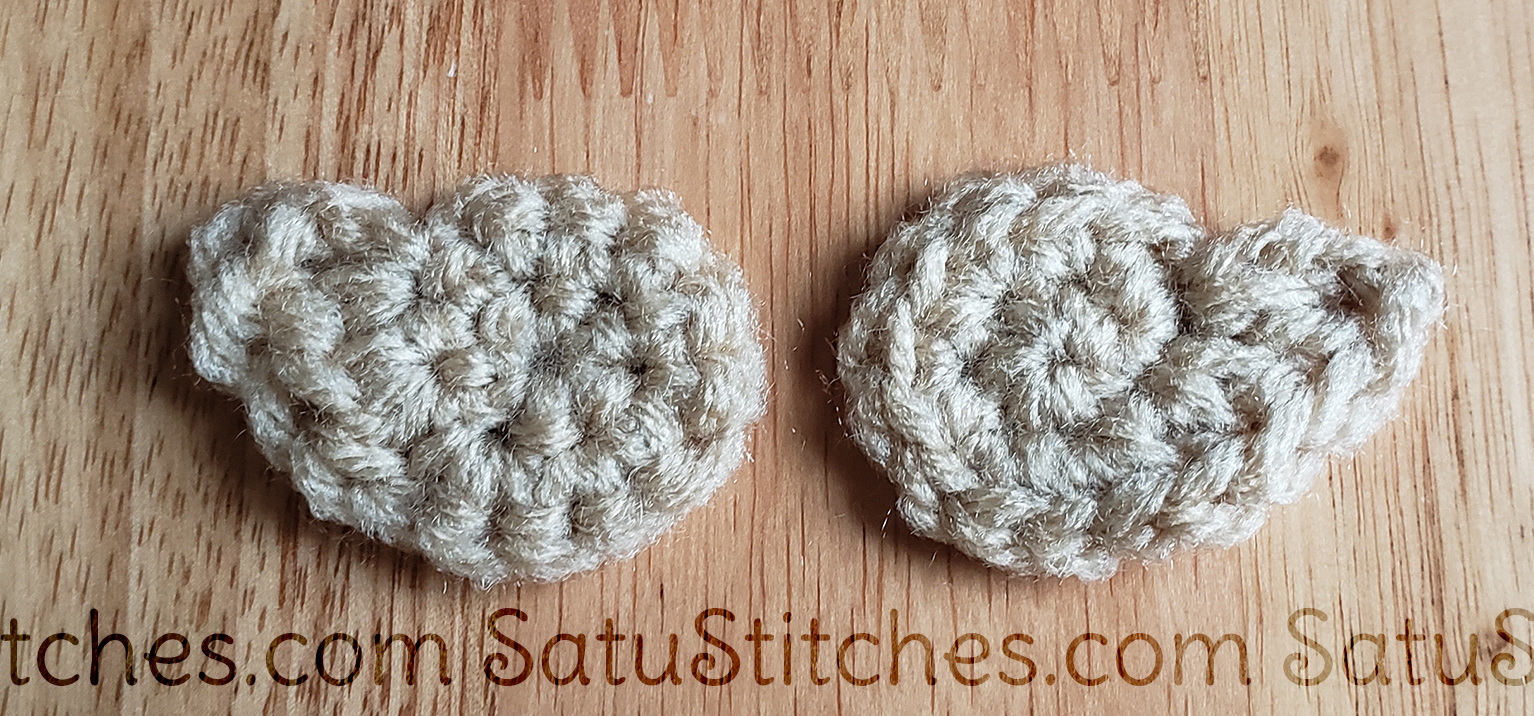
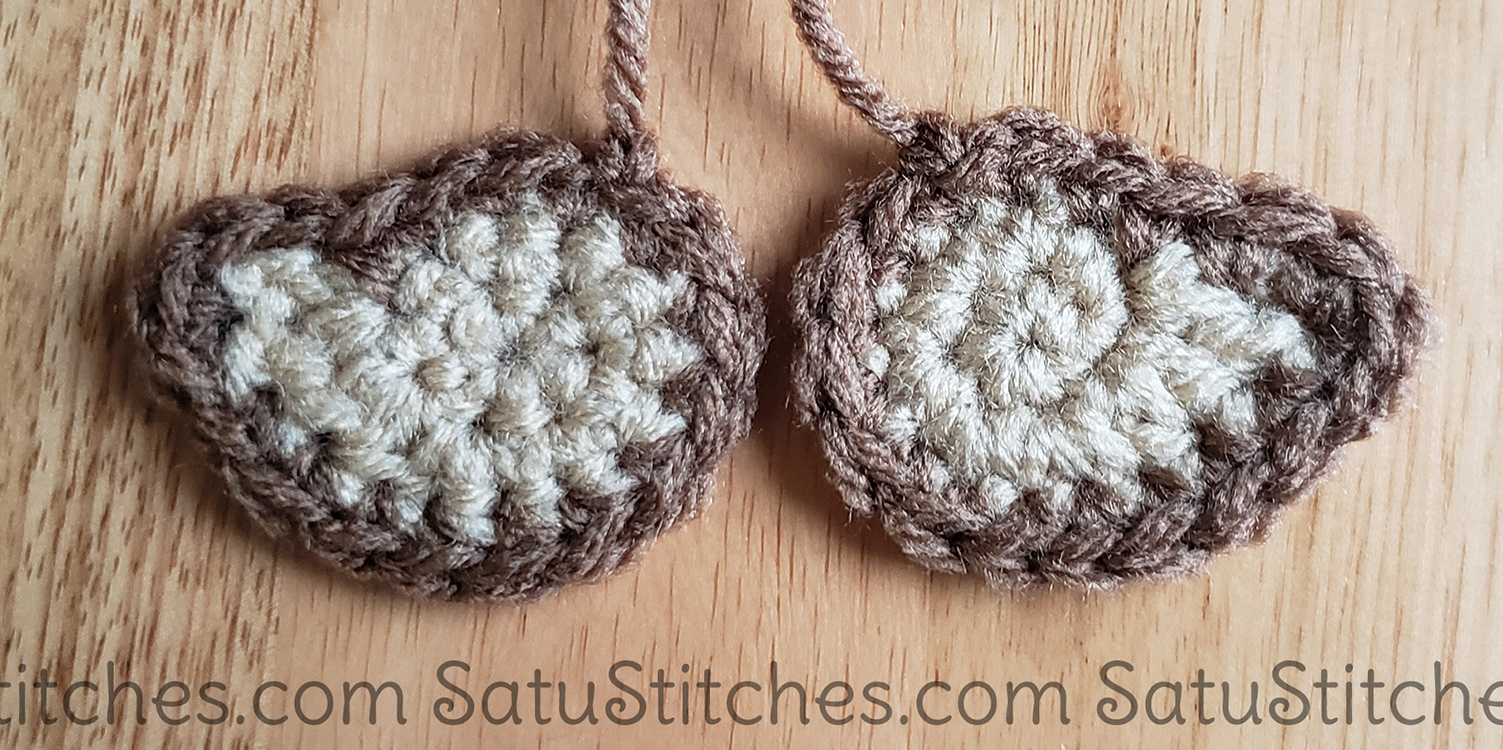
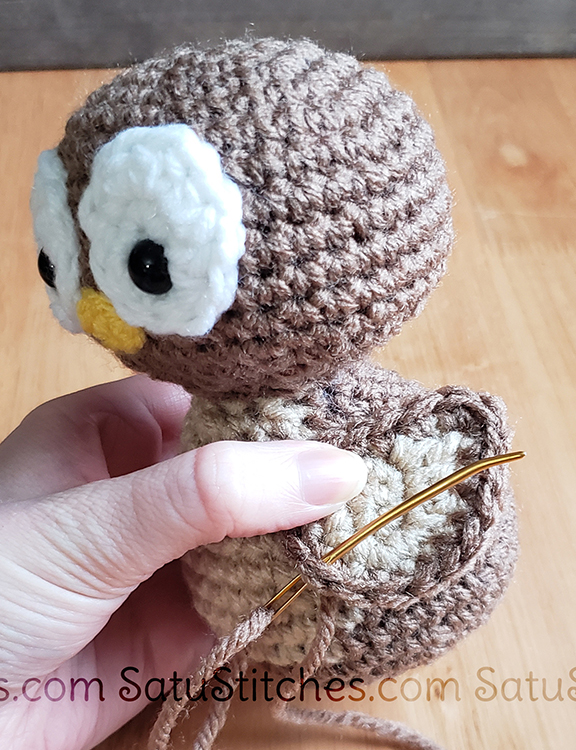
Head Details
Ear:
With brown yarn.
(Make 2 if you prefer not to use the graduation cap)
1. CH2 – 1sc (1)
2. 3sc in the same stitch (3)
3. 3sc (3)
f/o and attach to head.
Hat:
With black yarn.
1.CH9 – 8sc (8)
2-8. 8sc
f/o and set aside.
With black yarn.
1. CH3 – 2sc (2)
2-17. 2sc
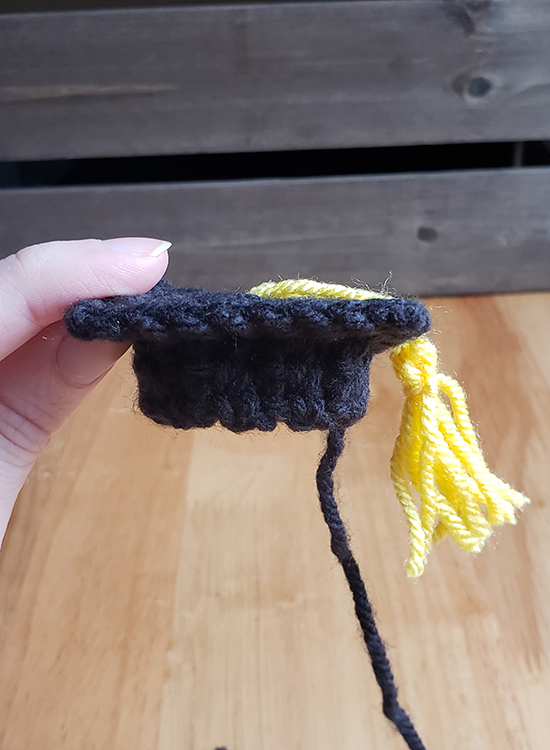
f/o. Attach rows 17 and 1 together. Attach to the bottom of the previous piece.
With yellow yarn.
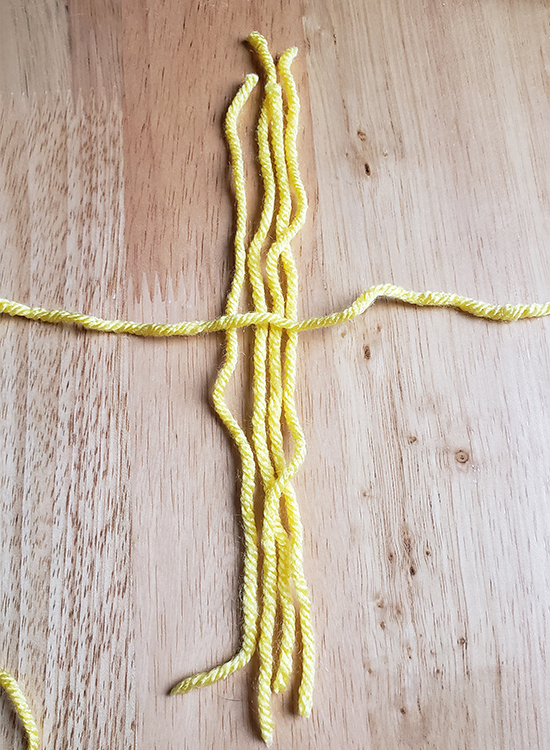
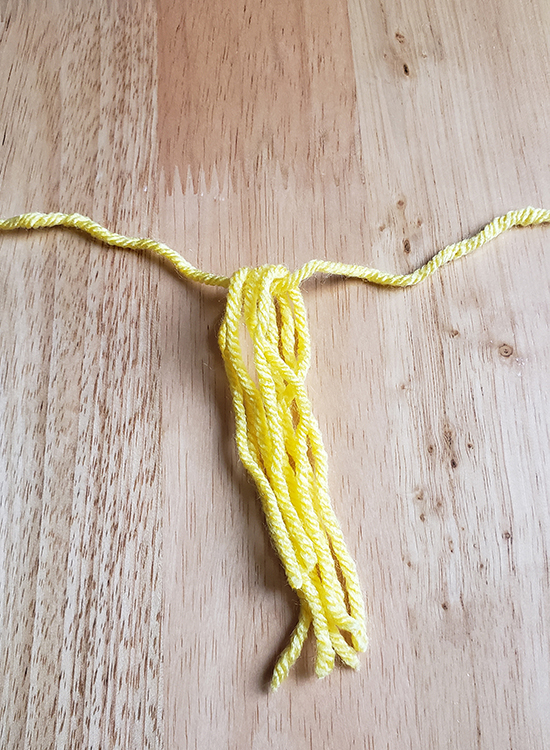
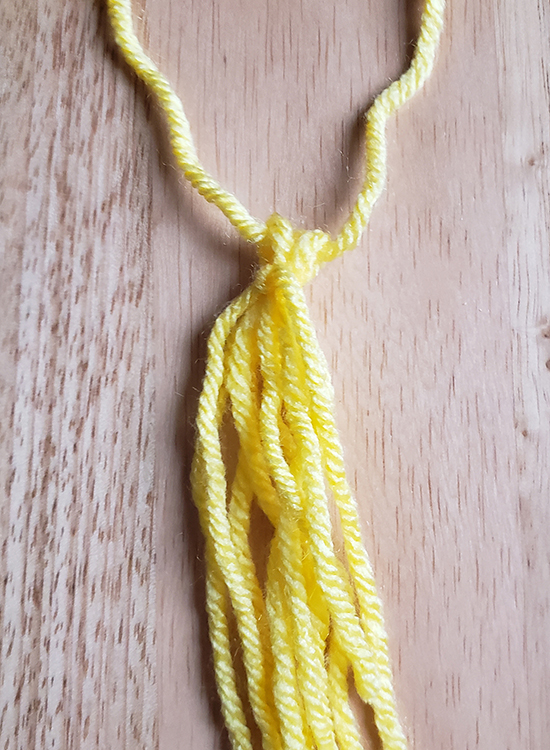
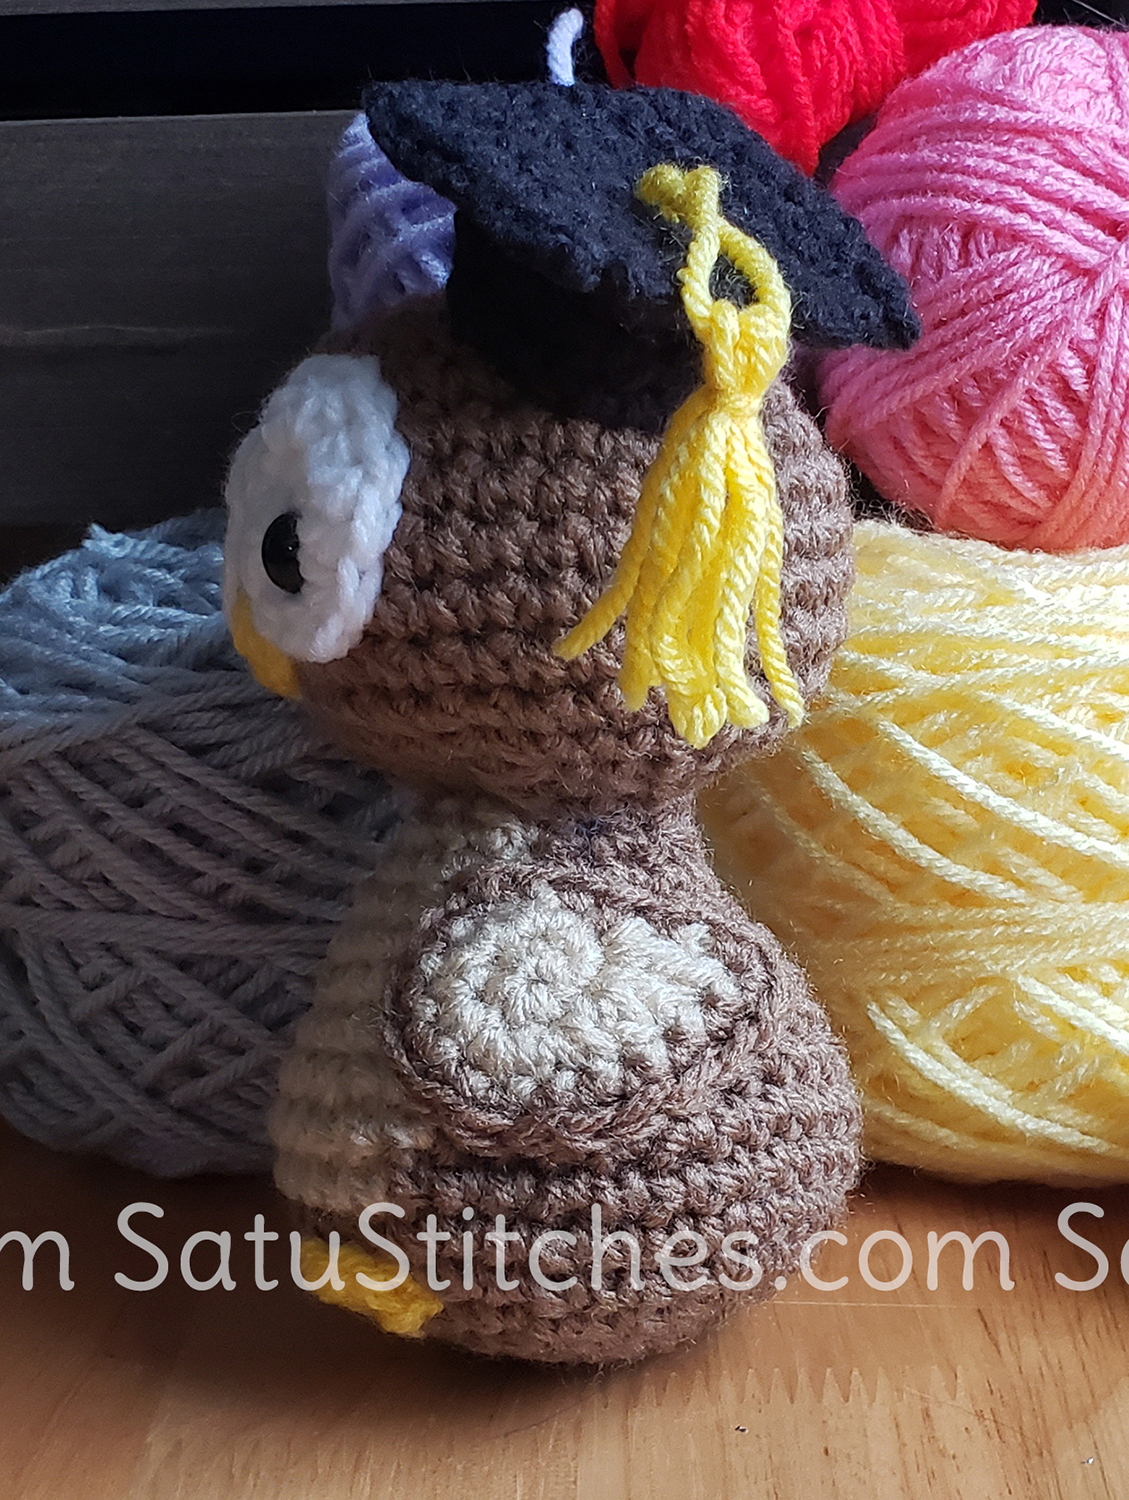
Set aside a long piece of yellow yarn. Cut 4 smaller pieces of yellow yarn. Loop them over the longer piece. Cut another long piece of yellow and tie the smaller pieces together. Trim pieces to the same length. Take your first long piece and tie it to the top of the hat. Attach hat to body.
Tip
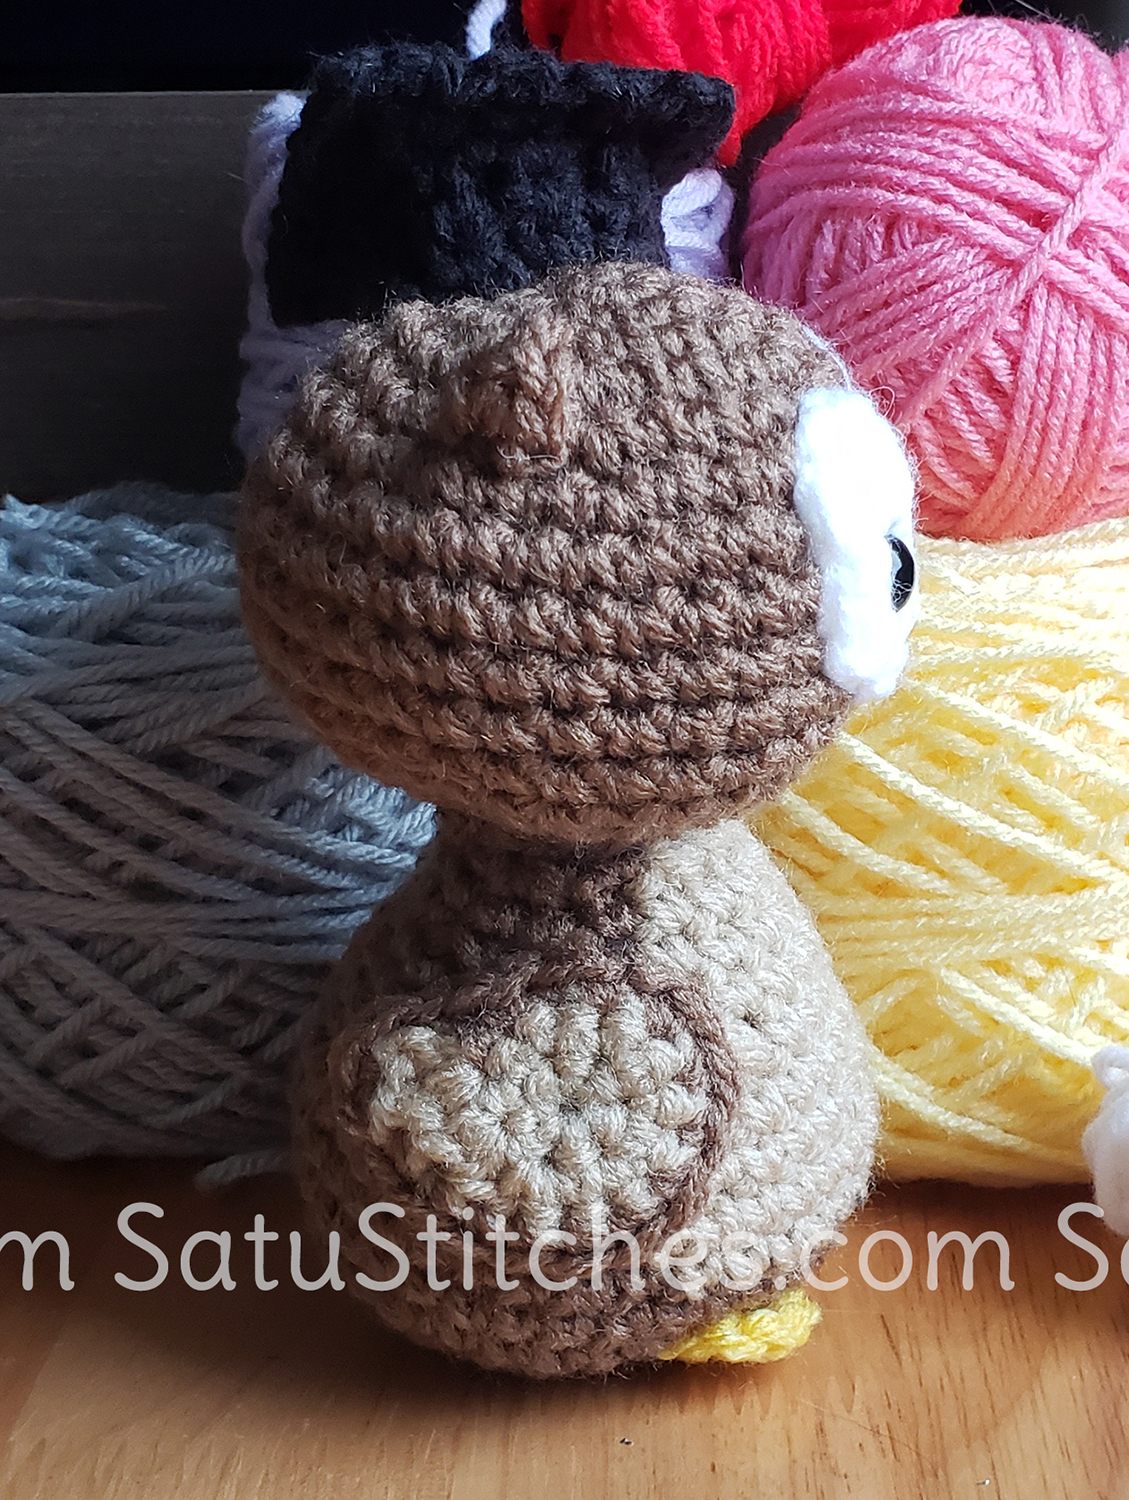
You can attach the ear AFTER attaching the graduation cap, especially if you’re having trouble finding the perfect spot for it.
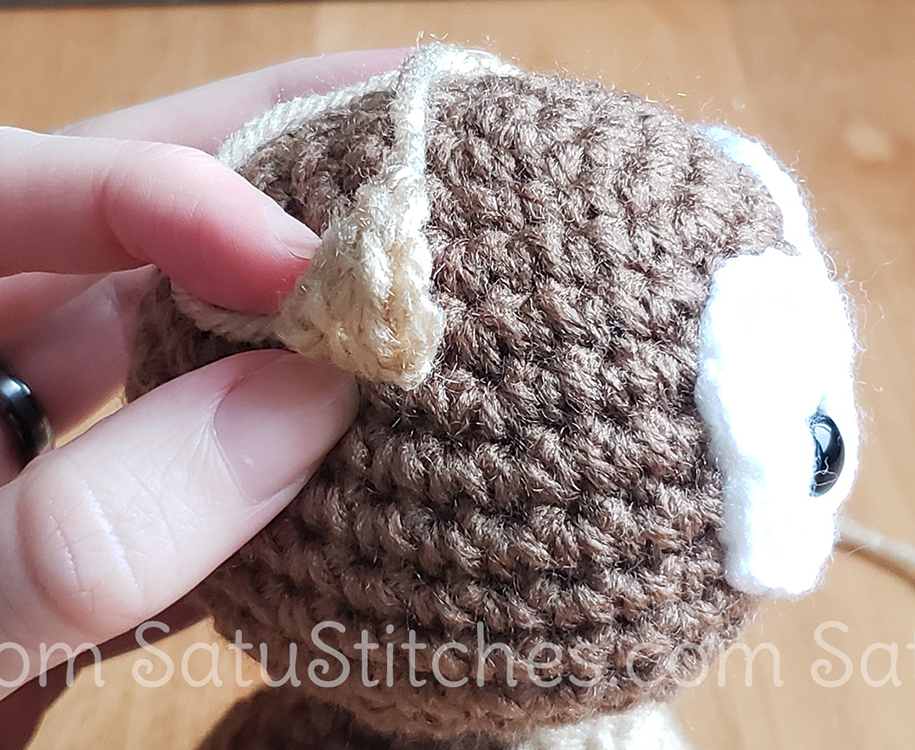
This picture shows a lighter brown for the ear just to help show you the placement. It’s for clarity only. Use brown like the rest of the body.
Oh my god! I hope this graduation owl crochet pattern was fun! You are well on your way to making so many cool and exciting things for yourself and your friends! Are you as excited as I am?
I highly suggest keeping this little guy for yourself. Then, in a year come back and make him again. Compare how much you have improved! It’s going to be amazing!

