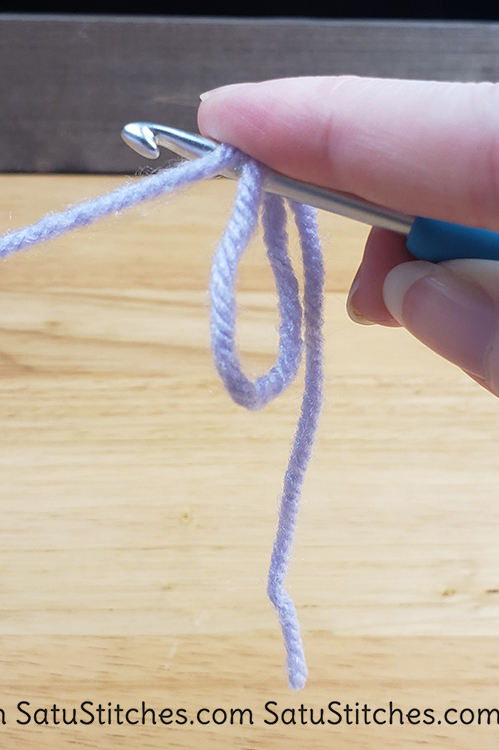
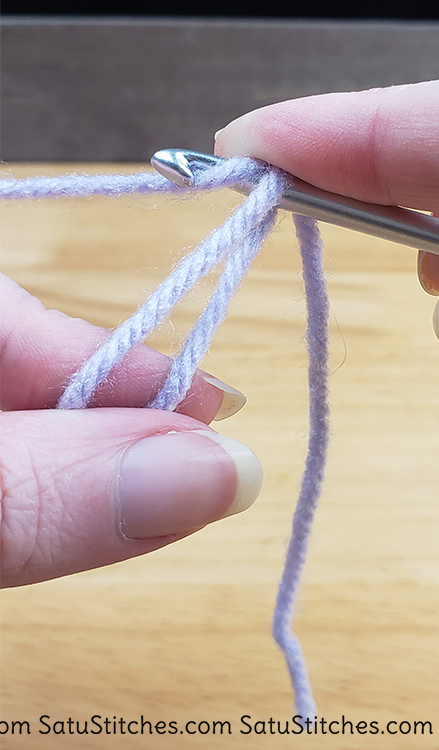
Lesson 11: Working in a Round and the Magic Circle

Round and round we go…

When you’re creating amigurumi working in a round is a vital skill you will need. There are various techniques and regardless of which you choose the outcome will be the same for the most part. So choose whichever is easiest for you. This will be mostly a video lesson, so rather than have a quiz at the end I want you to focus on which method is best for you.

The Magic Circle

This is my go-to way of starting rounds. It’s become second nature to where I don’t even think of doing it, it just happens. You’ll get there with your favored way soon enough. I prefer this method because I can tighten the inner circle to where there is no gap and no stuffing shows. Because this is the method that I use the most I’ll describe this technique in pictures.

We’ll start simply enough. Simply lay the yarn over each other making this shape, short end on the top going up.

This may seem like a jump at first. But insert your hook under where the yarn crosses. Use your index finger to hold the yarn on the hook.

I tend to hold the loop with my other hand, but this can be difficult the first time you do this. Notice I’m holding tension on the long end. We’re going to be moving this long end through the loop.

Make sure you are still holding your index finger securely to the hook otherwise everything will just become undone. There’s nothing securing the large loop except your finger. Move the long end of the yarn inside the loop with the hook.

Continue securing the yarn on the hook with your finger. Yarn over.

And now we commit. With your secondary hand, hold the loop and the short end in between your finger and thumb while still holding tension on the long end. You can now release your finger from holding the yarn on the hook. You should still have 2 loops on your hook.

Pull the second loop through the first loop on your hook. We’ve essentially created a slip knot. Don’t release the tension you have holding the loop and short end.

Insert your hook through the larger loop and yarn over. Pull through. You should have 2 loops on your hook.

Yarn over and pull through both loops. We’ve made our first single crochet on this magic circle!

Continue making single crochets by repeating the above instructions starting two pictures ago. This final picture has 6 total single crochets.

Once finished, firmly hold onto the first single crochet made and pull the short end tightly.

You’ll end up with a Pac-Man-looking circle. 😛 Make a slip stitch into the first single crochet and that will close the circle. Alternatively, you can just continue working in a round following your pattern. I’ve seen no huge difference between the two.

Chain 2 Method

The chain 2 method, in my opinion, is an extremely easy way to start a round for beginners. It doesn’t add any new techniques but rather uses what you know already to create it. If you’re having trouble with the magic circle I suggest this method. This can sometimes cause problems with leaving a gap if there are too many stitches being added.

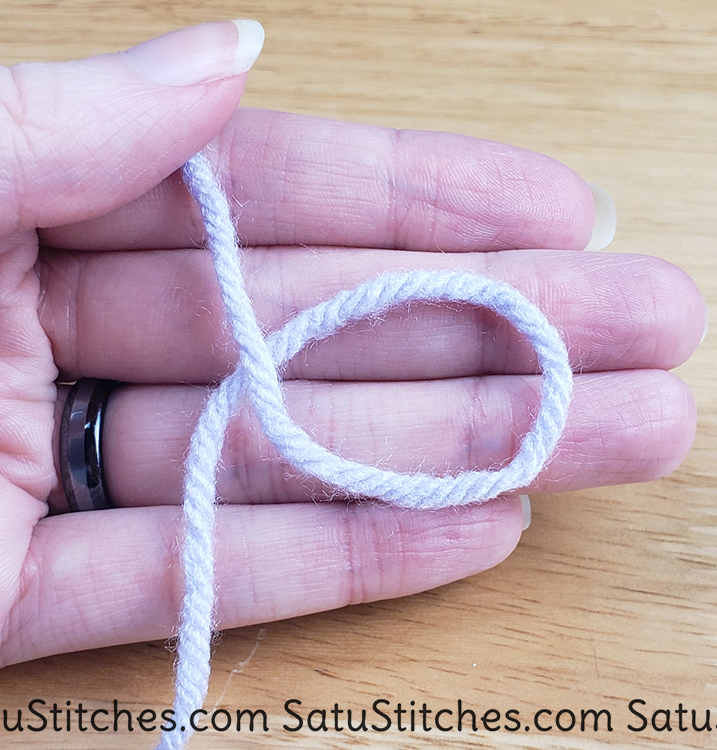
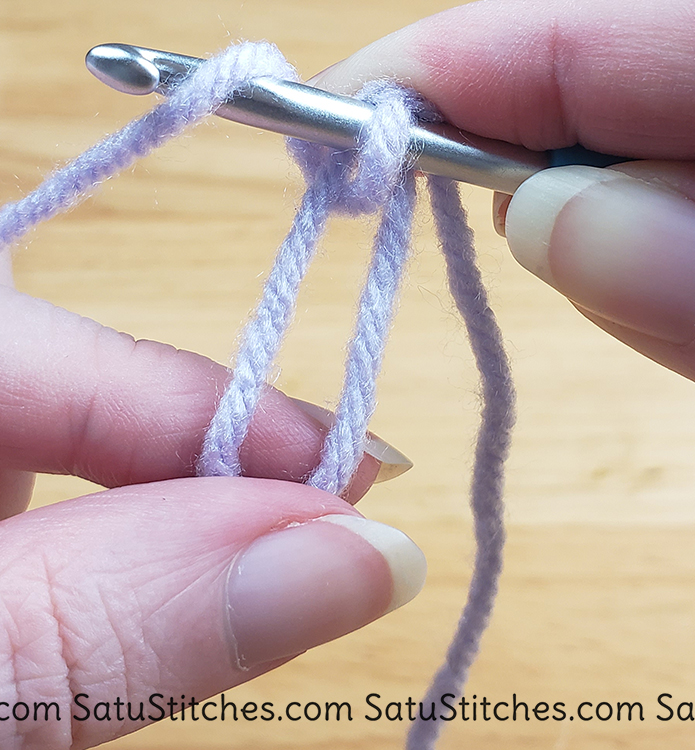
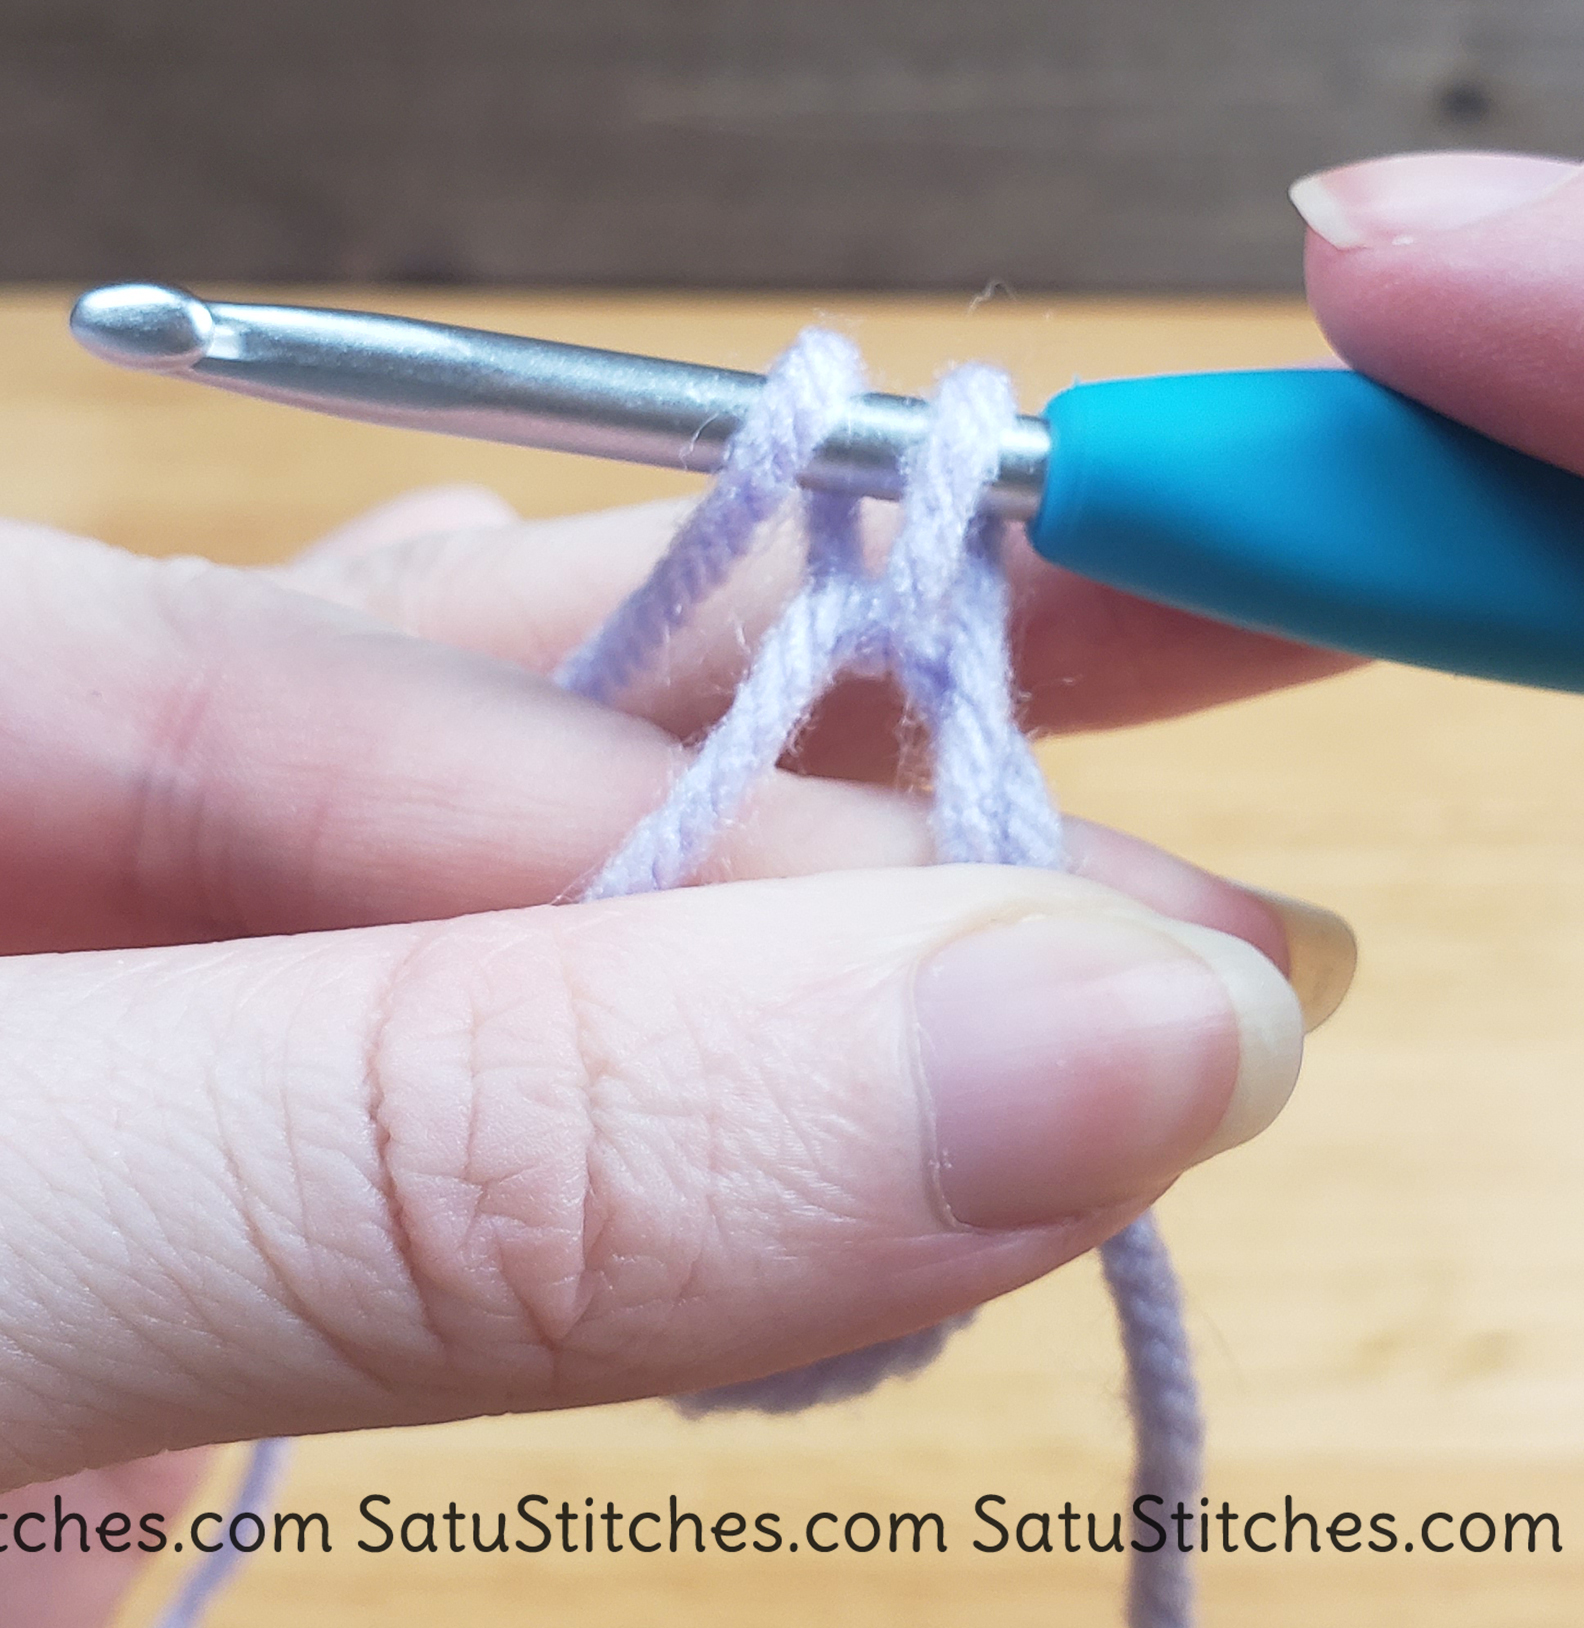
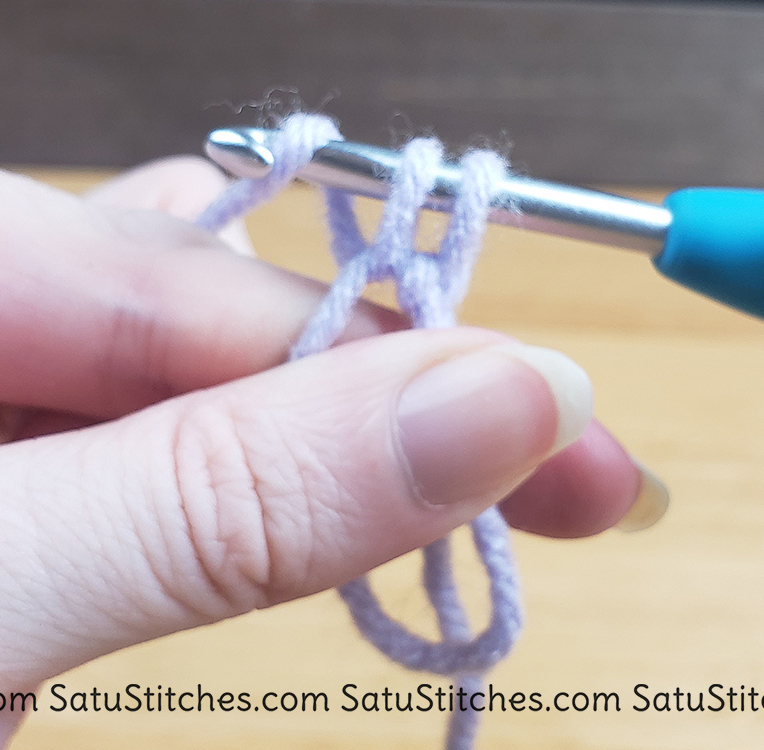
Sloppy Slip Knot Method

Now, this is a new way I just recently learned to make a circle. It’s super easy and definitely a contender for the easiest way. Definitely give this way a go and let me know what you think!

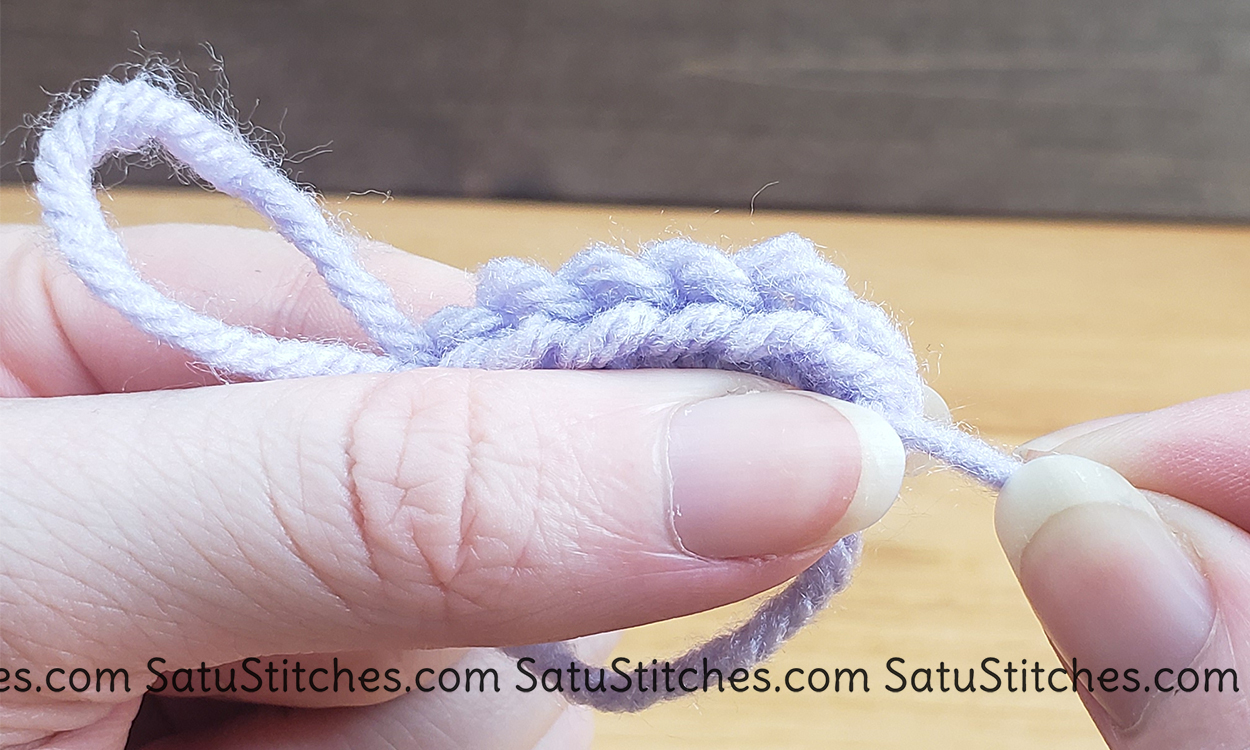
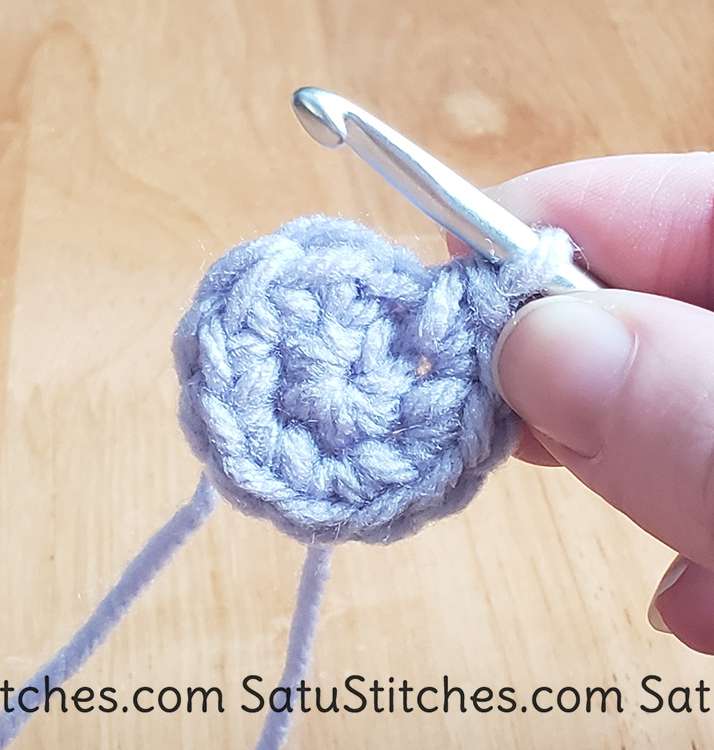
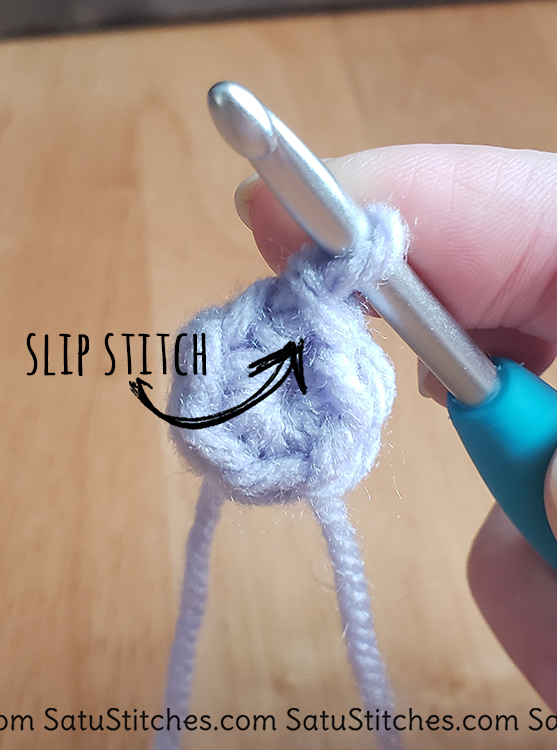
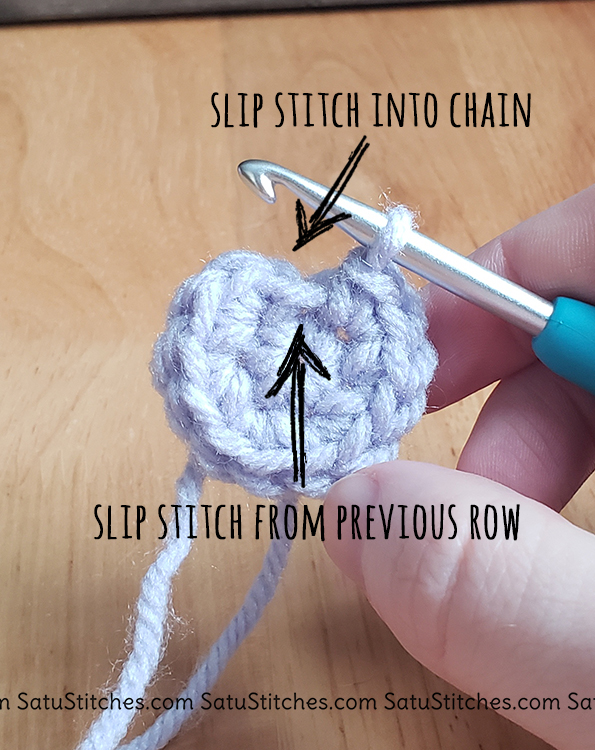
Often times, regardless of which method you prefer you’ll finish off your initial ring with a slip stitch. There are different techniques when working with rounds, but I’ll cover that in a later course. Right now, just get comfortable with making a round.

Working in a Round

Unlike flat square pieces, working in a round is a little harder in knowing when to start and stop. When you hit the end of a row you know you have. With rounds, you are continuously working with no obvious stop. Because of this, a stitch marker is recommended. You can use actual stitch markers, or you can even use a spare piece of yarn.
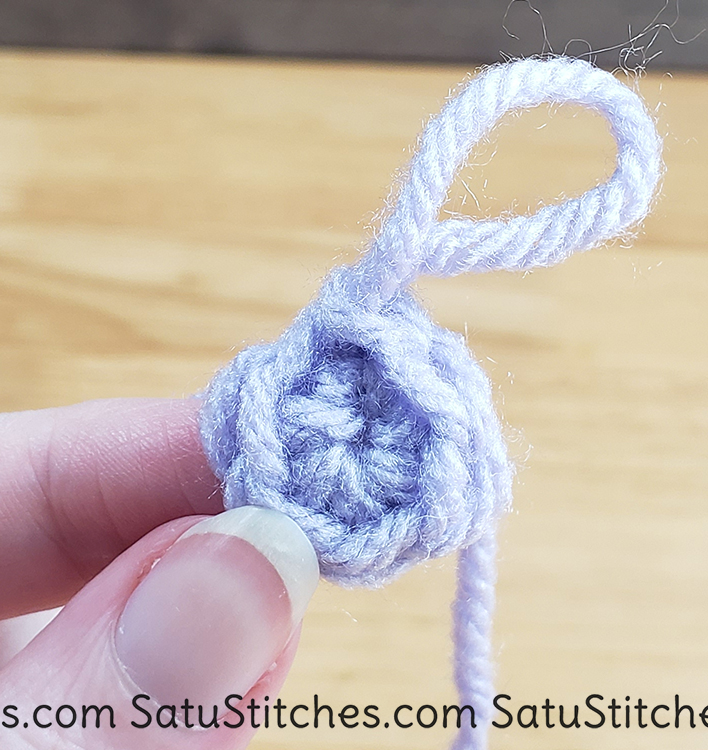
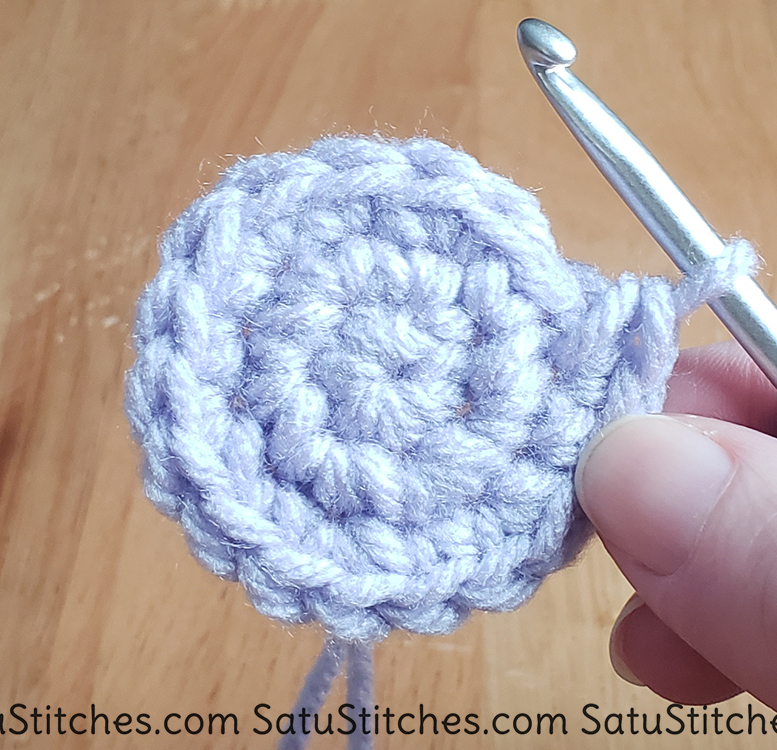
Continuous Round

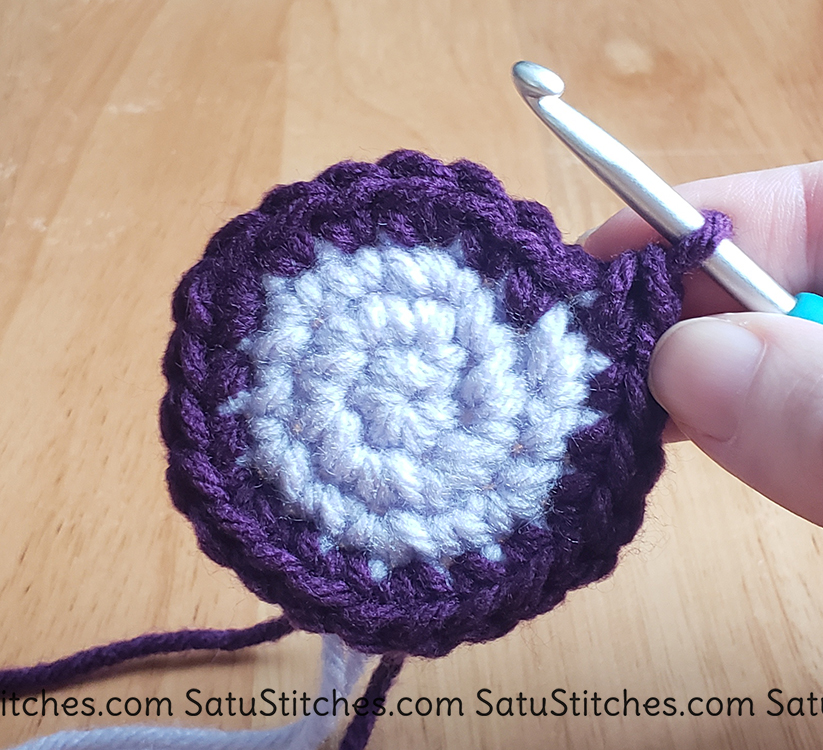
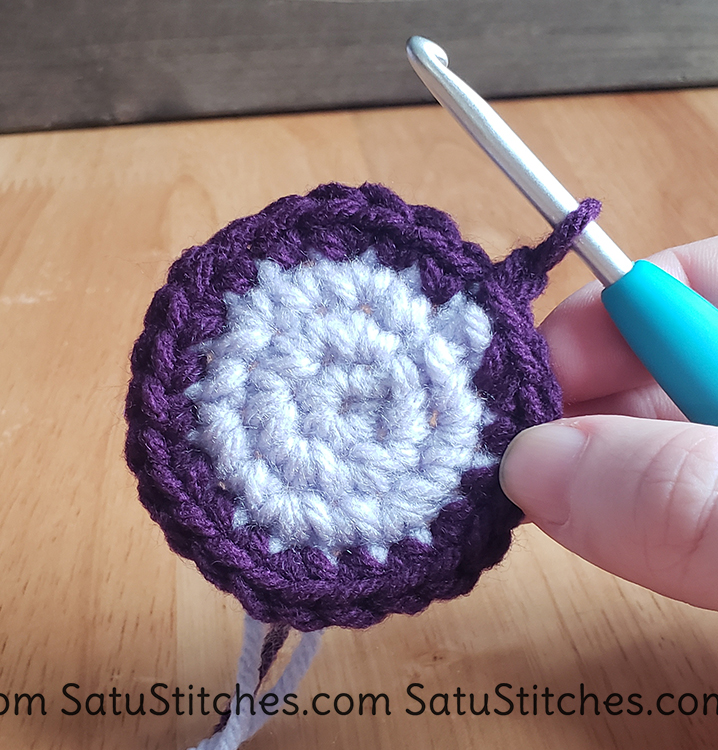
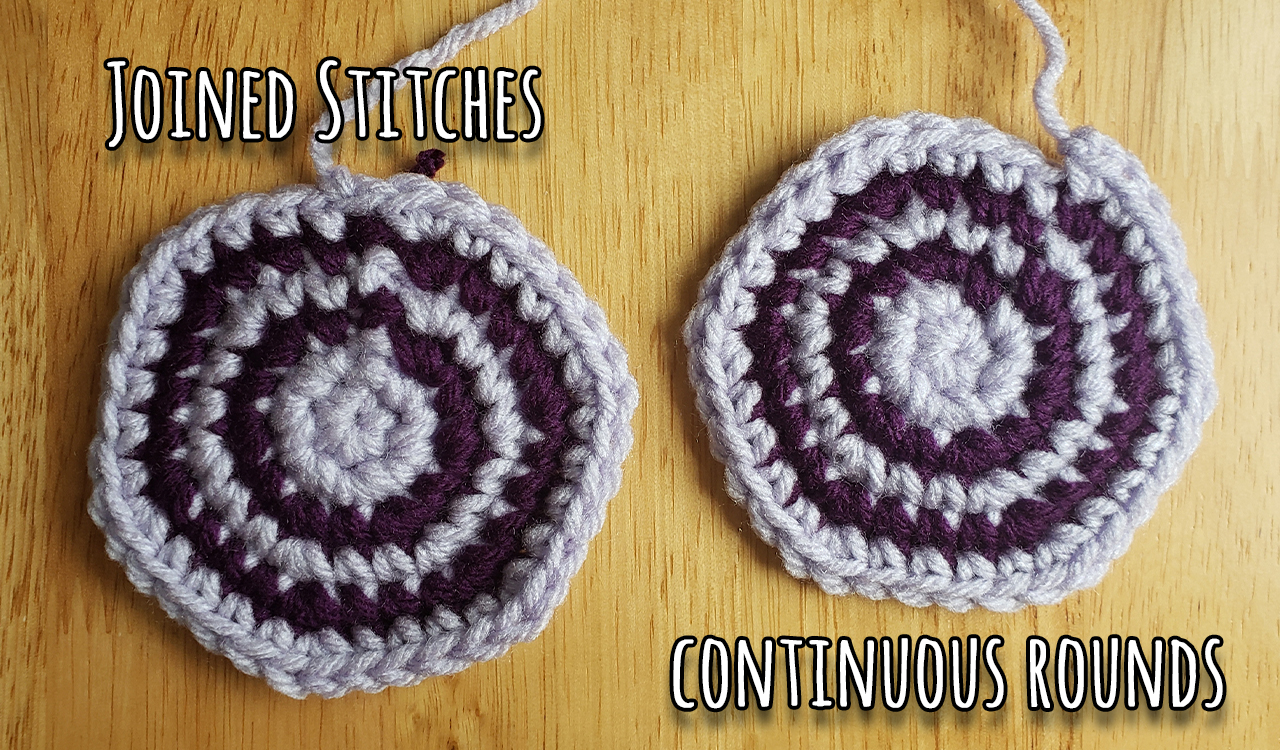
Most Amigurumi is worked in a continuous round. Meaning, you are not chaining up the height level after each row. Instead, you are just continuing your stitches. This creates a subtle spiral in your pieces. Notice the last picture with the color change. See the obvious spiral. It also highlights a slight issue when you are working in continuous rounds: color changes are obvious.

Joined Rounds

Joined rounds are not usually used in amigurumi because you can hide color changes either with clothing; just by hiding the color change on the backside or on the inside of the legs/arms. It’s not that much of an annoyance to see the color change in amigurumi as it would be in a wearable. However, if the color change is important you may see some amigurumi patterns use a joined round. Joined rounds create a height difference between each row. This doesn’t make as big of a spiral as continuous and it makes color changes less obvious.

To create a joined round:
1. MC – 6sc (6)
2. Slip stitch into the first stitch of row 1. Chain 2 (Or chain 1, personal choice. Chain 2 makes it easier to stitch into at later rounds), 6inc (12)
3. Count your stitches. Make sure you are not accidentally stitching into the slip stitch from the previous row. Skip this slip stitch and slip stitch into the CH2 from the previous row. CH2, [1sc, 1inc] x 6 (18)
You’ll continue this as you go: the slip stitch and chaining at the start of each new row.

Patterns will tell you whether you’ll be joining rounds or not. Make sure to read the special stitch instructions, it might be in there! If the pattern makes zero mention then it’s probably safe to assume that it will be worked in continuous rounds.

Side by side differences between the two.

Homework

Homework

Practice the round technique of your choice!

Make several circles of differing stitches. A 4 single crochet, 6 single crochet, 8 single crochet.

Unravel and go again and again and again. You should master this technique!

Try your hand at joining rounds. Make sure you are diligently counting our stitches!