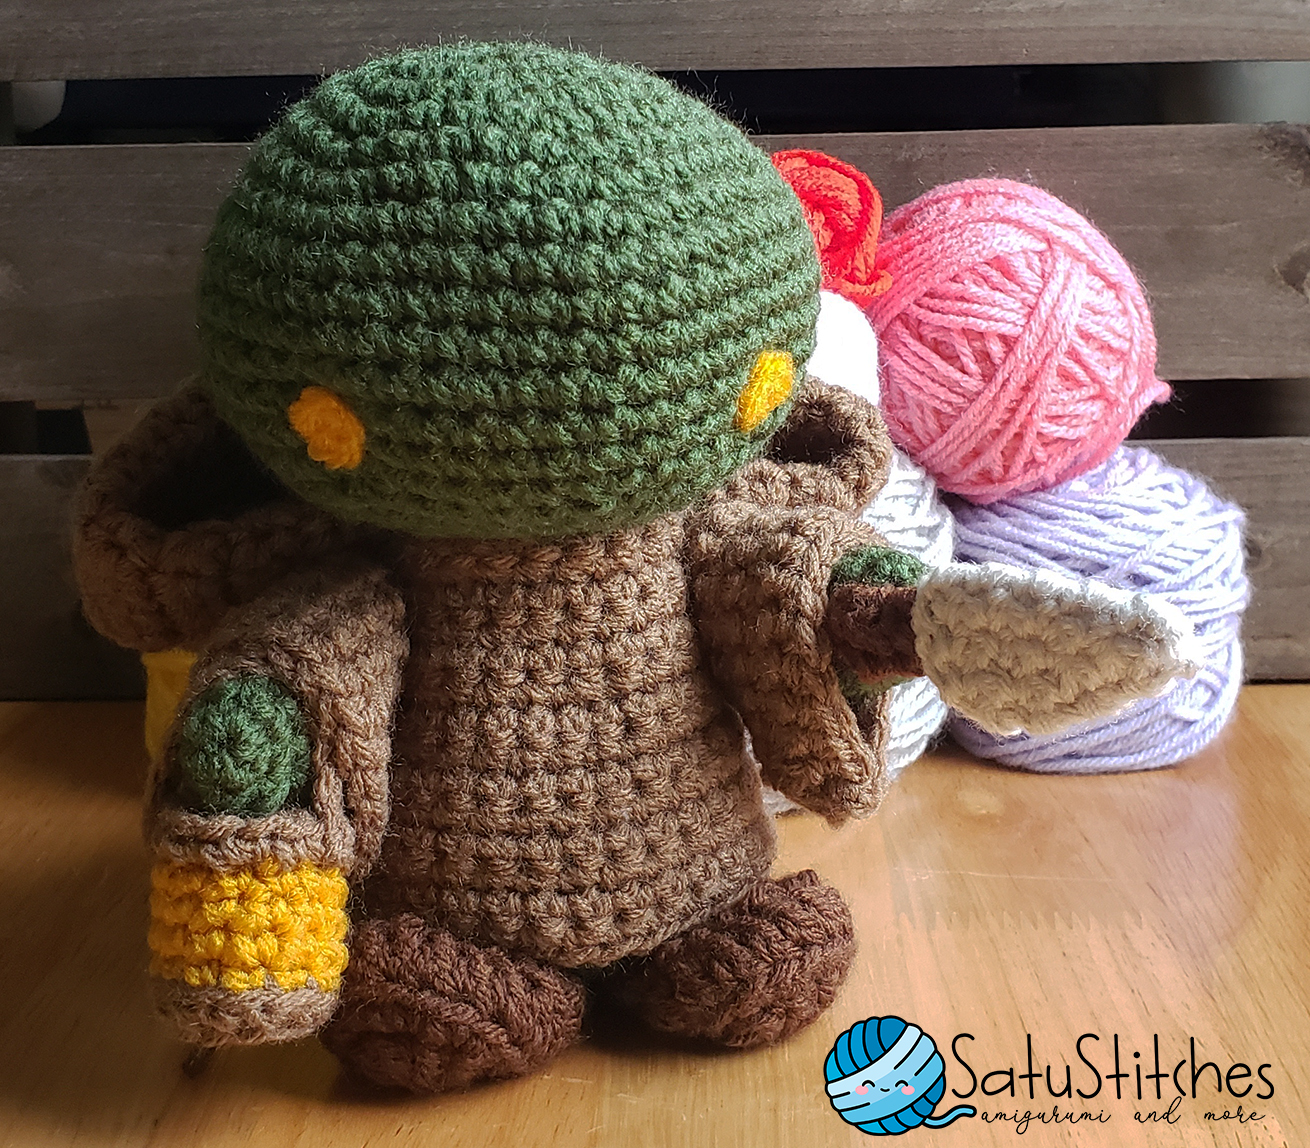
Tonberry Crochet Pattern
What is it about the Tonberry that I find so gosh darn cute? I don’t know what it is! Maybe it’s the creepy cute factor they have going for them… Ya know, Final Fantasy 11 was my first Final Fantasy game as well as my MMORPG and the introduction of a hidden hate system with these creatures was something creative and new to me. Are you going to die? You never knew… until that blade finished swinging… Clearly, I’m a huge fan because this Tonberry crochet pattern was one of the very first that I’ve ever created. I had to make my own little army.
Please check out the companion pattern page that has MINIMAL pictures for your convenience.
Materials:
Worsted Weight Yarn.
- Dark Green
- Dark Brown
- Brown
- Light Grey
- Yellow / Gold
4.5 mm Size G Crochet Hook
3.75 mm Size F Crochet Hook (For knife and lamp only.)
Stuffing (fiberfill, polyfill, etc.)
Tapestry Needle
Abbreviations:
[American English Terms]
slst – slip stitch
ch – chain stitch
sc – single crochet
dc – double crochet
hdc – half double crochet
inc – increase (2 single crochet stitches in the same stitch)
dec – decrease (single crochet 2 stitches together)
f/o – fasten off
[ ] – repeat instructions between [ and ]
( ) – the total number of stitches for row
CC – change color
MC – Magic Circle (Please see special instructions)
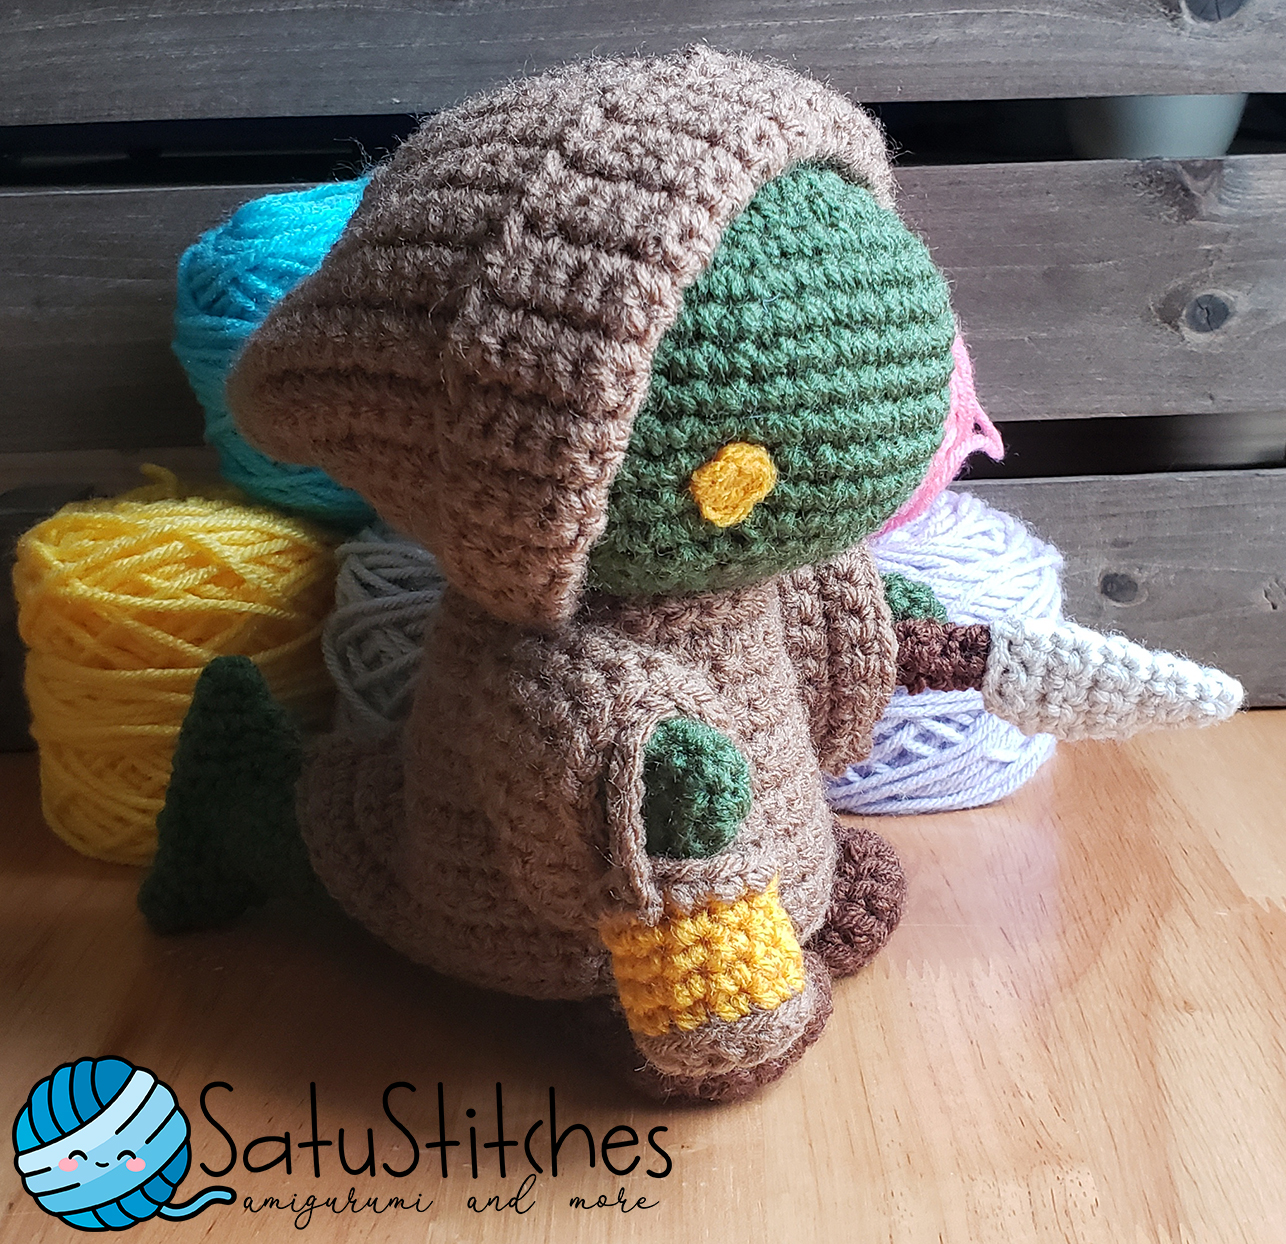
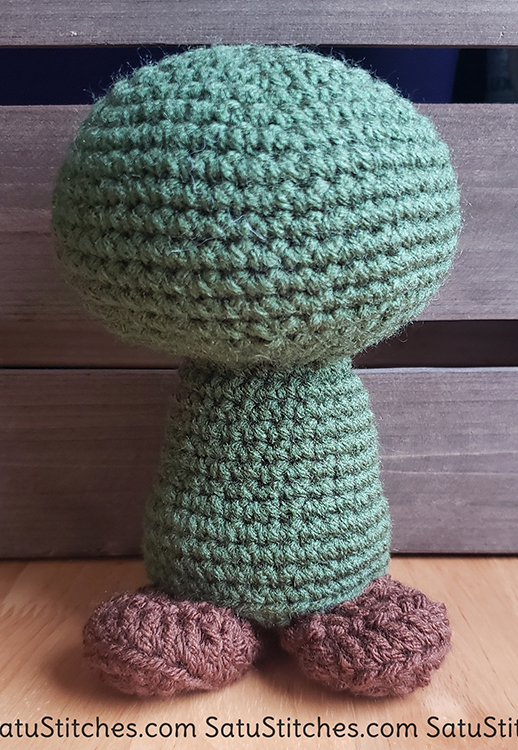
Finished Size:
The finished size is about 7.5″ tall. Size varies based on yarn, crochet hook, and your tension.
Special Stitch Instructions:
Most pieces begin with a “ring.” Use any type you feel comfortable with (i.e. Magic Circle, chain 2, and single crochet in the second chain, etc). You’ll be working most pieces in a continuous spiral, as indicated by the MC. If your row starts with CH then you’ll be working in regular rows unless otherwise indicated.
The use of a marker is very useful if you’re not used to working in continuous rounds. It’s also great if you have to stop midway.
About the Pattern:
This Tonberry crochet pattern MAY NOT be publicly distributed or sold in print or digital form. You MAY NOT reproduce this pattern on your site. Instead, link back to this pattern.
This pattern is an original pattern by Bobbi Wetzler, Satu Stitches (2014). Do not claim this pattern as your own. Tonberry and Final Fantasy are registered trademarks or trademarks of Square Enix Co., Ltd. I am not affiliated with Square Enix.
You can NOT sell dolls made from this pattern as the doll’s likeness is under the copyright of SquareEnix. This pattern is for personal use ONLY.
If you’d like an ad-free PDF download of this pattern, you can find it in my shop!
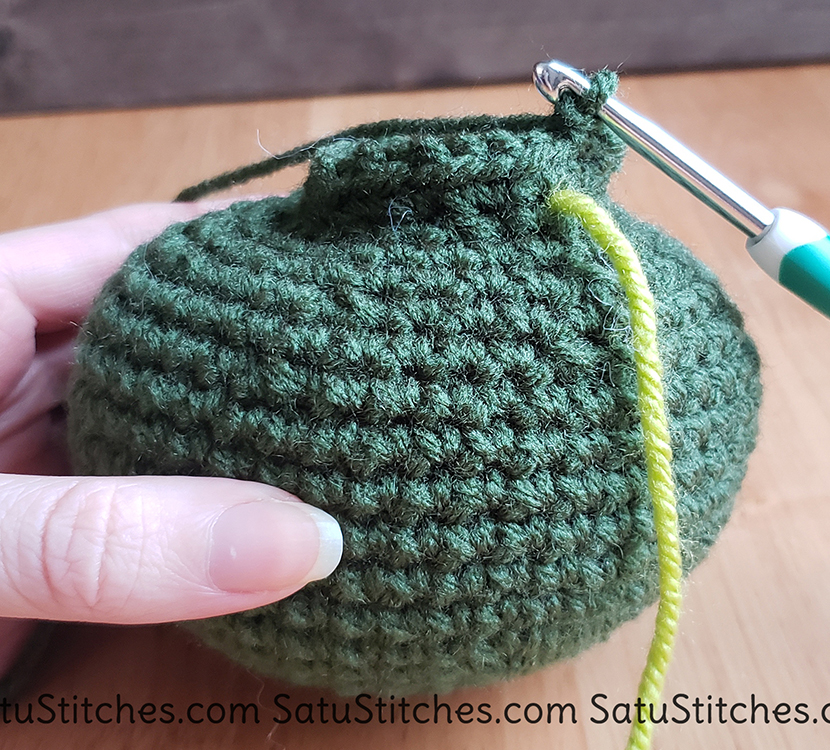
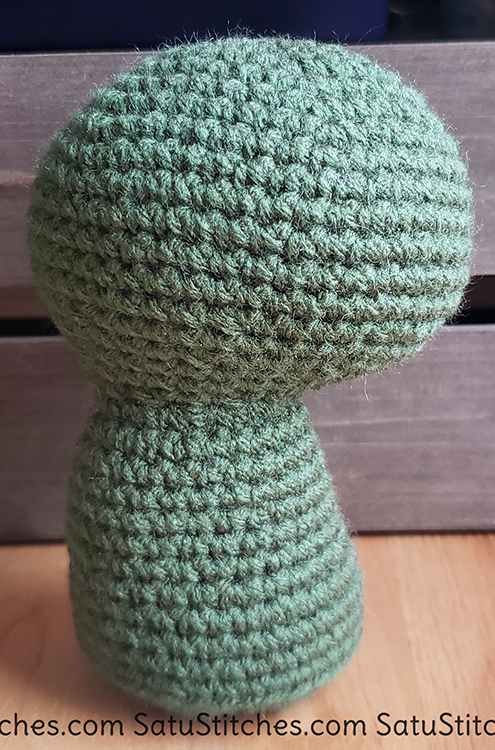
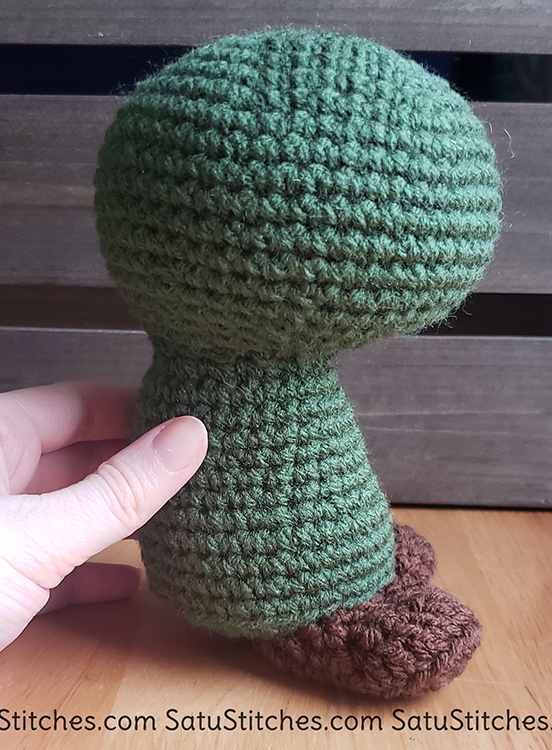
Head and Body:
The head and body will be worked together as one piece in a continuous round.
With dark green yarn:
1. MC – 6sc (6)
2. 6inc (12)
3. [1sc, 1inc] x 6 (18)
4. [2sc, 1inc] x 6 (24)
5. [3sc, 1inc] x 6 (30)
6. [4sc, 1inc] x 6 (36)
7. [5sc, 1inc] x 6 (42)
8. [6sc, 1inc] x 6 (48)
9-14. 48sc
15. [4sc, 1dec] x 8 (40)
16. 40sc
17. [3sc, 1dec] x 8 (32)
18. 8sc, [1dec, 1sc] x 5, 9sc (27)
19. 8sc, [1dec, 1sc] x 4, 7sc (23)
20. [1sc, 1dec] x 2, 5dec, [1sc, 1dec] x 2 1sc (14)
21. 14inc (28) Stuff head.
22-27. 28sc
28. 7sc, [1inc, 1sc] x 7, 7sc (35)
29-32. 35sc Stuff body.
33. Backloops for this row: 35sc
34+. [1dec, 1sc] repeat this sequence until the bottom is completely closed. You should have a somewhat flat surface. f/o and tie up any holes.
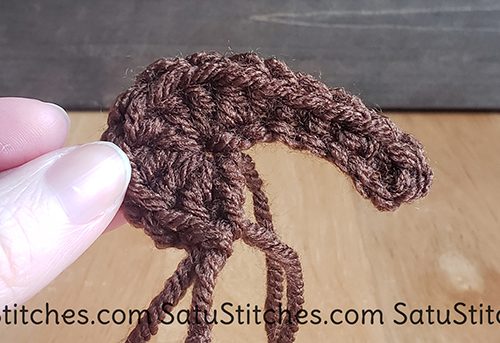
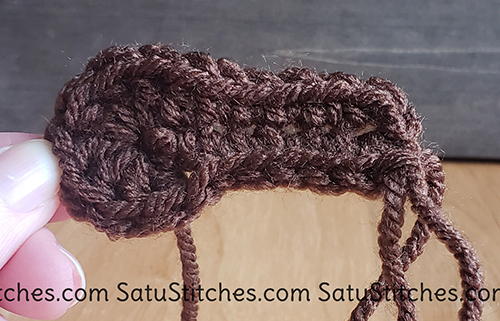
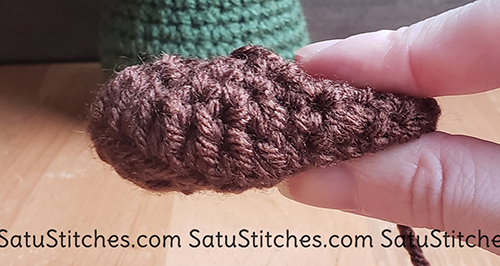
Feet / Boots:
(Make 2)
With Dark Brown yarn:
1. ch8, 1inc, 4sc, 1hdc, 7dc in last ch. Work down opposite side of the chain, 1hdc, 4sc, 1inc. Do not join, continue in rounds. (21)
2. 2inc, 7sc, 3inc, 8sc, 1inc (27)
3. Backloops for this row: 7sc, 1hdc, 11dc, 1hdc, 7sc (27)
4. [1sc, 1dec] x 9 (18)
5. [1sc, 1dec] x 6 (12)
6. [1sc, 1dec] x 4 (8)
f/o, leave a long tail for attaching to body. Stuff lightly. Attach feet to body in a V shape on the front.
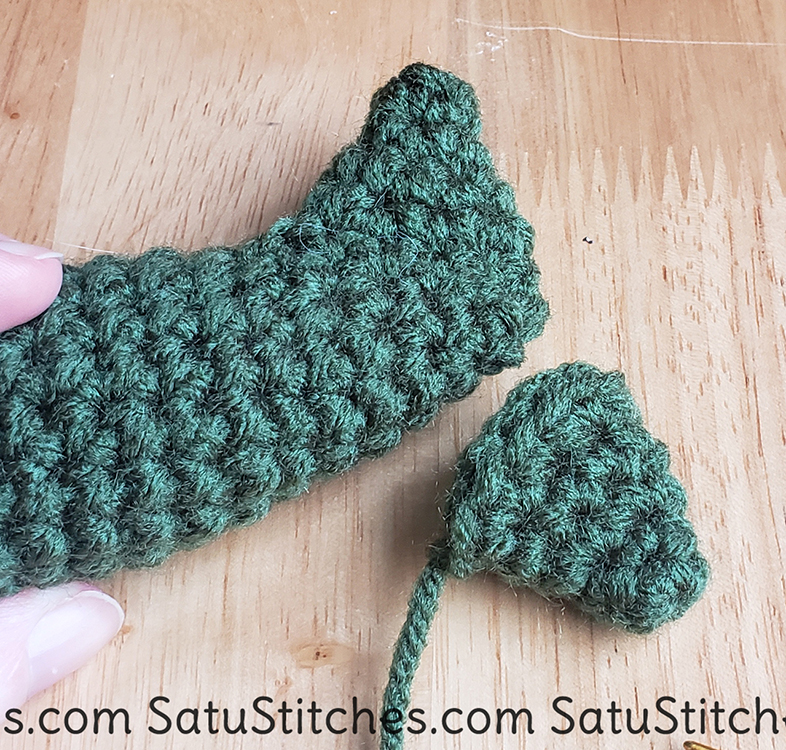
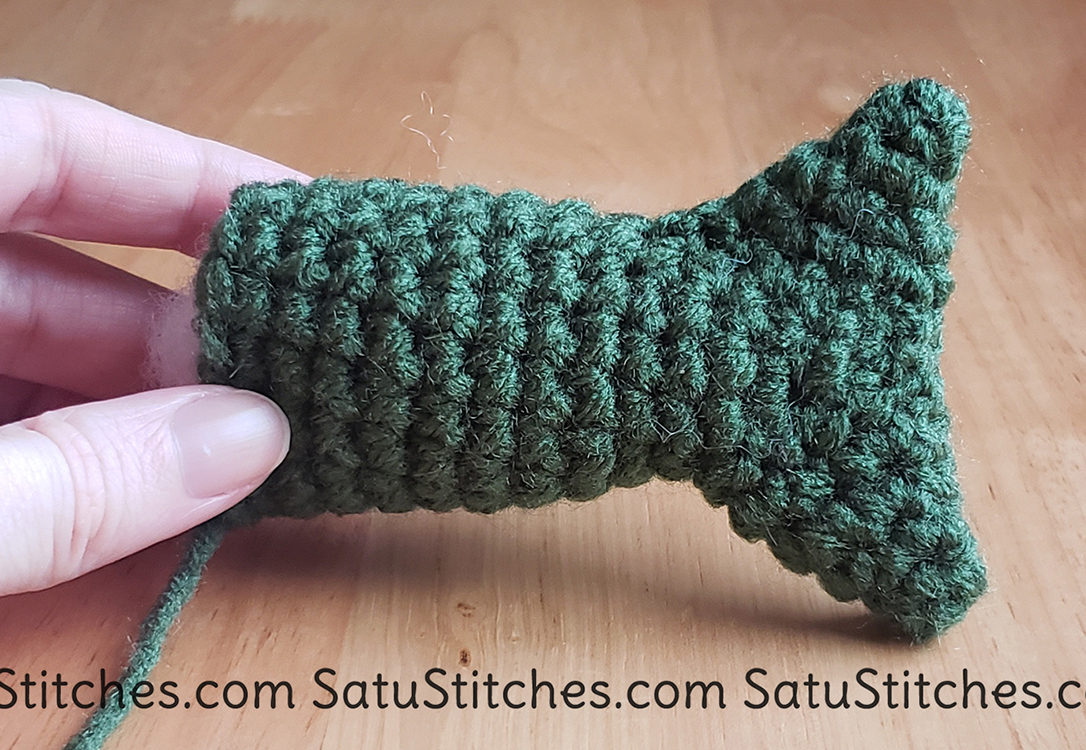
Tail:
Using Dark Green yarn:
1. MC – 4sc (4)
2. 4sc (4)
3. [1inc, 1sc] x 2 (6)
4. [1inc, 2sc] x 2 (8)
5. [1inc, 3sc] x 2 (10)
6. [1inc, 4sc] x 2 (12)
7. 12sc
8. [1inc, 5sc] x 2 (14)
9. [1inc, 6sc] x 2 (16)
10-15. 16sc
f/o leave a long tail for attaching. Stuff.
Sides… What are these things? Fins? Haha.
(Make 2)
Make dark green yarn:
1. MC – 4sc (4)
2. 4sc (4)
3. 4inc (8)
4. 8sc
5. [1sc, 1inc] x 4 (12)
f/o leave tail for attaching. No need to stuff. Attach vertically to tail. Attach tail to the body.
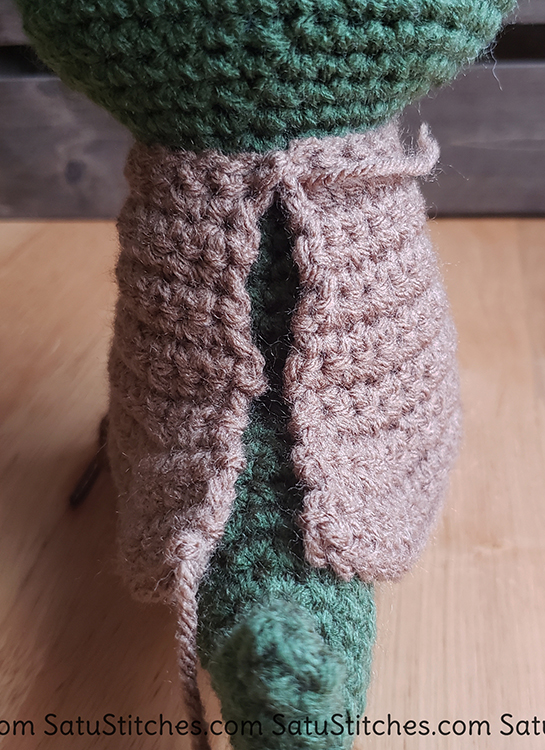
Robe:
With brown yarn:
1. CH26 – 25sc. Test this length around the neck of your Tonberry to ensure it fits. Add or remove chains as needed.
2. 25sc
3. 1inc, 4sc, 1inc, 13sc, 1inc, 4sc, 1inc (29)
4-5. 29sc
6. 1inc, 6sc, 1inc, 6sc, 1inc, 6sc, 1inc, 6sc, 1inc (34)
7-9. 34sc
10. 1inc, 1sc, 1inc, 28sc, 1inc, 1sc, 1inc (38)
11. 1inc, 1sc, 1inc, 1sc, 1inc, 28sc, 1inc, 1sc, 1inc, 1sc, 1inc (44)
12-13. 44sc
14. 1inc, 42sc, 1inc (46)
f/o, leave a long tail for sewing.
Wrap around body with ends meeting down the back and tail. Sew closed and secure to body.
Arms
(Make 2)
With dark green yarn:
1. MC – 6sc (6)
2. [1sc, 1inc] x 3 (9)
3-9. 9sc
10. CH1, Turn. 1dec, 2sc, 1dec
f/o leave long tail for sewing. Lightly stuff and attach to body.
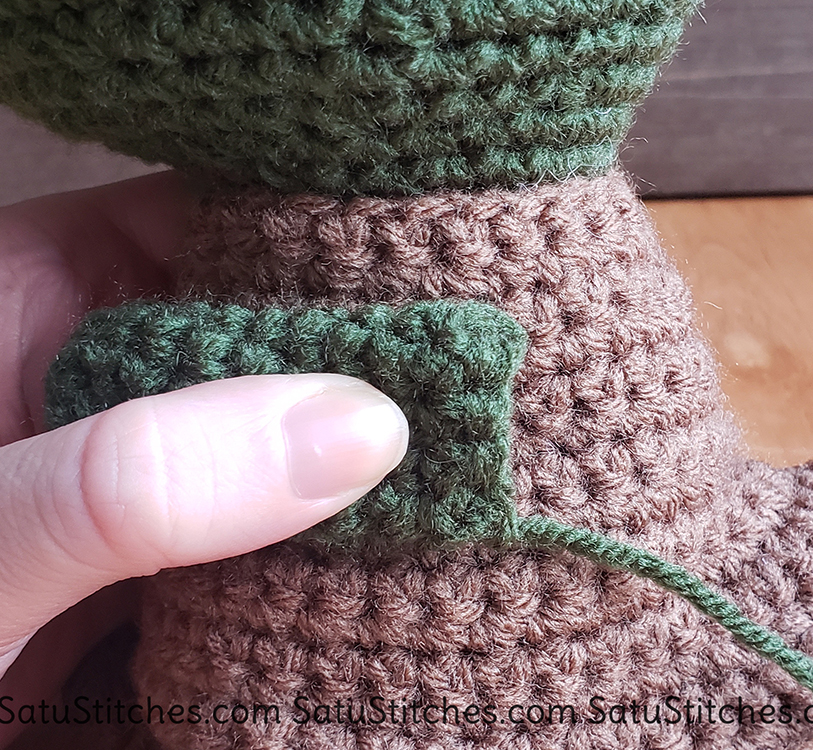
Sleeves
(Make 2)
Using brown yarn
1.Leave a long starter tail to attach to body – CH14, 13sc (13)
2. 1inc, 11sc, 1inc (15)
3. 1inc, 13sc, 1inc (17)
4. 1inc, 15sc, 1inc (19)
5-7. 19sc
f/o – Leave tail to help sew together. Fold over arms on doll, sew ends together. Sew onto body completely covering the arm.
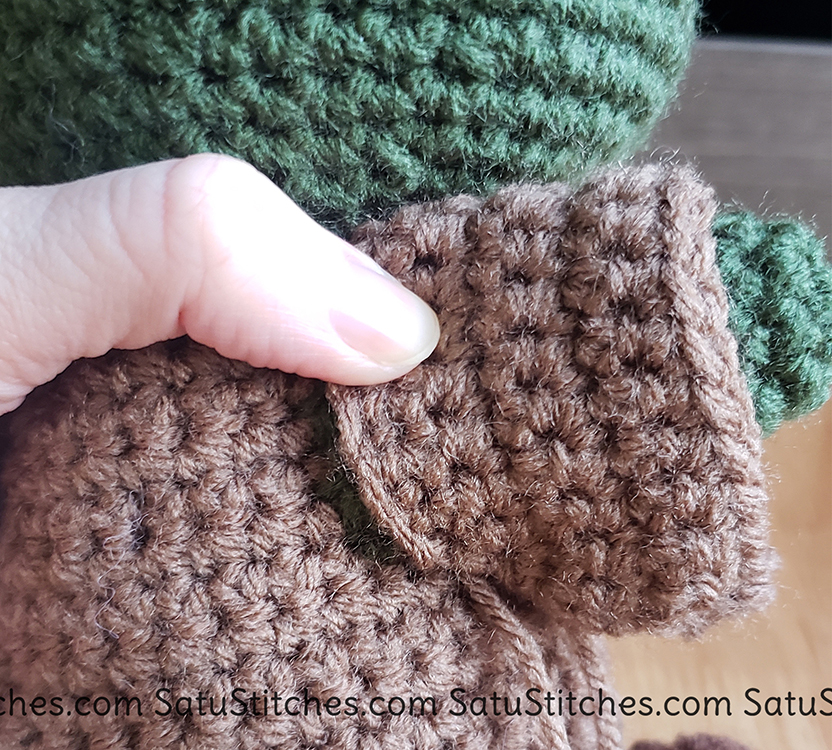
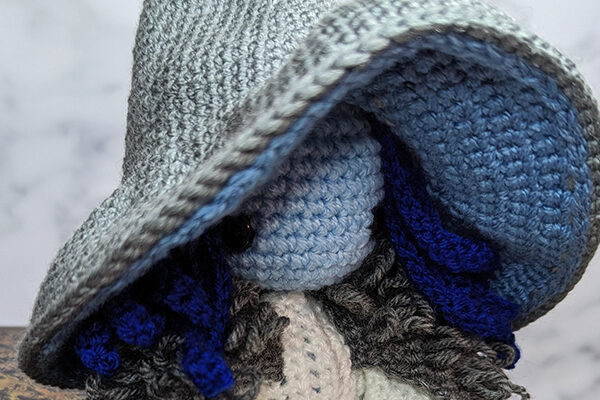
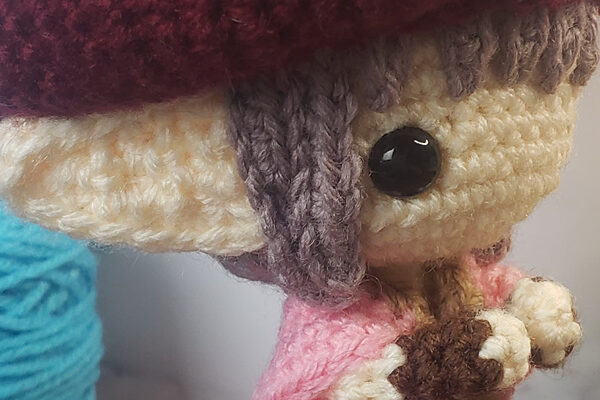
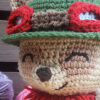
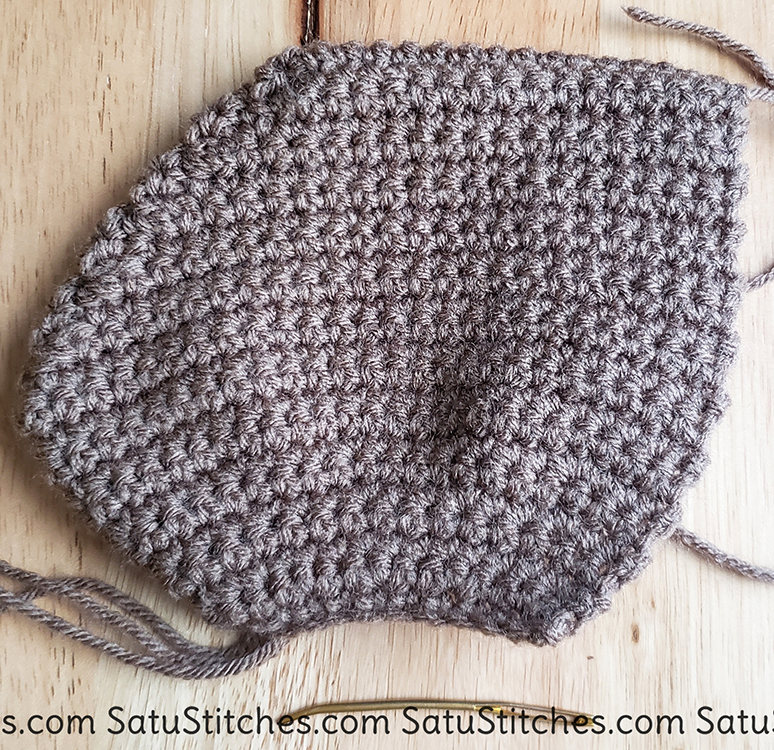
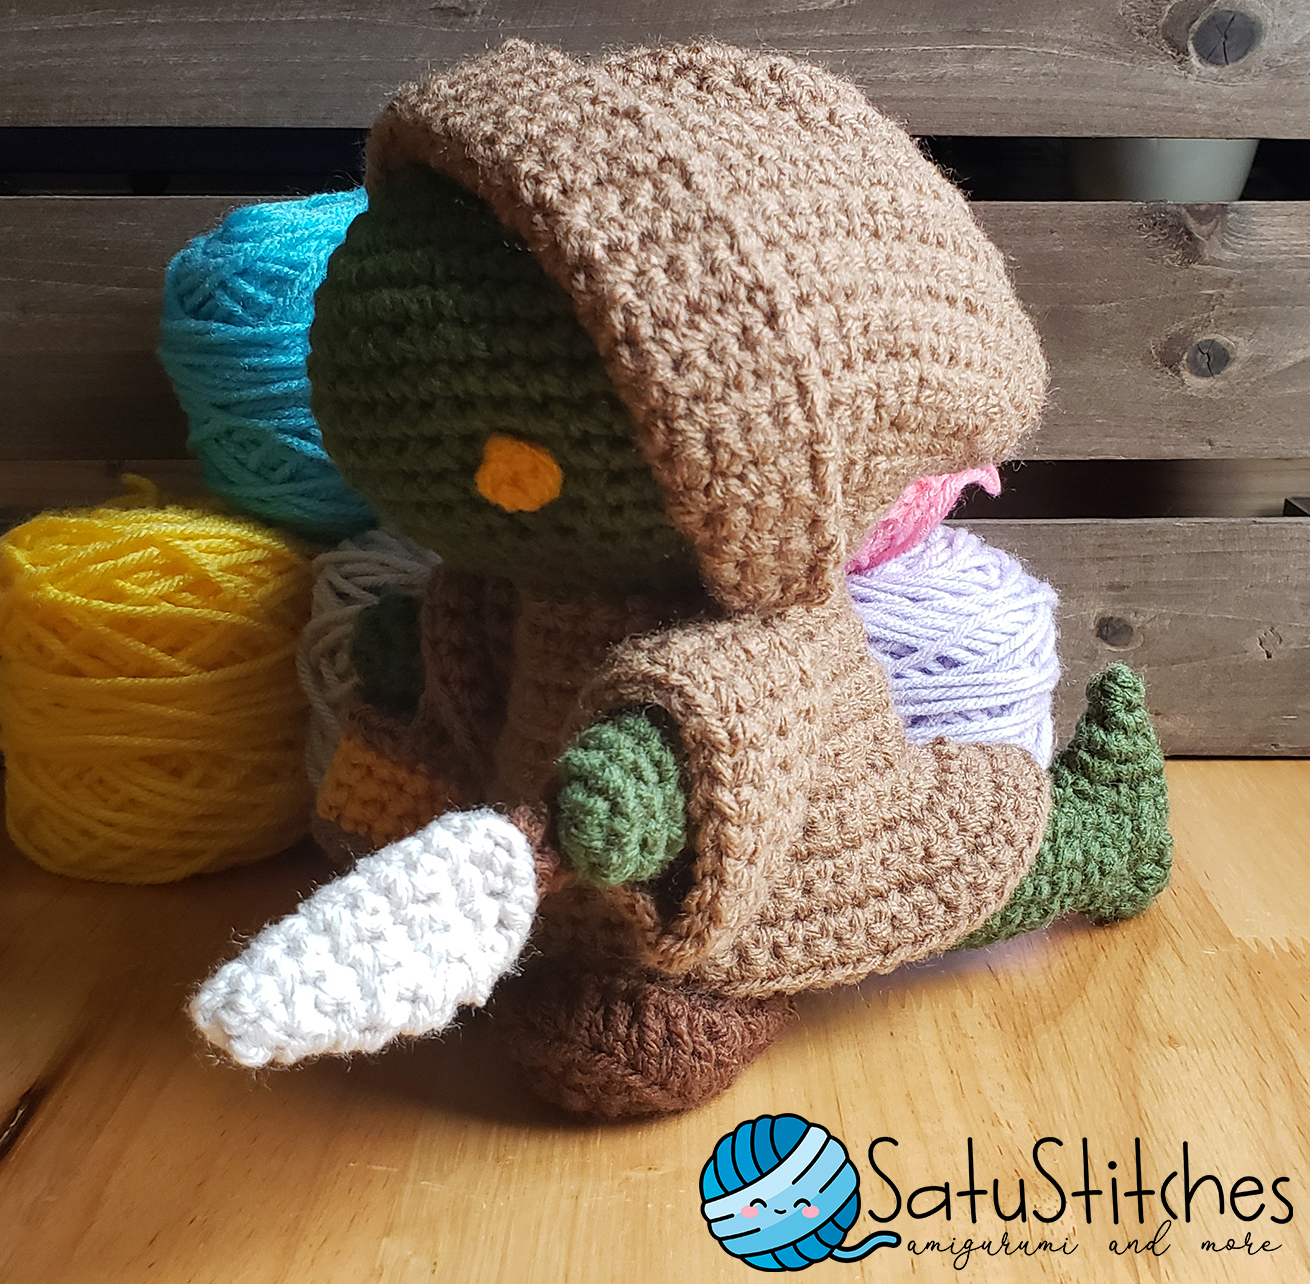
Hood
(Make 2)
With brown yarn:
1. Leave a long starter tail to attach to body. – CH12, 11sc (11)
2. [1sc, 1inc] x 5, 1sc (16)
3-4. 16sc
5. [2sc, 1inc] x 5, 1sc (21)
6. 21sc
7. [3sc, 1inc] x 5, 1sc (26)
8-12. 26sc
13. 25sc (Yes we’ll be skipping the last stitch)
14. Turn, ch1. Skip first stitch. 24sc. (24)
15. 23sc
16. Turn, ch1. Skip first stitch. 22sc (22)
17. 21sc
18. Turn, ch1. Skip first stitch. 20sc (20)
19. 19sc
20. Turn, ch1. Skip first stitch. 18sc (18)
21. 17sc
22. Turn, ch1. Skip first stitch. 16Sc (16)
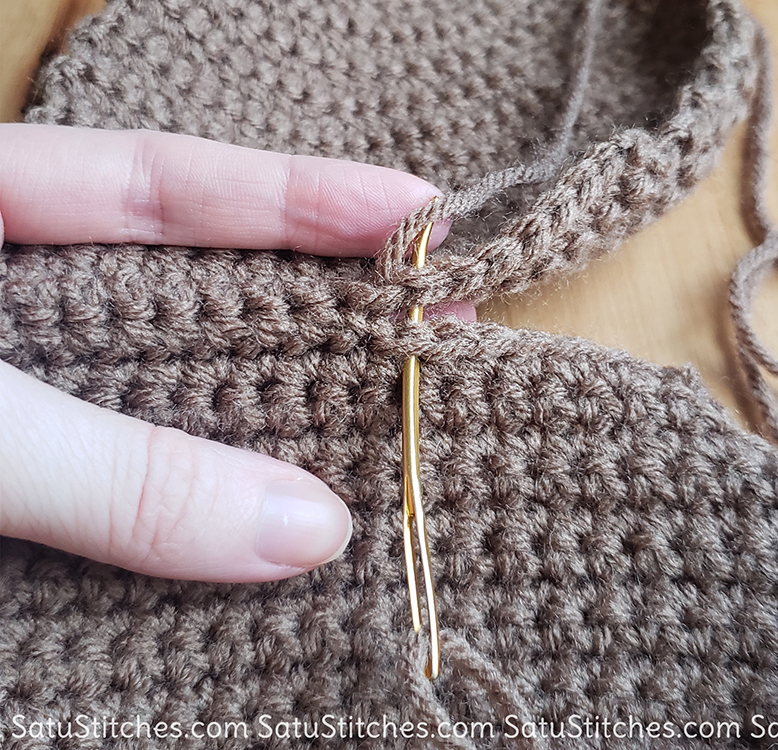
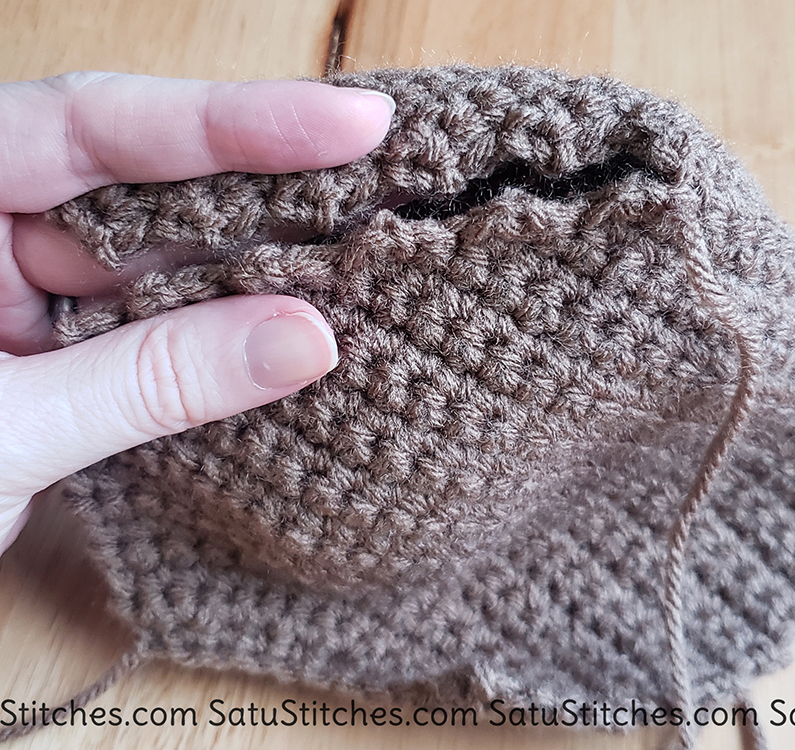
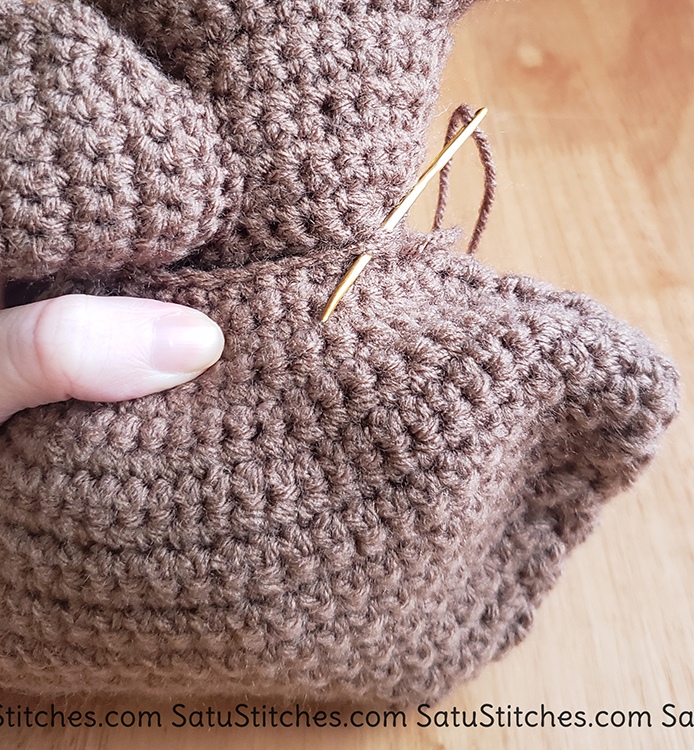
f/o. Leave tail for sewing. Sew both pieces together connecting the “stairs.” Not liking the look of your connecting stitches? Try turning the hood inside out. Sometimes, it looks better!
Sew hood to body piece, but don’t attach the first 4 stitches on either side of the hood. Fold back as far as you desire.
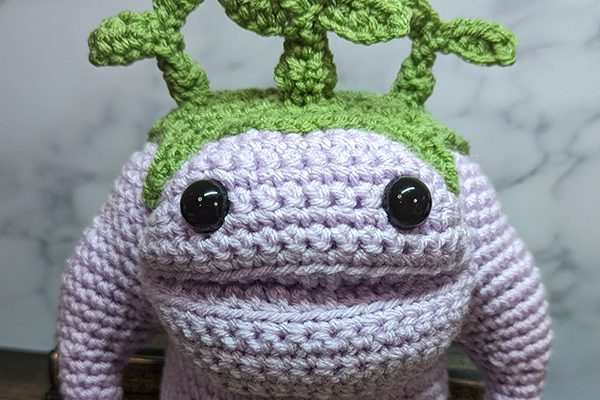
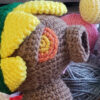
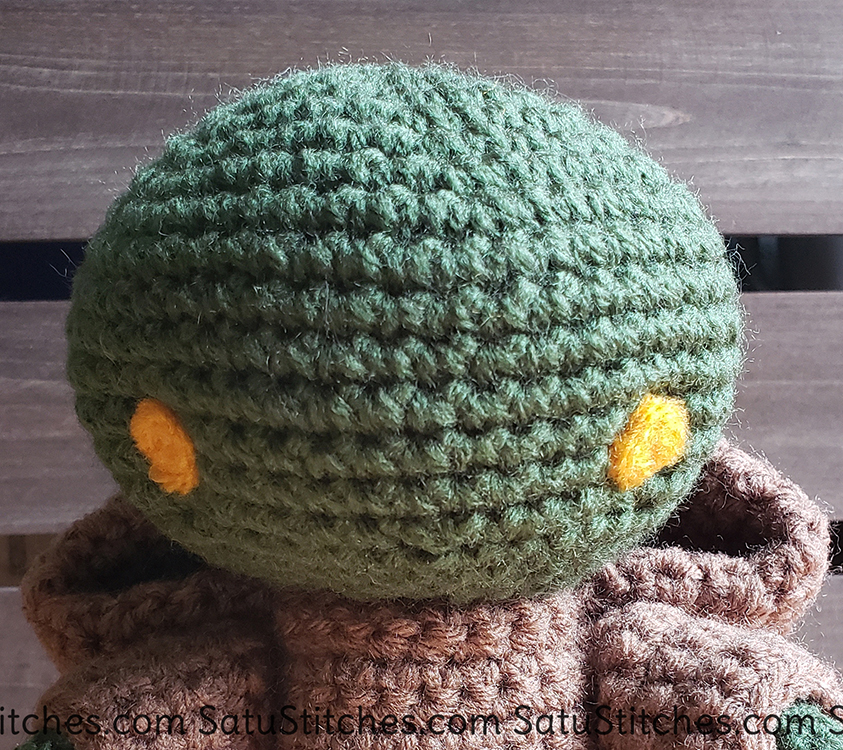
Eyes
(Make 2)
With gold yarn:
1. MC – 4sc. Slip stitch into first stitch.
f/o and attach between rows 12 and 15 of the head. They’ll be about 10 stitches apart.

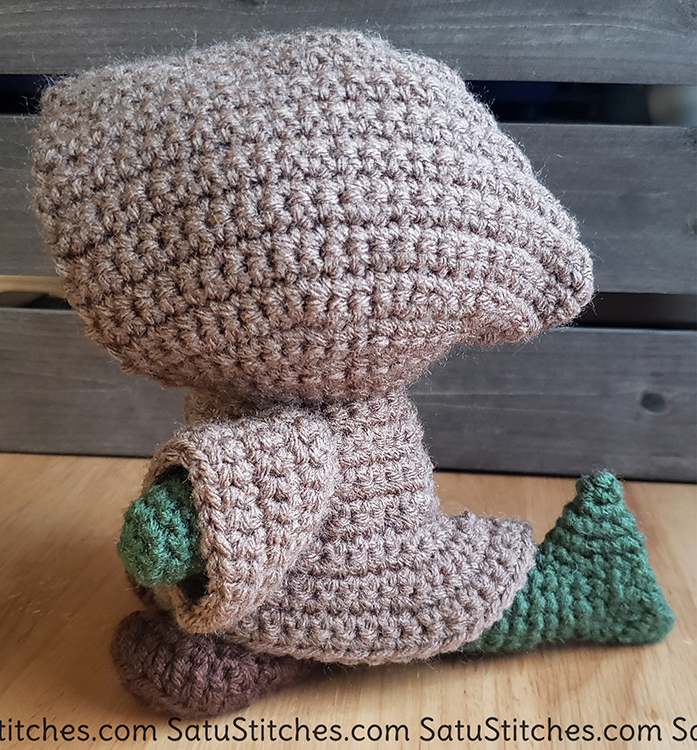
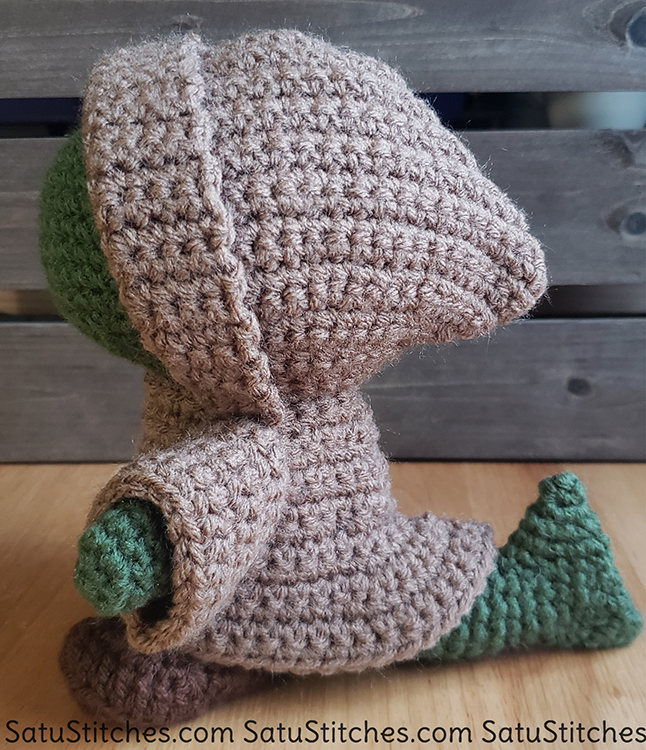
(More hood pictures below.)
Use the 3.75mm hook for all the accessories:
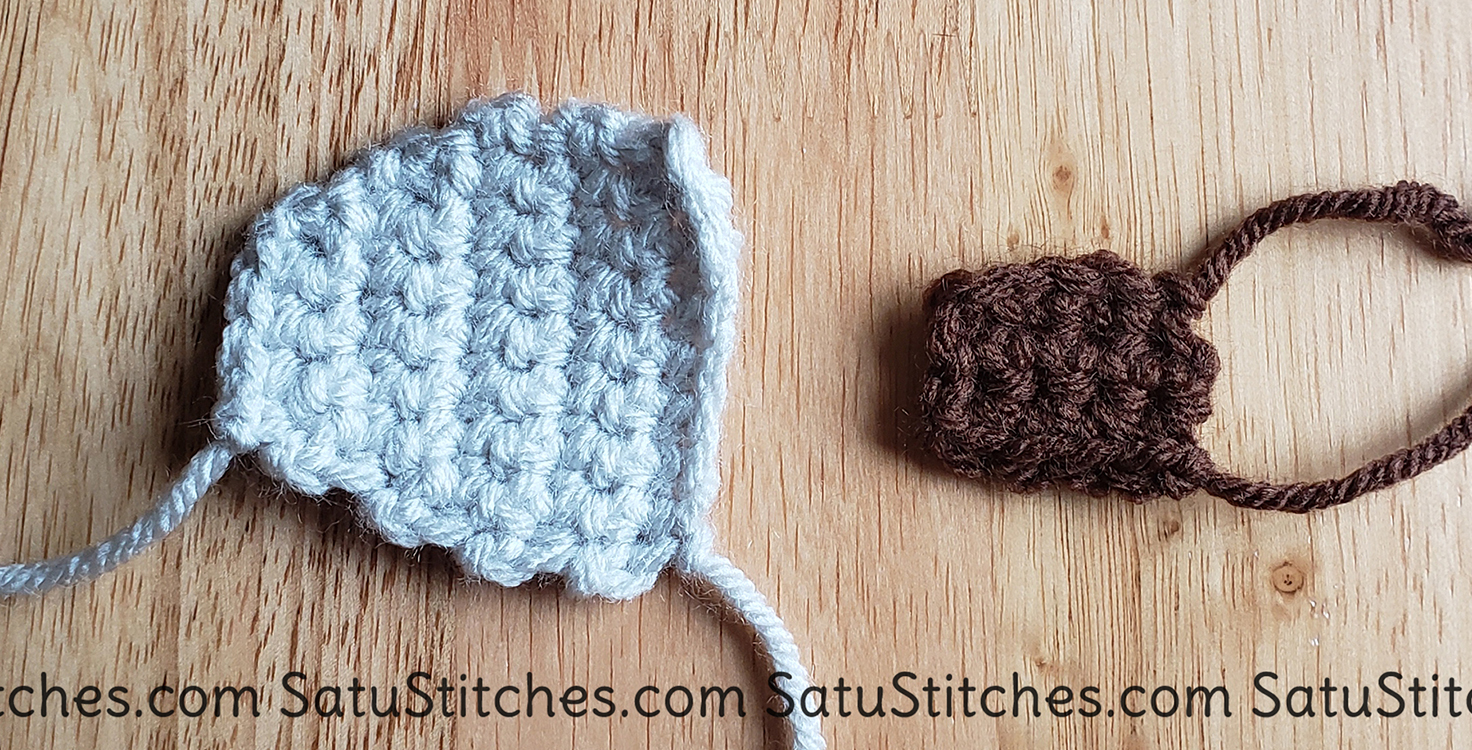
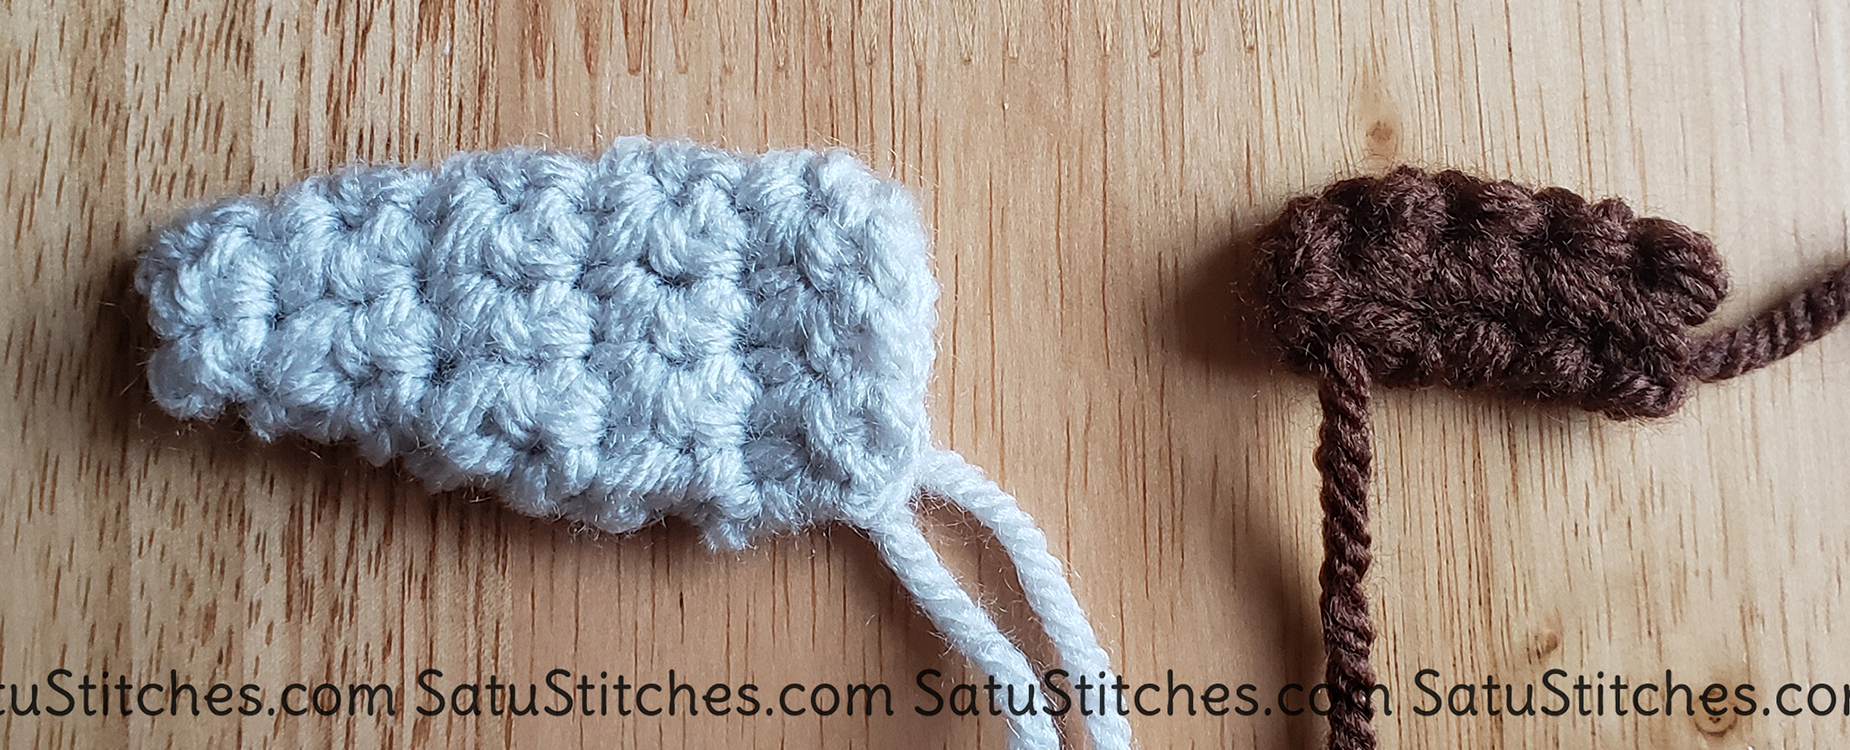
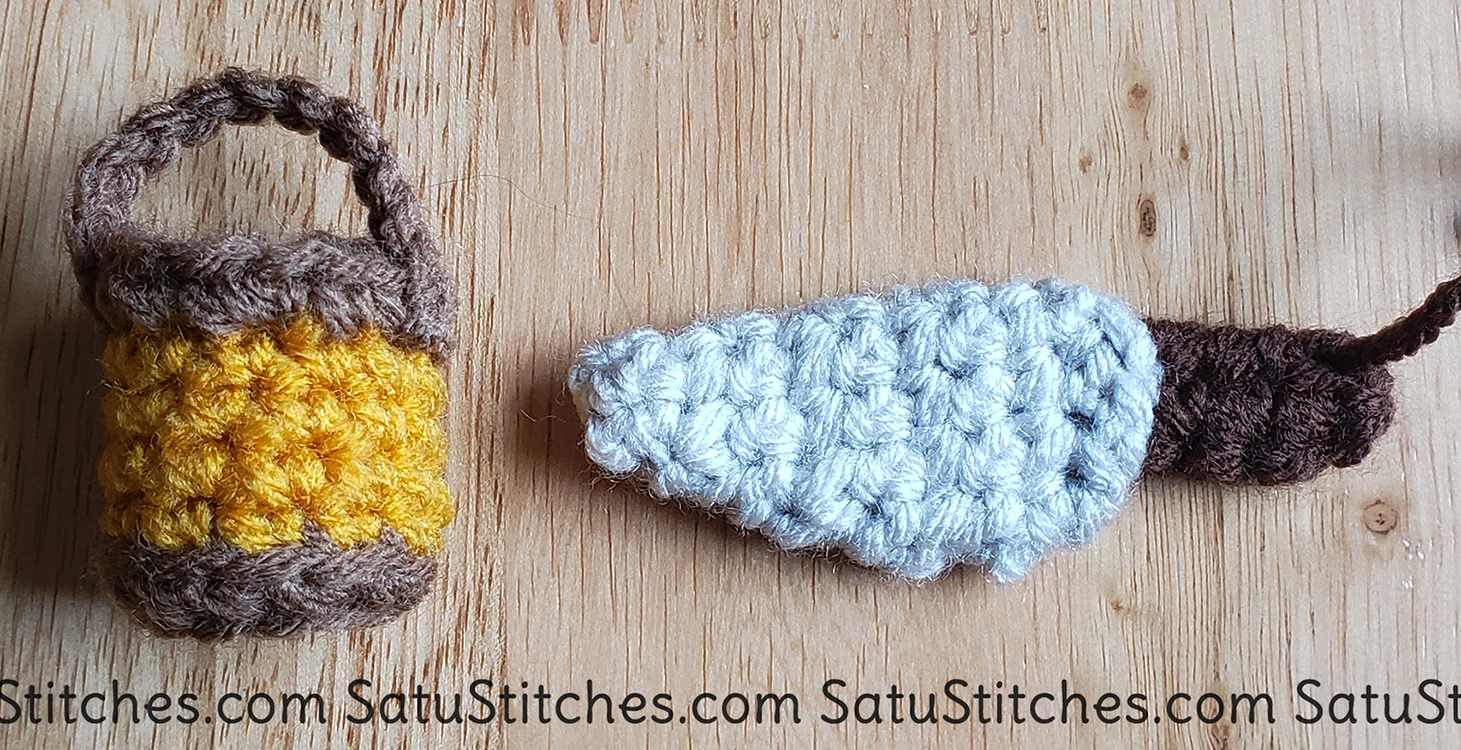
Knife
With light grey yarn:
1. CH9 – 8sc (8)
2-5. 8sc
6. 1dec, 4sc, 1dec (6)
7. 6sc
8. 1dec, 2sc, 1dec (4)
9. 4sc
f/o leave tail for sewing.
Handle
With dark brown yarn:
1. CH5, 4sc
2-4. 4sc
f/o leave tail for sewing.
Fold the knife handle in half, place tip inside the folded blade.
Sew ends together and attach to Tonberry hand.
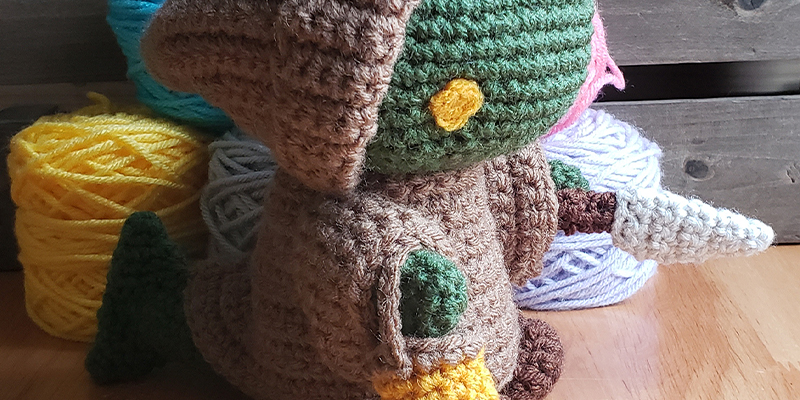
Tonberry Lantern:
With brown yarn:
1. MC – 6sc (6)
2. 6inc (12)
3. Back loops only: 12sc (12)
4. Change color to gold, continue back loops only: 12sc
5-7. Both loops: 12sc
8. Change color to light brown, front loops only: [3sc, 1inc] x 3 (15) Begin stuffing.
9. Back loops only: dec until closed.
f/o leave tail, sew hole shut.
Handle:
With brown yarn:
Start with a long tail for sewing.
1. CH12.
f/o leave tail, sew on to top as handle. Sew to hand.
Uuuuugh he’s just so cuuuuuuuuute!!! Ya know, as I have finished up updating this Tonberry crochet pattern I have contemplated making a scholar version Tonberry in honor of Final Fantasy 14. Not to spoil anything, but in Final Fantasy 14 part of the Scholar job questing involves learning how an ancient city called Nym was overtaken by the “green death” which was a plague that transformed many of the Lalafells into tonberries. This storyline really solidified my love for tonberries as I absolutely adore Lalafells.