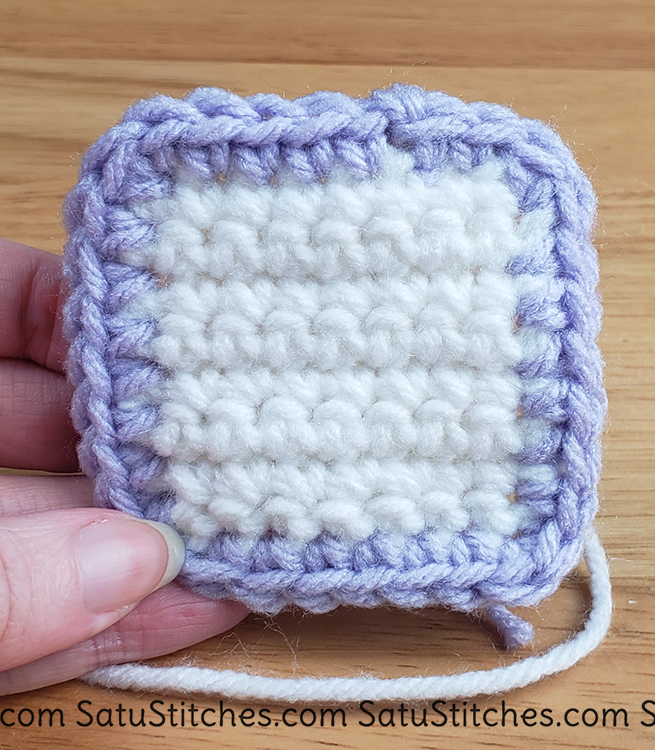
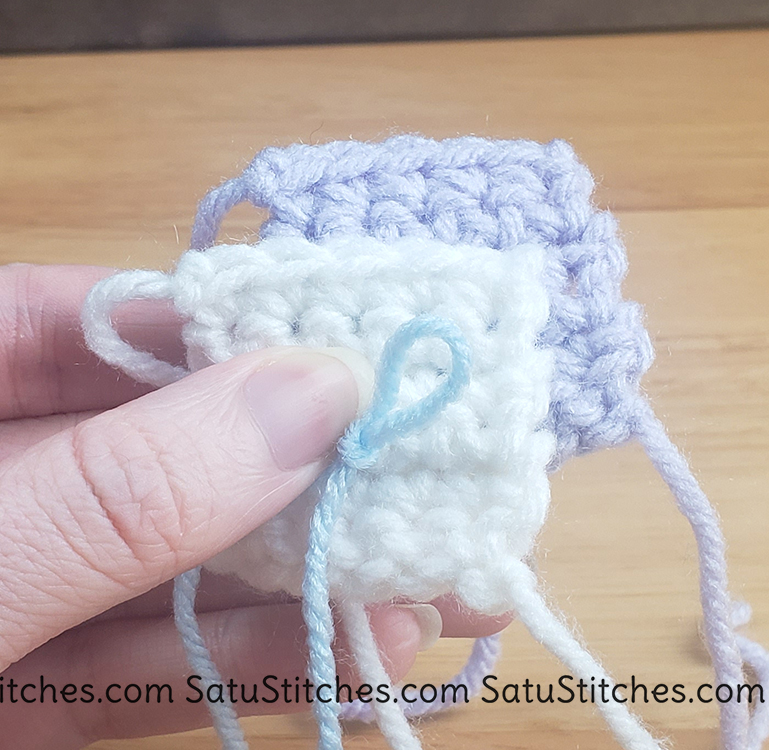
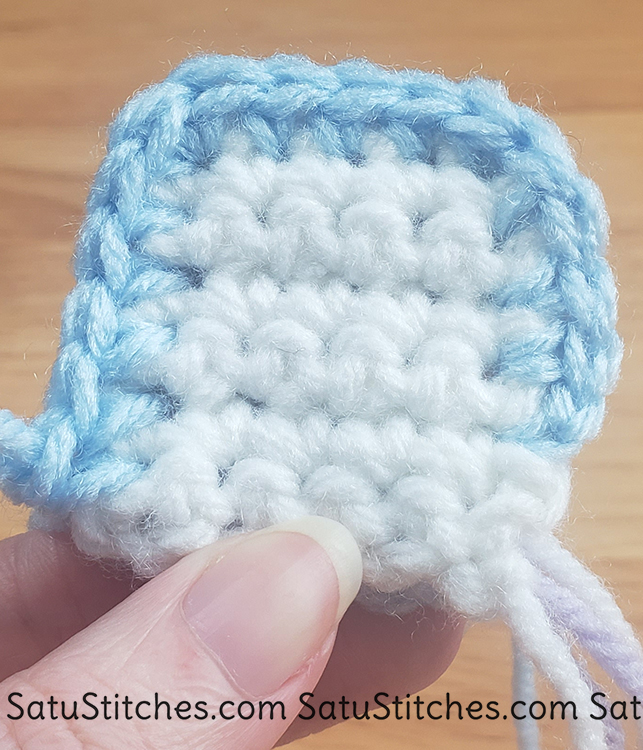
Lesson 15: Single Crochet Borders and Slip Stitch Embroidery

SC Border

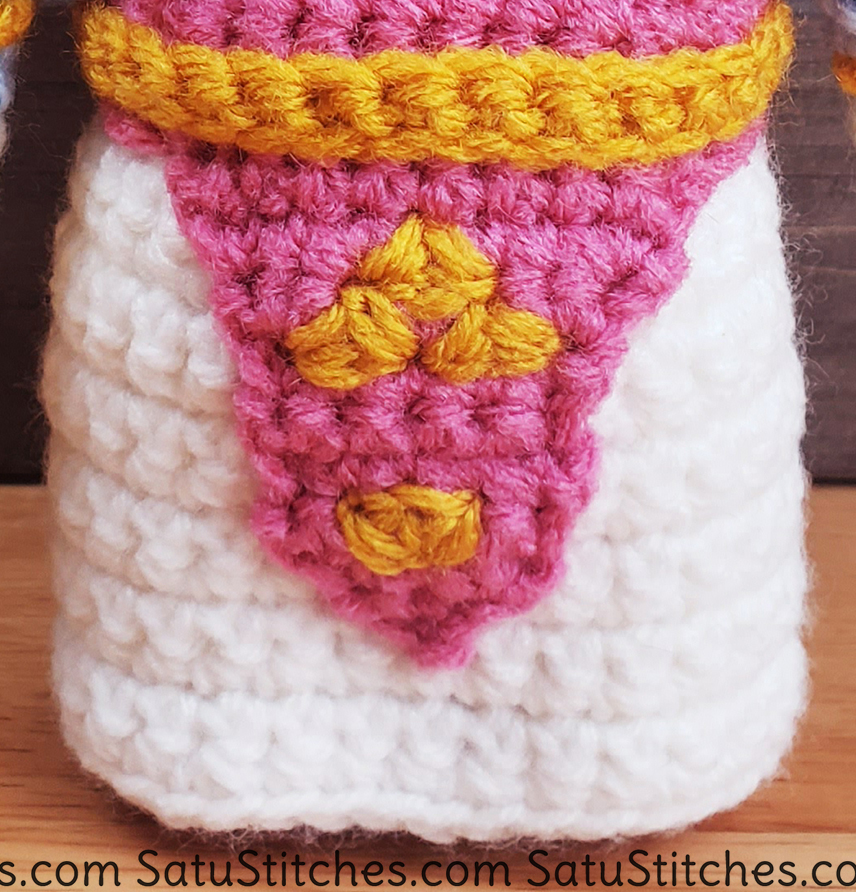
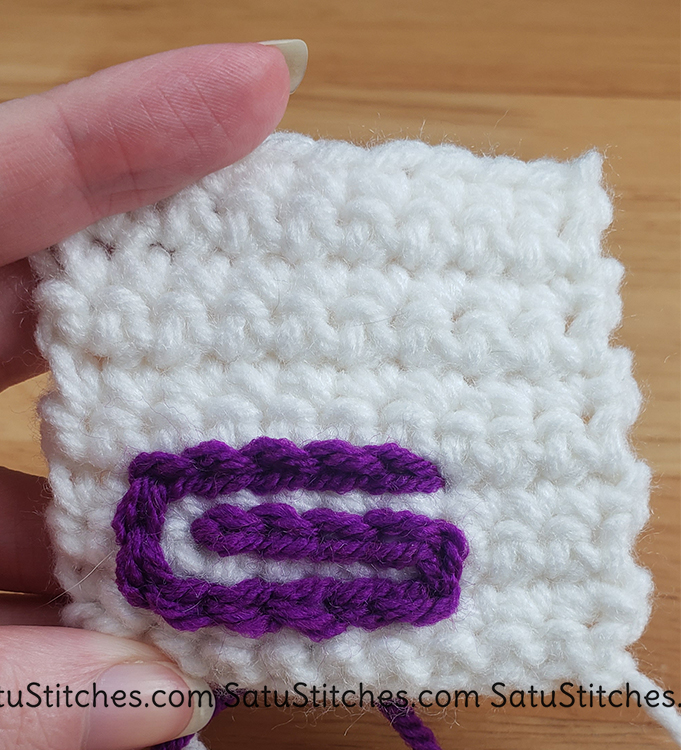
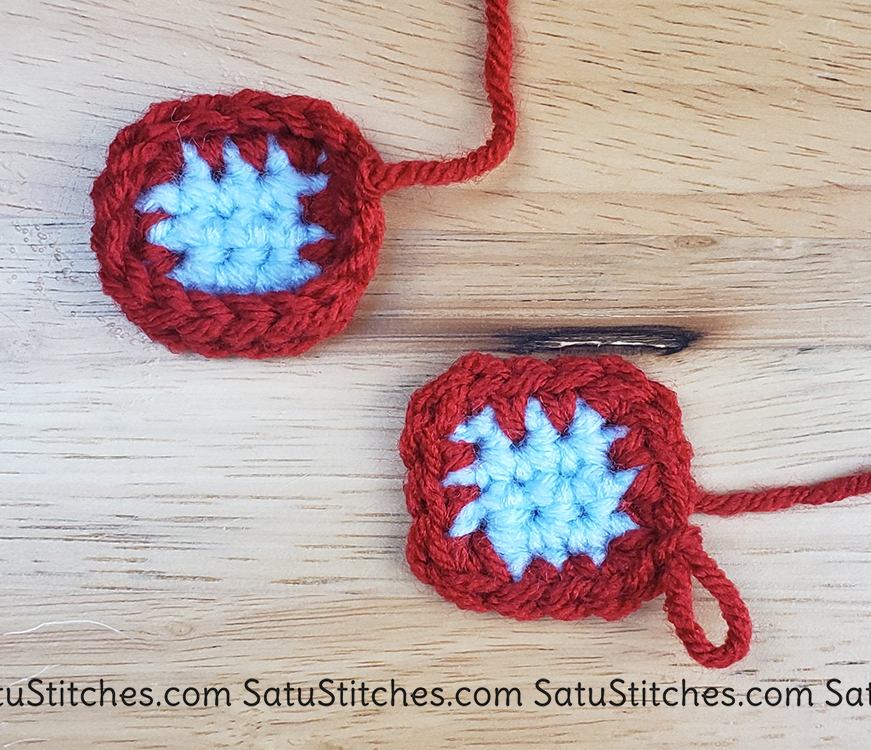
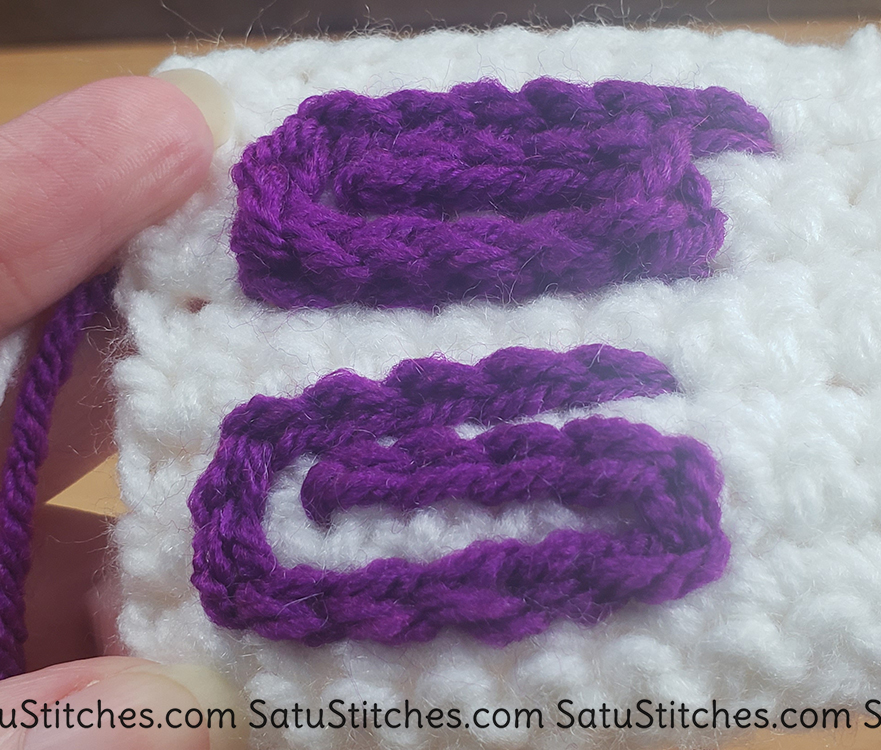
Often times my patterns will call for a single crochet border around a piece. This is primarily an aesthetic reason. I like the way it looks. I’ve never been a fan of the edges some shapes make in amigurumi. I personally think this makes amigurumi look more polished. I like the uniform look from the Vs around the entire piece.

If you want your amigurumi to look like mine, this is my “secret.” Ha!

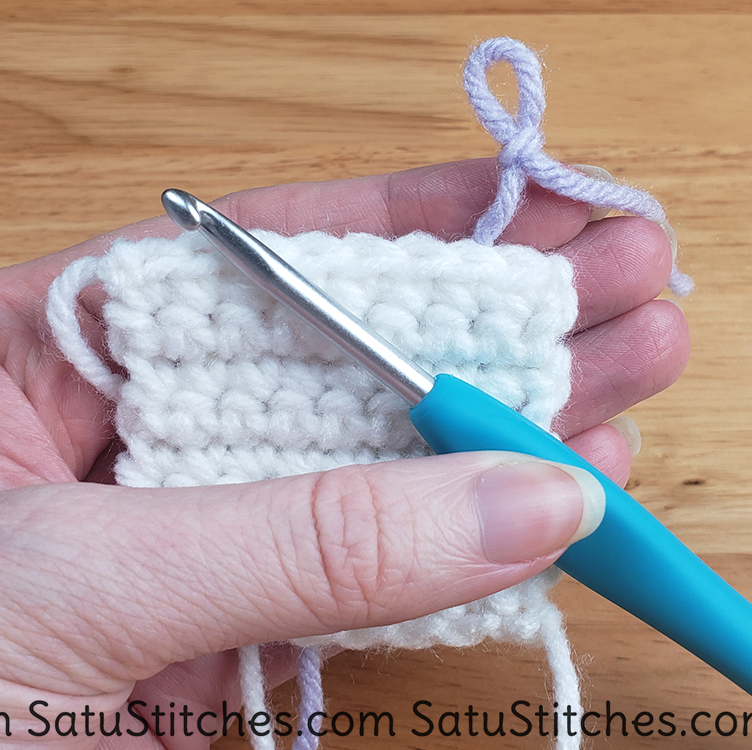
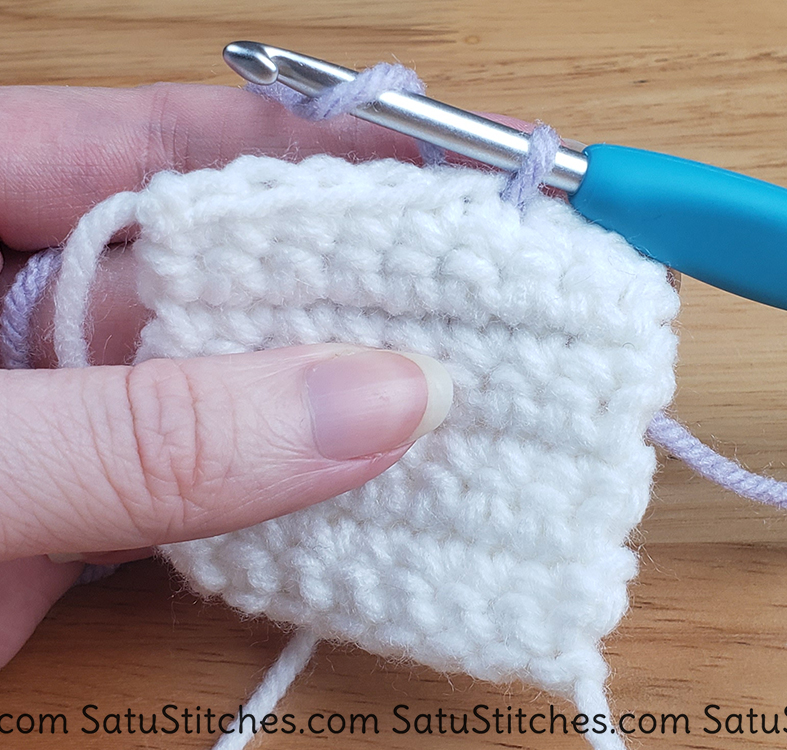
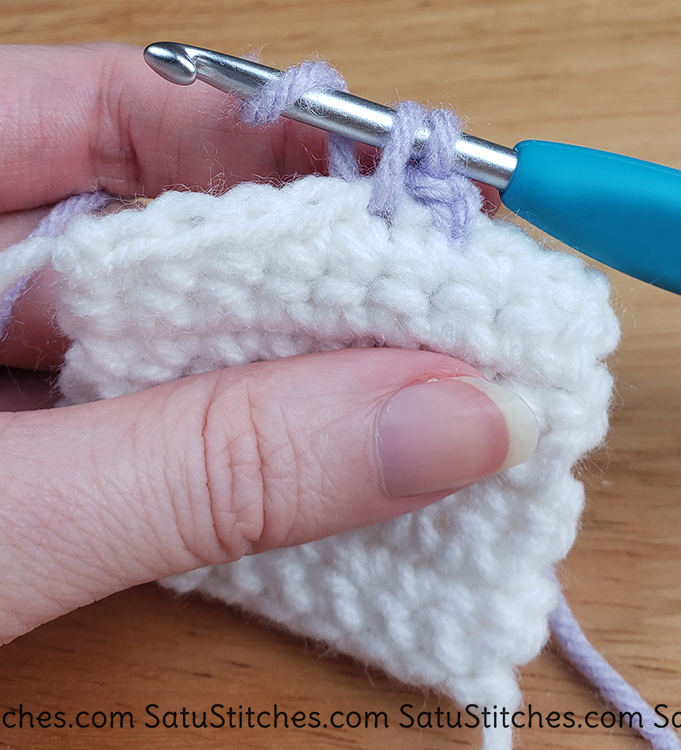
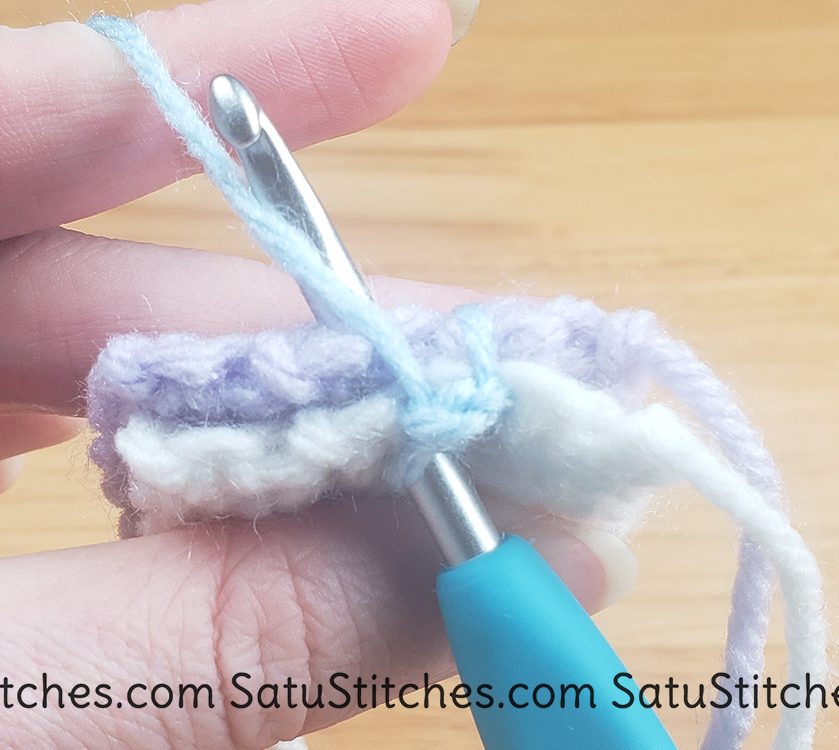
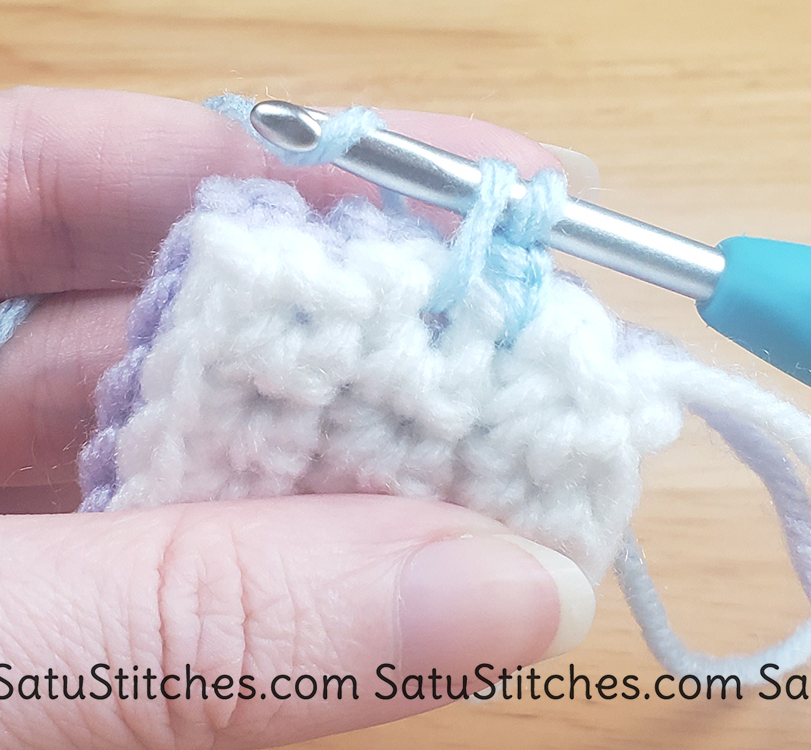
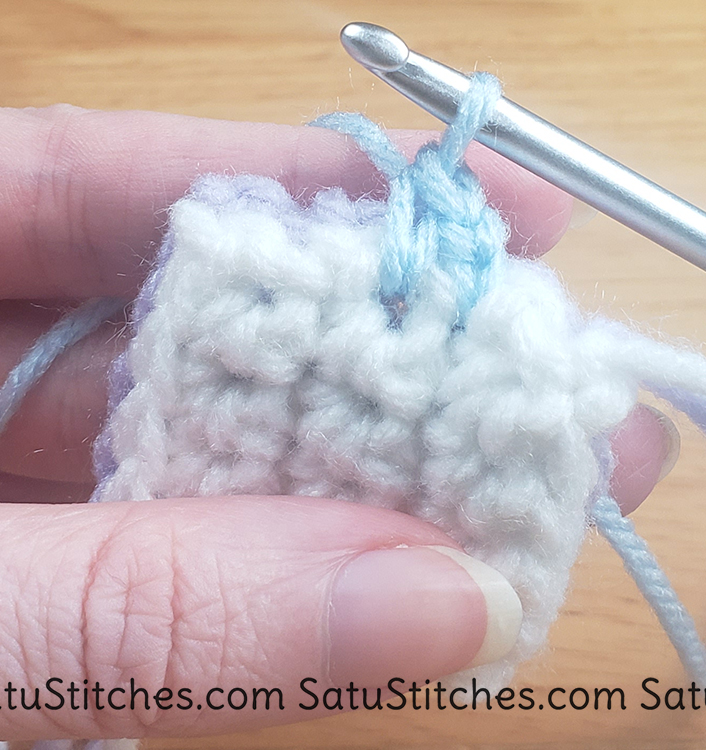
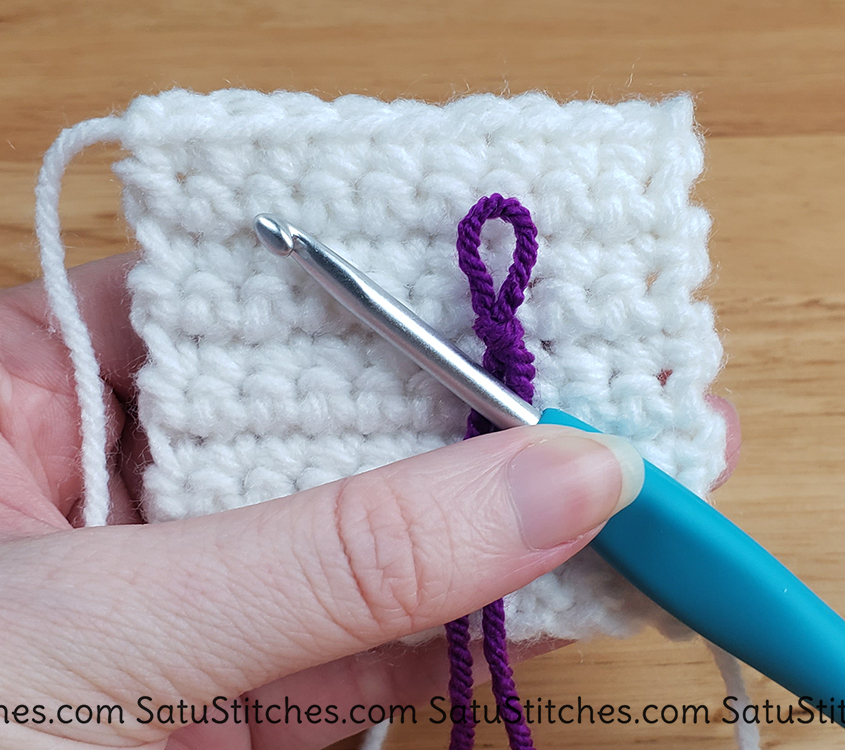
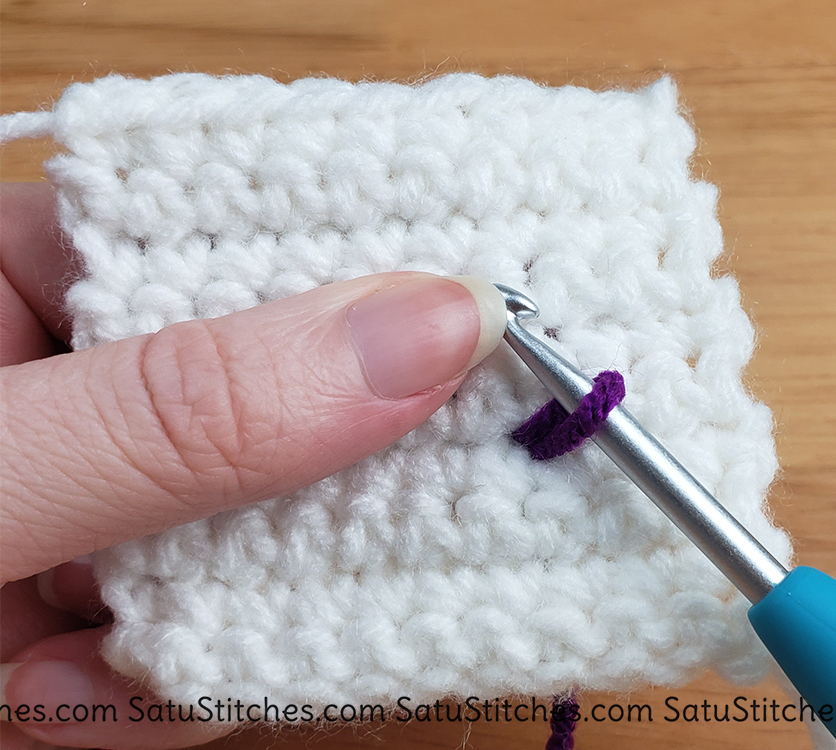
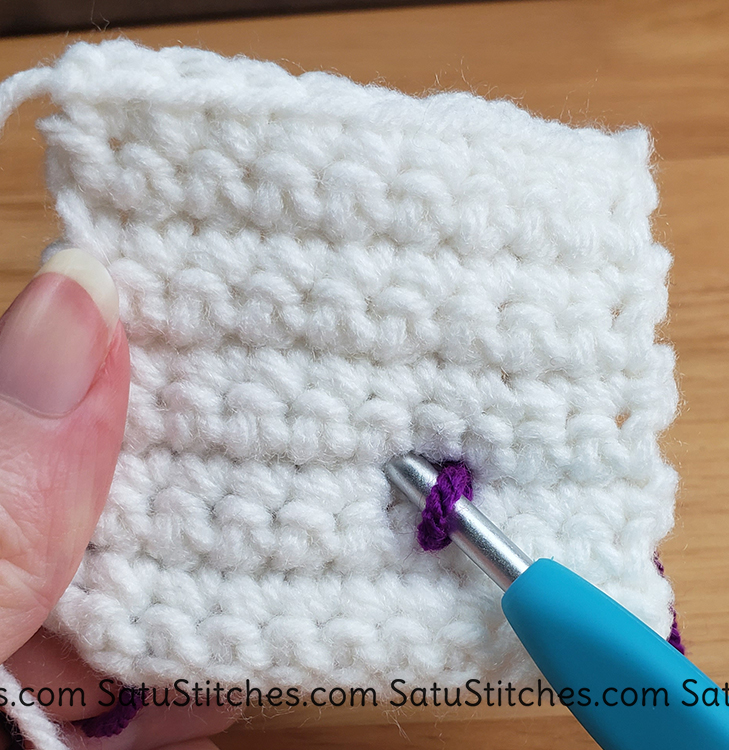
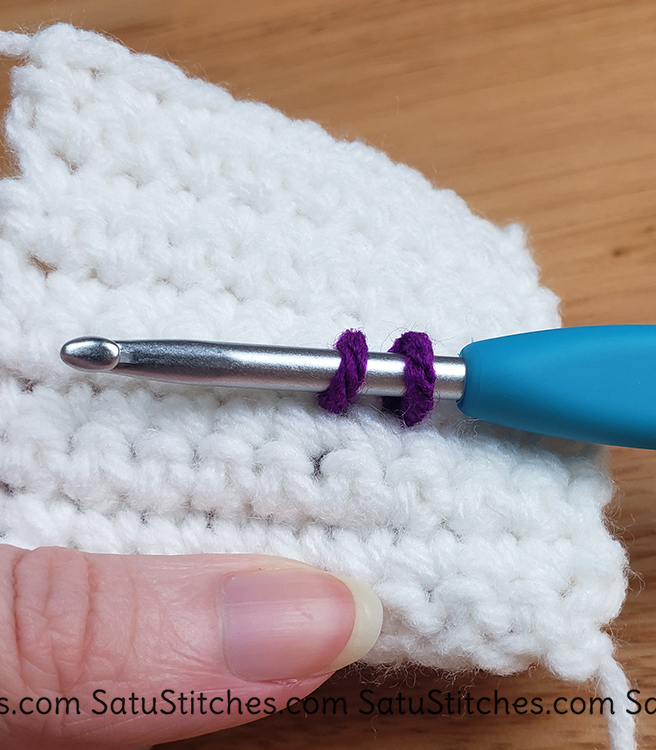
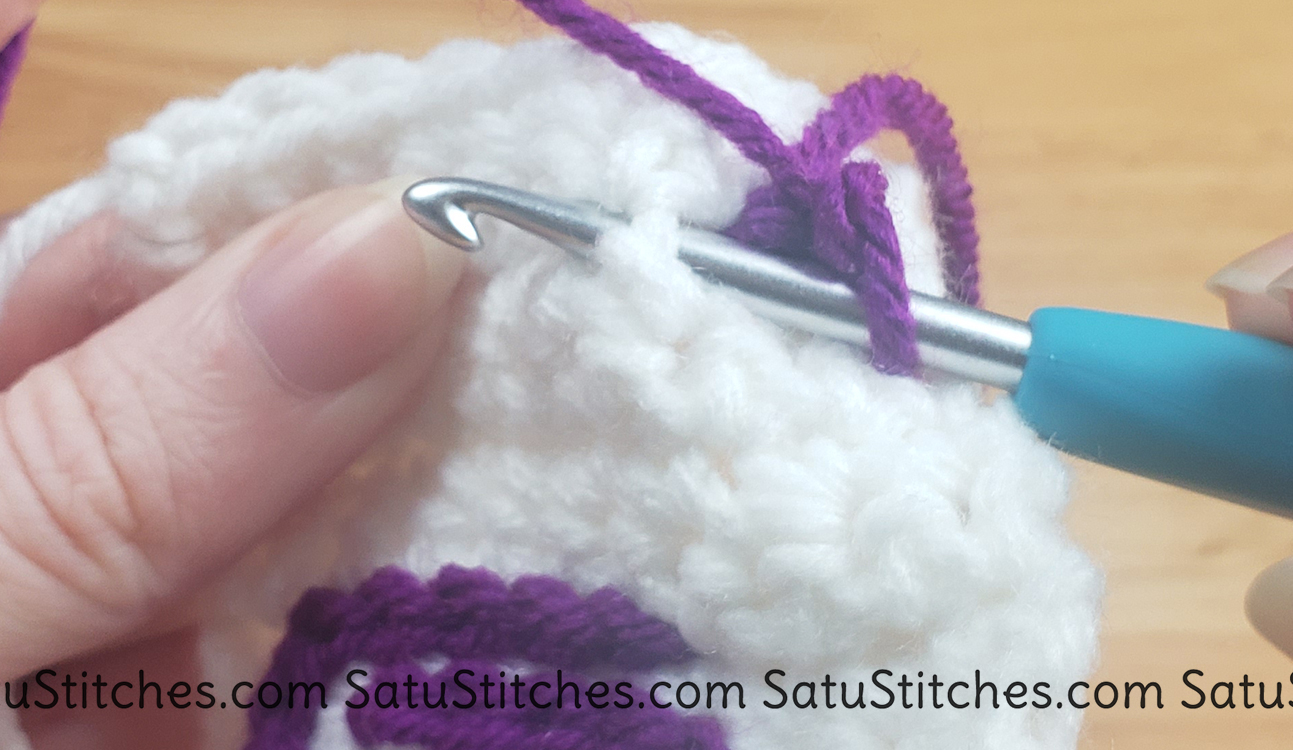
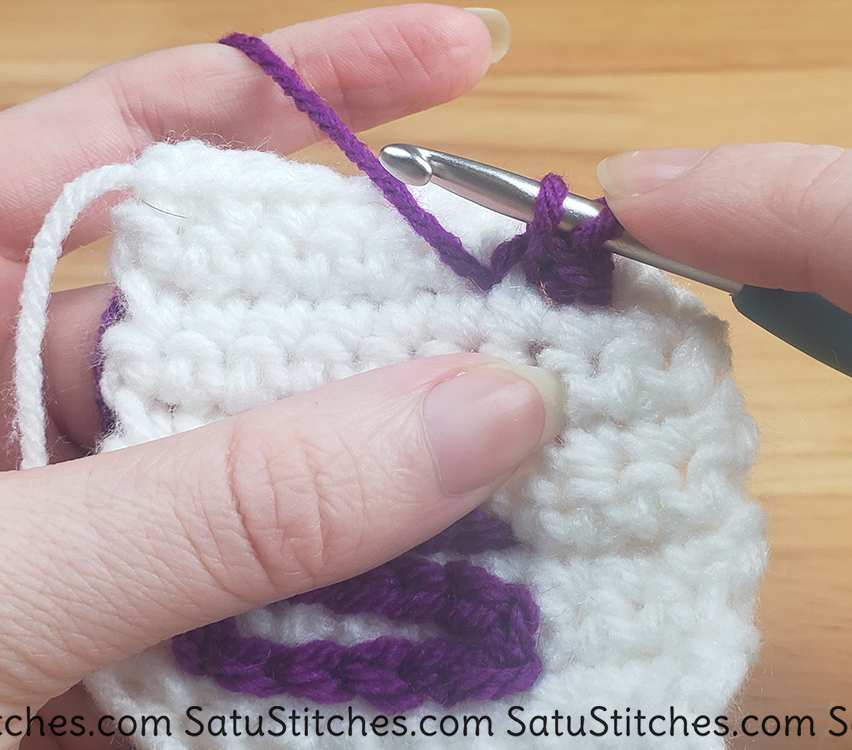
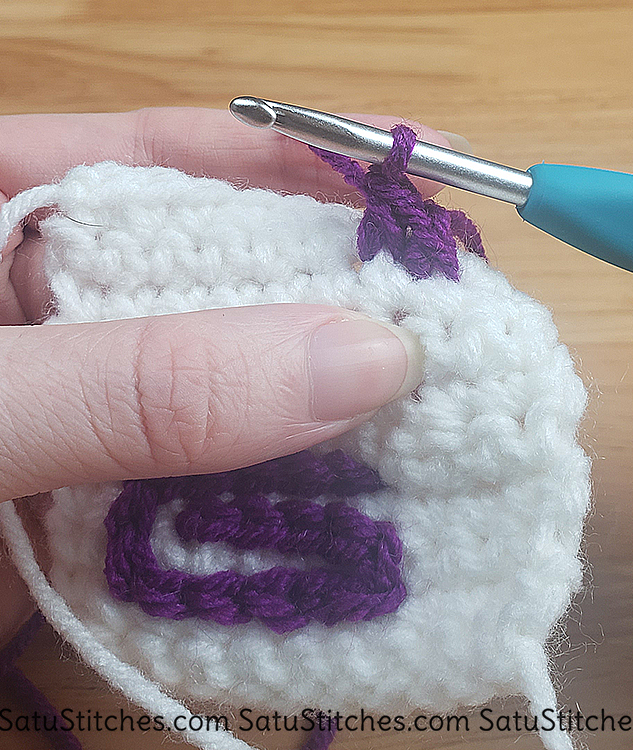
In this lesson, I’ll show you how easy it is to make a sc border. It’s hard to show with pictures, but there’s a video just in case it’s unclear!

The piece I’m using in my picture example below is white yarn, CH9 – 8sc. And I did 8 rows.

First, we are going to start off with a slip knot.

Pull through your starting hole. We’re going to chain 2, so we can get the height we need for a single crochet.

Next we’re going to go into the next hole, and yarn over.

Pull through hole, yarn over, and pull through both loops on hook. We just made our first single crochet on the border of our piece!

Continue making single crochets along the border until you reach the corner. For corners, in order to maintain the original square shape of the piece, we’re going to make an increase. If you have a triangle piece with more severe points, making 3 single crochets in one stitch will help hold that shape better than an increase.

Continue down the rest of the piece, making increases in each corner.

SC Border – Connecting two pieces.

With how much I adore sc borders I often use this technique to combine two pieces together. This is a trick I use with animal ears that have a lighter inner piece and a darker outer piece.

This is just as easy as a single crochet border, but instead of one hole, you’ll go through two. Just in case, I’ve explained it fully below in pictures.

The piece I’m using in my picture example below: CH7 – 6sc. And I did 6 rows.

First, of course, we will start with a slip knot.

Line up your pieces and pull the slip knot through both. Chain 2.

Insert hook into the next hole. Yarn over and pull through.

Now that we have two loops on our hook, we’re going to yarn over again.

Pull through both loops on your hook and we have our first single crochet!

Continue throughout the piece. When you hit the corners be sure to make an increase to help hold the piece’s shape.

Slip Stitch Embroidery

Often when making amigurumi we’ll be making clothing for a character. These pieces will have little details that are very delicate and small that crocheting a separate piece and placing it on top would be far too bulky or too big. For these pieces, a slip stitch embroidery may be the best solution. It will be much flatter and while we can not get extremely detailed with this technique it often will do its job just fine.

The piece I’m using in my picture example below: CH9 – 8sc. And I did 8 rows.

We will be starting with a slip knot. Noticing a trend? 🙂

Insert your hook in your starting hole and pull the slip knot loop through.

Insert your hook into the next hole. Yarn over.

Pull through. You should have two loops on your hook.

Pull the first loop through the second one. Just like a slip stitch. And you’ve made your first slip stitch embroidery! You want to keep these stitches fairly loose. If they are too tight then your original piece is going to bend and become distorted.

Continue making slip stitches throughout the piece. Explore the different shapes you can make.

SC / Single Crochet Embroidery

Sometimes we need a little more oomph on the side of a piece. Sometimes I need a little more height on a border of the piece that I don’t want to crochet a whole new piece for and attach. Attaching pieces is certainly one of my least favorite things to do and if I can find a way not to do that I’m all for it. I don’t need to use this technique all that often, but enough that I wanted to go over it for when I do in my patterns.

We’re reusing the piece from the slip stitch embroidery so that you may see the height difference.

We’re starting with a slip knot, as usual. We’re going to insert our hook in our first hole, and then into the second hole of the direction that we are going. Pull the slip knot loop through both holes.

Yarn over and pull through. Chain 2.

Push your hook through the previously used second hole and now a new third hole in the direction that you are going. Yarn over and pull through.

You should have two loops on your hook. Yarn over and pull through both.

We’ve got our first single crochet!

Continue making single crochet pieces. Change directions, explore the shapes you can make just like with the slip stitch embroidery.

Here is the finished piece with both the slip stitch and the single crochet. Notice the height difference. Single crochet embroidery is a little harder to get crisp corner lines. The tension pulls and often makes a softer corner closer to a circle than a 90-degree angle. So keep that in mind when you’re choosing which one to do.

Homework

Homework

Using the two gauges you made in the last lesson, make a single crochet border around both of them.

Quiz

No need for a quiz here! You’ve got a final exam coming up… hope you’ve studied!

Nope, not getting any answers here. :p