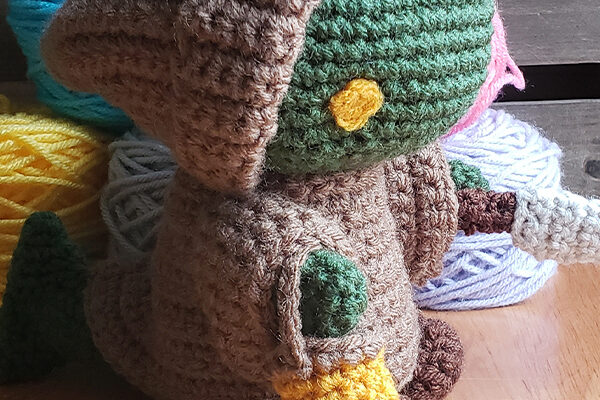
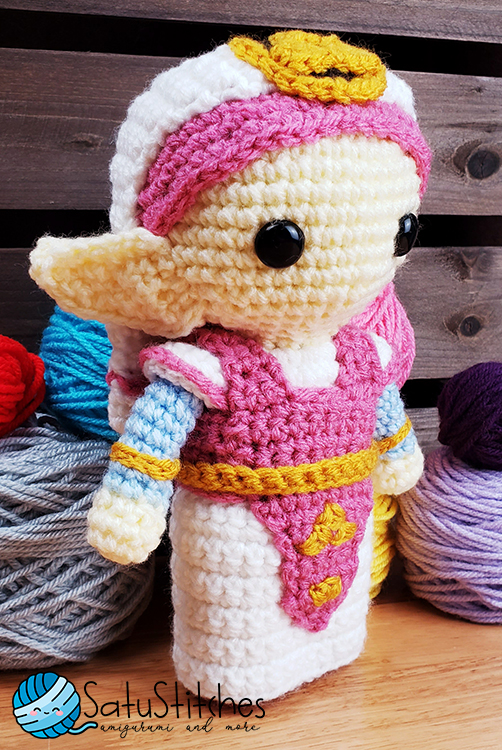
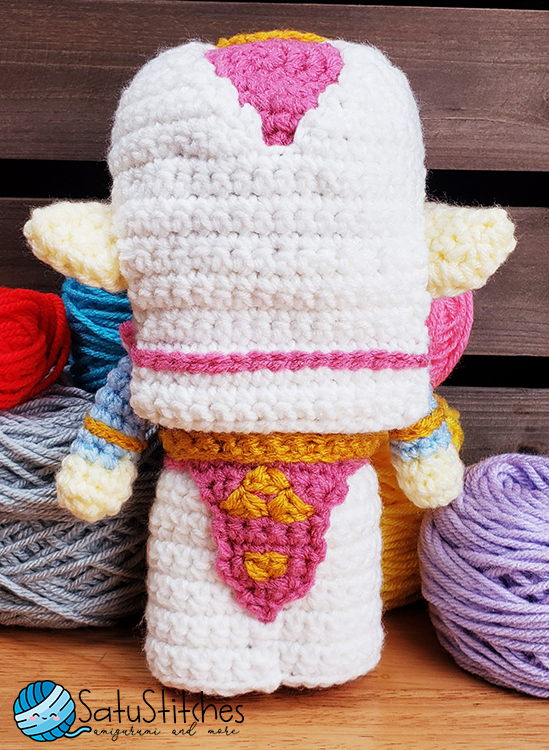
Deku Link Crochet Pattern
This is a minimal picture post of my Ocarina of Time Zelda crochet pattern! If you are having problems following along please check the main post with lots of step-by-step pictures!
Materials:
Worsted Weight Yarn.
- Gold
- White
- Dark Pink
- Cream
- Dark Brown
- Light Blue
4.5 mm Size G Crochet Hook
Stuffing (fiberfill, polyfill, etc.)
Tapestry Needle
15mm Black Button Eyes
Abbreviations:
[American English Terms]
slst – slip stitch
ch – chain stitch
sc – single crochet
dc – double crochet
hdc – half double crochet
inc – increase (2 single crochet stitches in the same stitch)
dec – decrease (single crochet 2 stitches together)
f/o – fasten off
[ ] – repeat instructions between [ and ]
( ) – the total number of stitches for row
CC – change color
MC – Magic Circle (Please see special instructions)
FLO – front loop only
BLO – back loop only
Finished Size:
The finished size is about 9″ tall. Size varies based on yarn, crochet hook, and your tension.
Special Stitch Instructions:
Most pieces begin with a “ring.” Use any type you feel comfortable with (i.e. Magic Circle, chain 2, and single crochet in the second chain, etc). You’ll be working most pieces in a continuous spiral, as indicated by the MC. If your row starts with CH then you’ll be working in regular rows unless otherwise indicated.
The use of a marker is very useful if you’re not used to working in continuous rounds. It’s also great if you have to stop midway.
This pattern uses slip stitch embroidery. Brush up on the technique by visiting this tutorial.
About the Pattern:
This Zelda crochet pattern MAY NOT be publicly distributed or sold in print or digital form. You MAY NOT reproduce this pattern on your site. Instead, link back to this pattern.
This pattern is an original pattern by Bobbi Wetzler, Satu Stitches (2016). Do not claim this pattern as your own. Legend of Zelda and Ocarina of Time are registered trademarks or trademarks of Nintendo of America, Inc. I am not affiliated with Nintendo.
You can NOT sell dolls made from this pattern as the doll’s likeness is under the copyright of Nintendo. This pattern is for personal use ONLY.
Head / Body
With Cream yarn:
1. MC – 6sc (6)
2. 6inc (12)
3. [1sc, 1inc] x 6 (18)
4. [2sc, 1inc] x 6 (24)
5. [3sc, 1inc] x 6 (30)
6. [4sc, 1inc] x 6 (36)
7. [5sc, 1inc] x 6 (42)
8-14. 42sc
15. [5sc, 1dec] x 6 (36)
16. [4sc, 1dec] x 6 (30)
17. [3sc, 1dec] x 6 (24)
18. [2sc, 1dec] x 6 (18)
19. 1sc, [1sc, 1dec] x 5, 2sc (13)
20. 13sc
Change to white yarn. Stuff head.
21. 13inc (26)
22-32. 26sc
Flatten the body so that the end of the round is in the middle of the piece.
33. 1inc, 12sc, sc across the gap into the first sc of row. Continue in rounds. (14)
34-39. 14sc
Change to dark pink yarn.
40. 14sc
41. BLO: 7dec (7)
42. dec until closed. Sew up any holes.
f/o.
For the second leg:
(Make sure you’re finished stuffing the body before you continue)
1. Pick up stitch in the stitch of the first leg. CH2, this will count as a stitch. 13sc, sc across into the starting chain. Continue in rounds. (14)
2-7. 14sc
Change color to dark pink yarn.
8. 14sc Stuff leg.
9. BLO: 7dec (7)
10. dec until closed. Sew up any holes.
f/o
Arms
With cream yarn.
(Make 2)
1. MC – 6sc (6)
2. 6inc (12)
3. 12sc
4. [1sc, 1dec] x 4 (8)
Change color to light blue.
5. FLO: 8sc
6-12. 8sc Stuff as you go.
f/o and attach.
Bracelets:
(Make 2)
With gold yarn:
1. CH10
f/o and attach around wrists between rows 6 and 7.
Sleeves
(Make 2)
With white yarn.
1. CH2 – 3sc in same stitch (3)
2. 3inc (6)
3. [1sc, 1inc] x 3 (9)
4. [2sc, 1inc] x 3 (12)
f/o. With dark pink yarn make a slip stitch embroidery along the curve of the piece. Attach.
Skirt
With white yarn.
1. CH30 – 29sc
2-11. 29sc
12. [3sc, 1inc] x 7, 1sc (36)
f/o and attach around waist.
Dress Details
(Make 2)
With dark pink yarn.
1. CH2 – 1sc (1)
2. 3sc in same stitch (3)
3. 1inc, 1sc, 1inc (5)
4-7. 5sc
8. 1inc, 3sc, 1inc (7)
9. 1inc, 5sc, 1inc (9)
10. 9sc
11. CH7, 15 sc (15)
12-15. 15sc
16. 3sc
17. 1dec, 1sc (2)
18-24. 2sc
25. 1inc, 1sc (3)
f/o. One of these pieces will be the front and we’ll have to slip stitch embroidery the triforce to it. The bottom of the triforce starts between rows 7 and 8. Each triangle is 3 stitches.
Once done, attach both pieces to the doll.
Belt:
With gold yarn.
1. CH31 – 30sc
f/o and attach around the waist.
Headpiece:
With dark pink yarn:
1. MC – 6sc (6)
2. 6inc (12)
3. [1sc, 1inc] x 6 (18)
4. [2sc, 1inc] x 6 (24)
5. [3sc, 1inc] x 6 (30)
6. [4sc, 1inc] x 6 (36)
7. [5sc, 1inc] x 6 (42)
8. [6sc, 1inc] x 6 (48)
9-13. 48sc
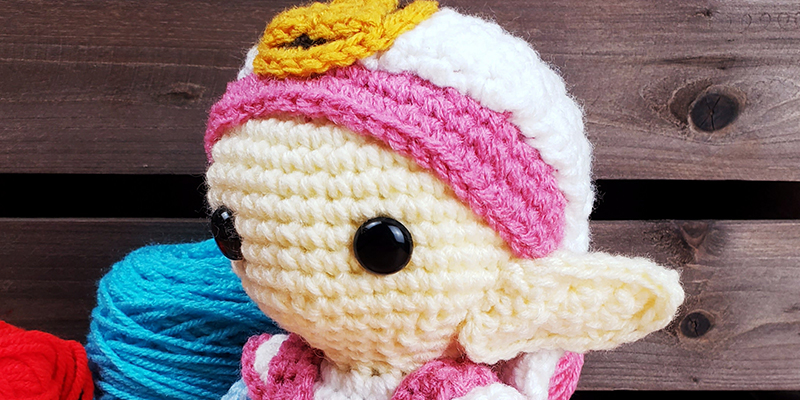
f/o. You should attach your button eyes first, between rows 12 and 13 of the head about 6 stitches apart. Then this piece at a slight angle back.
Top piece:
With white yarn:
1. CH16 – 15sc (15)
2-9. 15sc
10. 1inc, 13sc, 1inc (17)
11. 1inc, 15sc, 1inc (19)
12. 1inc, 17sc, 1inc (21)
13-14. 21sc
15. 10sc
16. 1dec, 7sc, 1inc (10)
17. 8sc, 1dec (9)
18. 1dec, 6sc, 1inc (9)
19. 7sc, 1dec (8)
20. 1dec, 5sc, 1inc (8)
21. 6sc, 1dec (7)
22. 1dec, 4sc, 1inc (7)
23. 5sc, 1dec (6)
24. 1dec, 3sc, 1inc (6)
25. 4sc, 1dec (5)
26. 1dec, 2sc, 1inc (5)
27. 1sc, 2dec (3)
28. 1dec, 1inc (3)
f/o.
Pick up stitches on the opposite side, turn the piece around so you start on the end. Repeat rows 15-28. At the bottom of this piece create a slip stitch embroidery using dark pink yarn across the bottom, between rows 3 and 4.
Backside:
With white yarn:
1. CH16 – 15sc (15)
2-9. 15sc
f/o. At the bottom of this piece make a slip stitch across the piece using dark pink yarn in between rows 3 and 4. Attach this piece to the previous piece, hiding the back stitches of both pieces.
Attach the ears first, before you attach this finished piece.
Ears:
(Make 4)
With cream yarn:
1. CH6 – 5sc (5)
2. 1dec, 3sc (4)
3. 1inc, 1sc, 1dec (4)
4. 1dec, 1sc, 1inc (4)
5. 2sc, 1dec (3)
6. 1dec, 1inc (3)
f/o. Attach 2 pieces with sc border. Attach to the head just below the pink headpiece.
Triforce:
With dark brown yarn:
1. MC – 6sc (6)
2. 6inc (12)
3. [1sc, 1inc] x 6 (18)
Change to gold yarn:
4. [2sc, 1inc] x 6 (24)
f/o and set aside.
(Make 3)
With gold yarn:
1. CH2 – 1sc (1)
2. 1inc (2)
3. 2inc (4)
f/o and attach to the previous piece. Once finished, attach to the headpiece.
Finished!
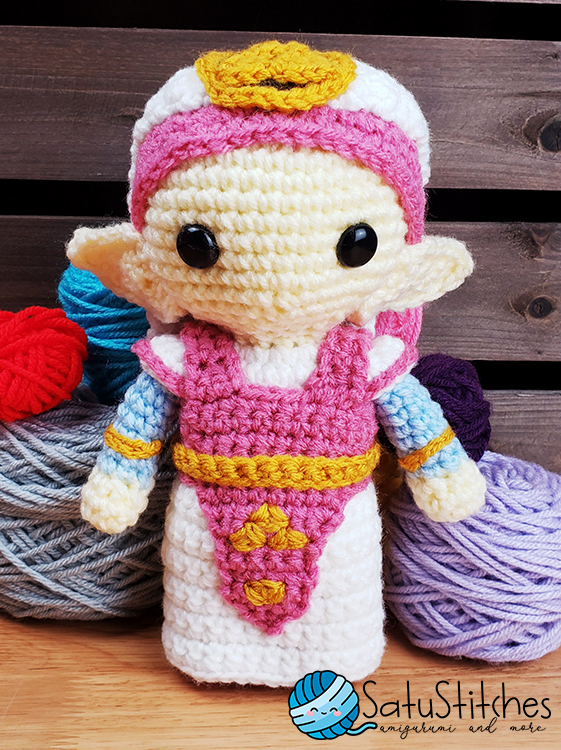
I hope you enjoyed this Zelda crochet pattern as much as I did creating it.