Learn How to Crochet the Loop Stitch / Fur Stitch
Abbreviations
lp, lpst
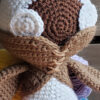
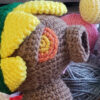
The best way to add fur to your amigurumis!
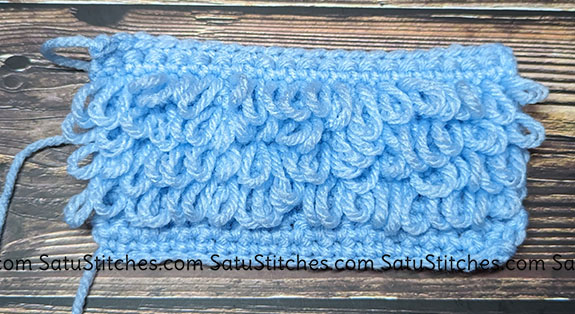
The Loop Stitch / Fur Stitch is the best way to add a fur accent to amigurumis! So many cloaks and armor have fur accents so you may be wondering how to do that feature in a secure way. This is it!
The Loop Stitch / Fur Stitch Crochet
First, while we practice this stitch I suggest starting with a CH21 – 20sc piece. Make a few rows to give you a nice foundation to hold. I found this stitch incredibly frustrating when I first used it. It took a long time to get in the groove and go at a somewhat speedy pace. This isn’t a fast stitch. Go slow.
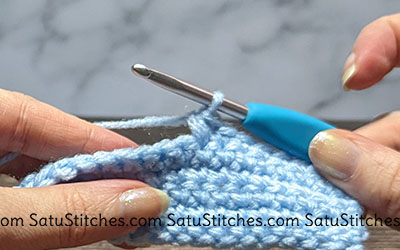
Since we are practicing, make a few single crochet at the start of the row.
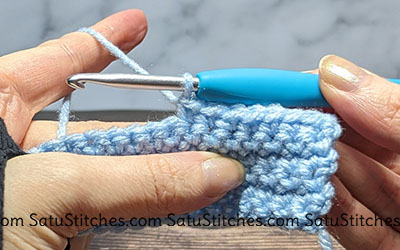
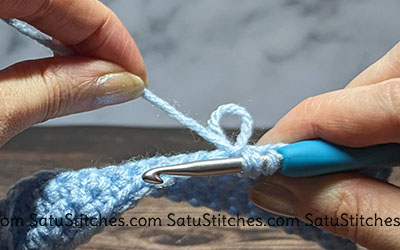
1. Hold your working yarn tightly and outstretched. Essentially, making a very large loop. Insert your hook into the next stitch.
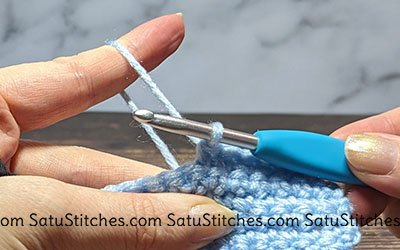
2. Yarn over the left part of the large loop, the part hanging down the back of your finger.
3. With this on your hook, yarn over the front of the large loop, the part hanging in front of your finger. You should have 2 yarn lines on your hook.
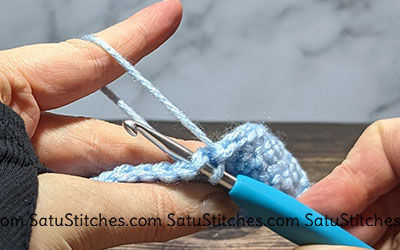
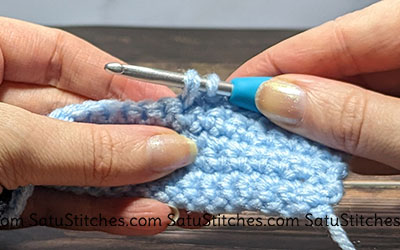
4. Pull these 2 through the stitch. At this point you should have 3 loops on your hook.
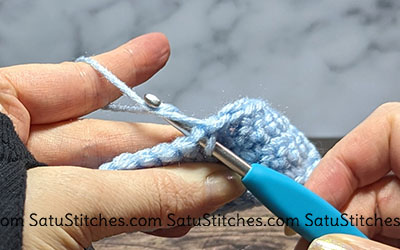
5. The “loop” part of the loop stitch will be on the back of your work. Gently pull the working end until the loop is the size you want.
6. Yarn over and pull through all 3 loops on the hook.
Gently tug the loop and / or the working end. If your loop gets smaller or bigger then you did it wrong and the loop is not secure. Typically, this is because you did not pull both ends of the larger loop through the stitch. Focus on step 3.

Repeat steps 1-6 in the next stitch. Continue practicing until you get the hang of it. Soon you’ll realize you’re going faster than ever.
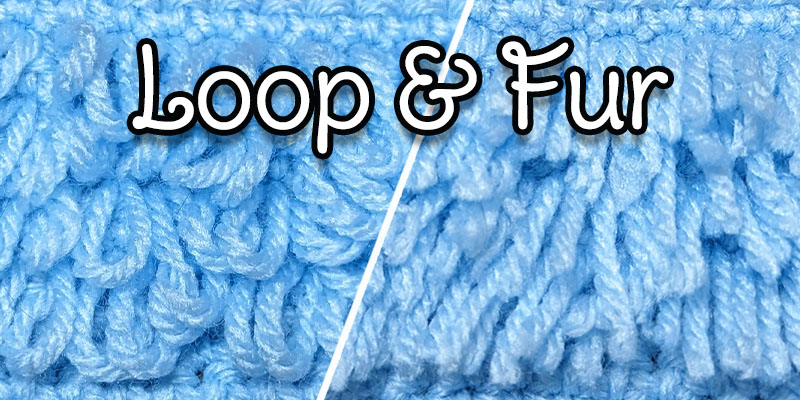
This stitch is unique in the sense that you can cut the loops to create an even more fur-like texture. It’s secure. Your stitches will not unravel so long as you crocheted the stitch properly. The pull test at the end is your indication that you did it right.
When you are making the loop stitch the loops are created on the back of your piece. So keep that in mind if you are creating your own pattern or deciding to spice up one you’re working on.